WordPress Theme Bundle

Get the Bundle of All Over Elementor WordPress Themes At Just $99
WordPress Theme Bundle
Get the Bundle of All Over Elementor WordPress Themes At Just $99
Introduction
We feel honoured that you purchased our WordPress theme. This documentation has many sections that demonstrate the entire process of configuring and managing a WordPress website from scratch.
What is the WordPress content management system? (CMS)
WordPress is an open-source program for creating websites that uses MySQL and PHP. To put it briefly, it is a blogging tool and open-source content management system (CMS) that anyone may use. You may create powerful online applications and webpages using the CMS. To handle it, you don't need any technical knowledge or abilities. WordPress's ease of use and versatility have made it the most widely used website construction platform. Learn More
A Wordpress template: What is it?
WordPress-powered webpages are skinned using WordPress templates. It is easy to put up a WordPress design. You may easily alter the look of your WordPress website by installing a new template. You can expand and alter the WordPress template to meet your needs. It comes with all the necessary source files.
We Are Here For Help and Support
Click the button for support:
Theme File Structure
You downloaded a template file that has numerous folders in it. Let's examine each subdirectory's contents in more detail:
-
Screenshots
- Examples of templates are provided. Not to be utilised in production.
- theme -includes WordPress theme assets
- "restaurant-cafe-pro.zip" -All of the files needed for the theme are in this folder.
- "license.txt" -includes licence information
- "readme.txt" This file includes information about the font, use script, and pictures used in the theme.
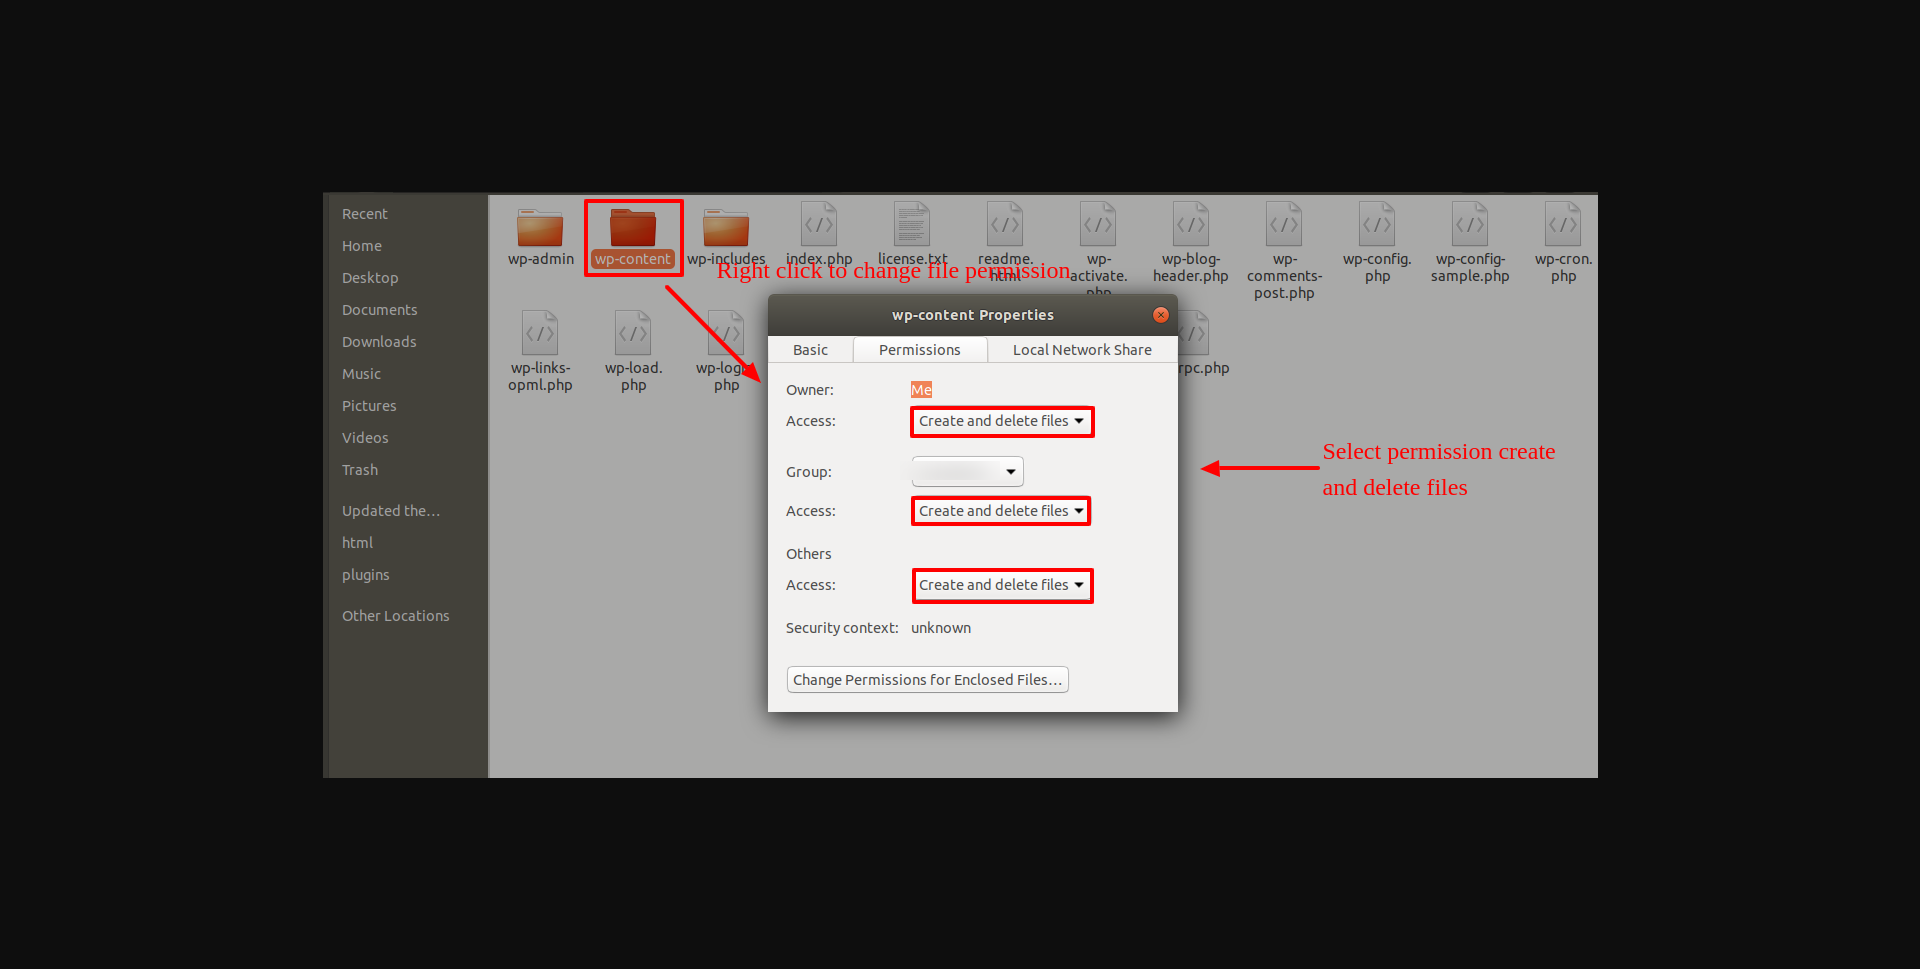
My website used to function properly. How were the permissions on the files altered?
If file permissions are set wrong, WordPress might not be able to create directories, upload photos, or run scripts.
WordPress requires authorization to manage files and make folders on the server.
- When you right-click on any folder within the main directory, the context menu will appear. Choose File Permissions from there.
- Go to wp-config
- permissions dialog box
- choose the checkbox read and write
- To proceed, click the OK button.
- For the wp-content subdirectory, use the same steps.
Template Installation Part
Installing a template is a straightforward process.
The WordPress interface can be used to complete the installation. Consequently, the procedure is quicker and more comfortable.
There are two available installation techniques.
1-Use WordPress admin to install a theme.
Go into the WordPress admin area to get started.
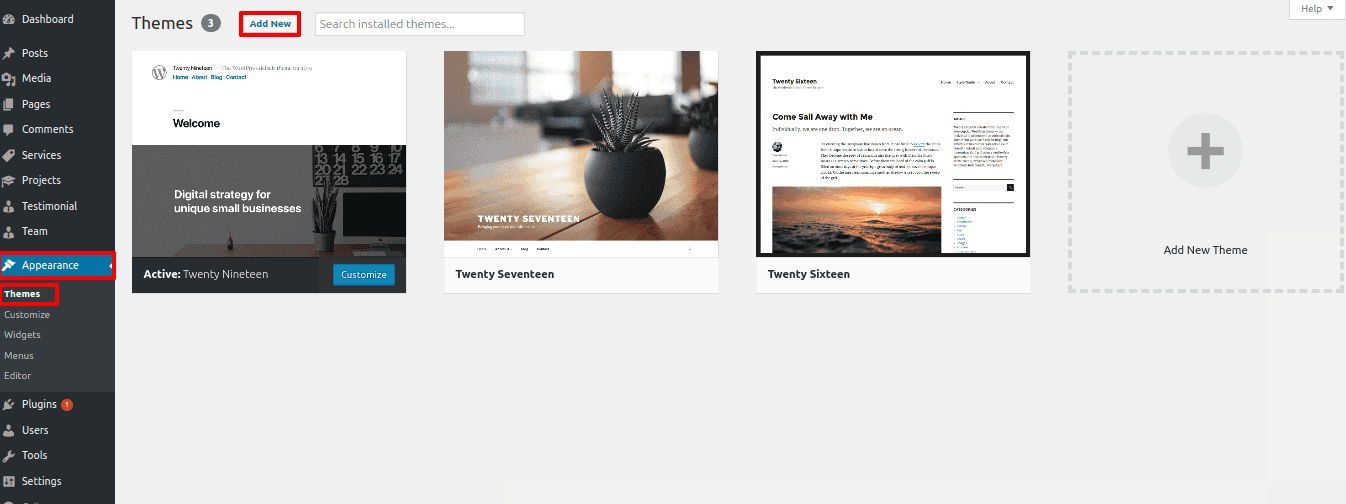
1. Click on Appearance >> Select Themes
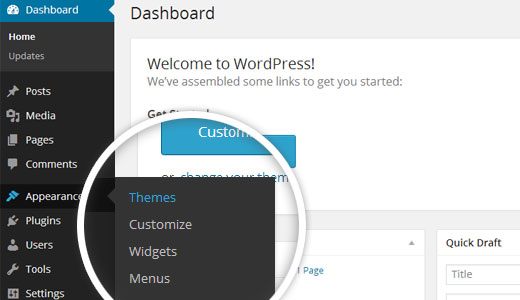
2.Click the Add New button located on the themes page.
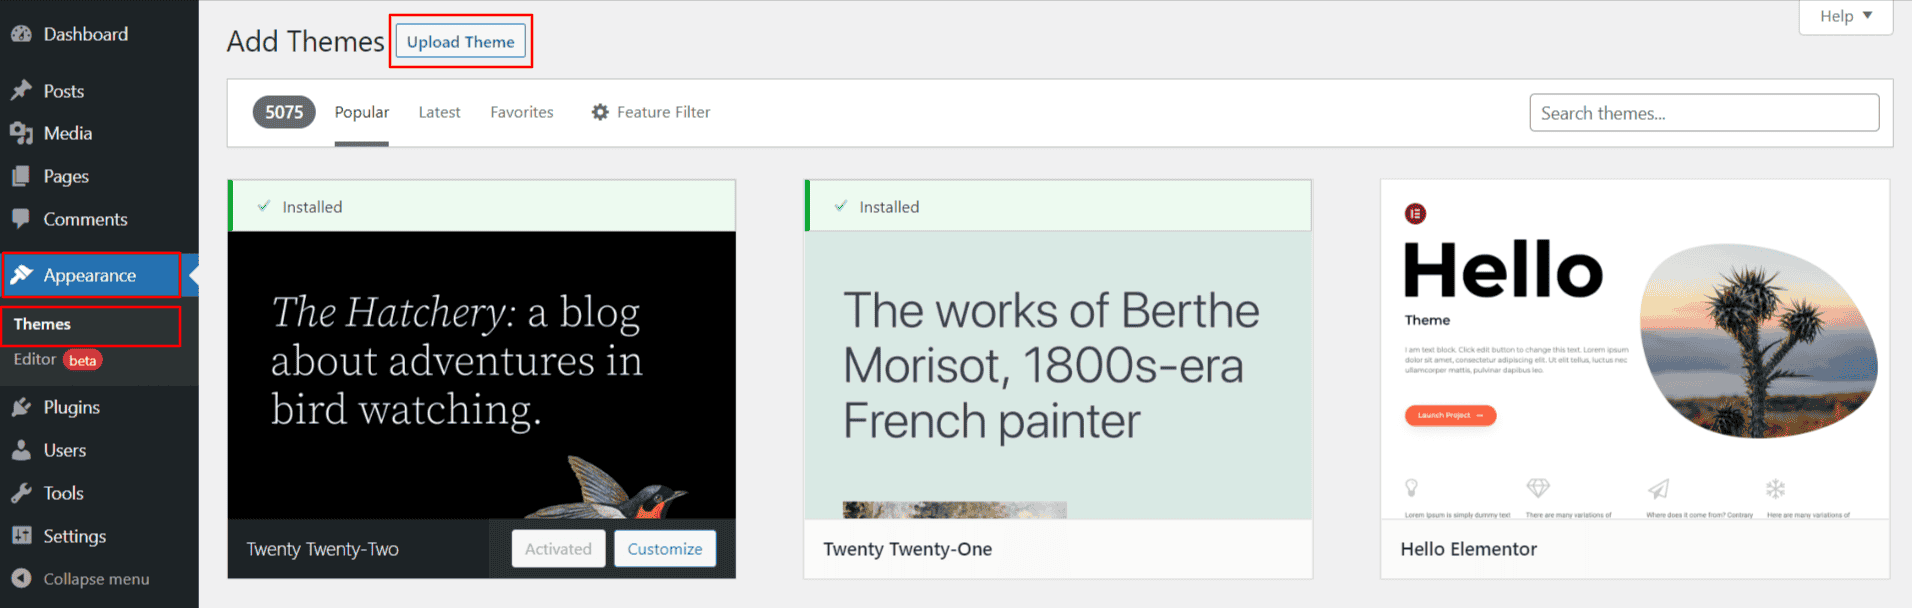
3.Click the upload button to add the theme.
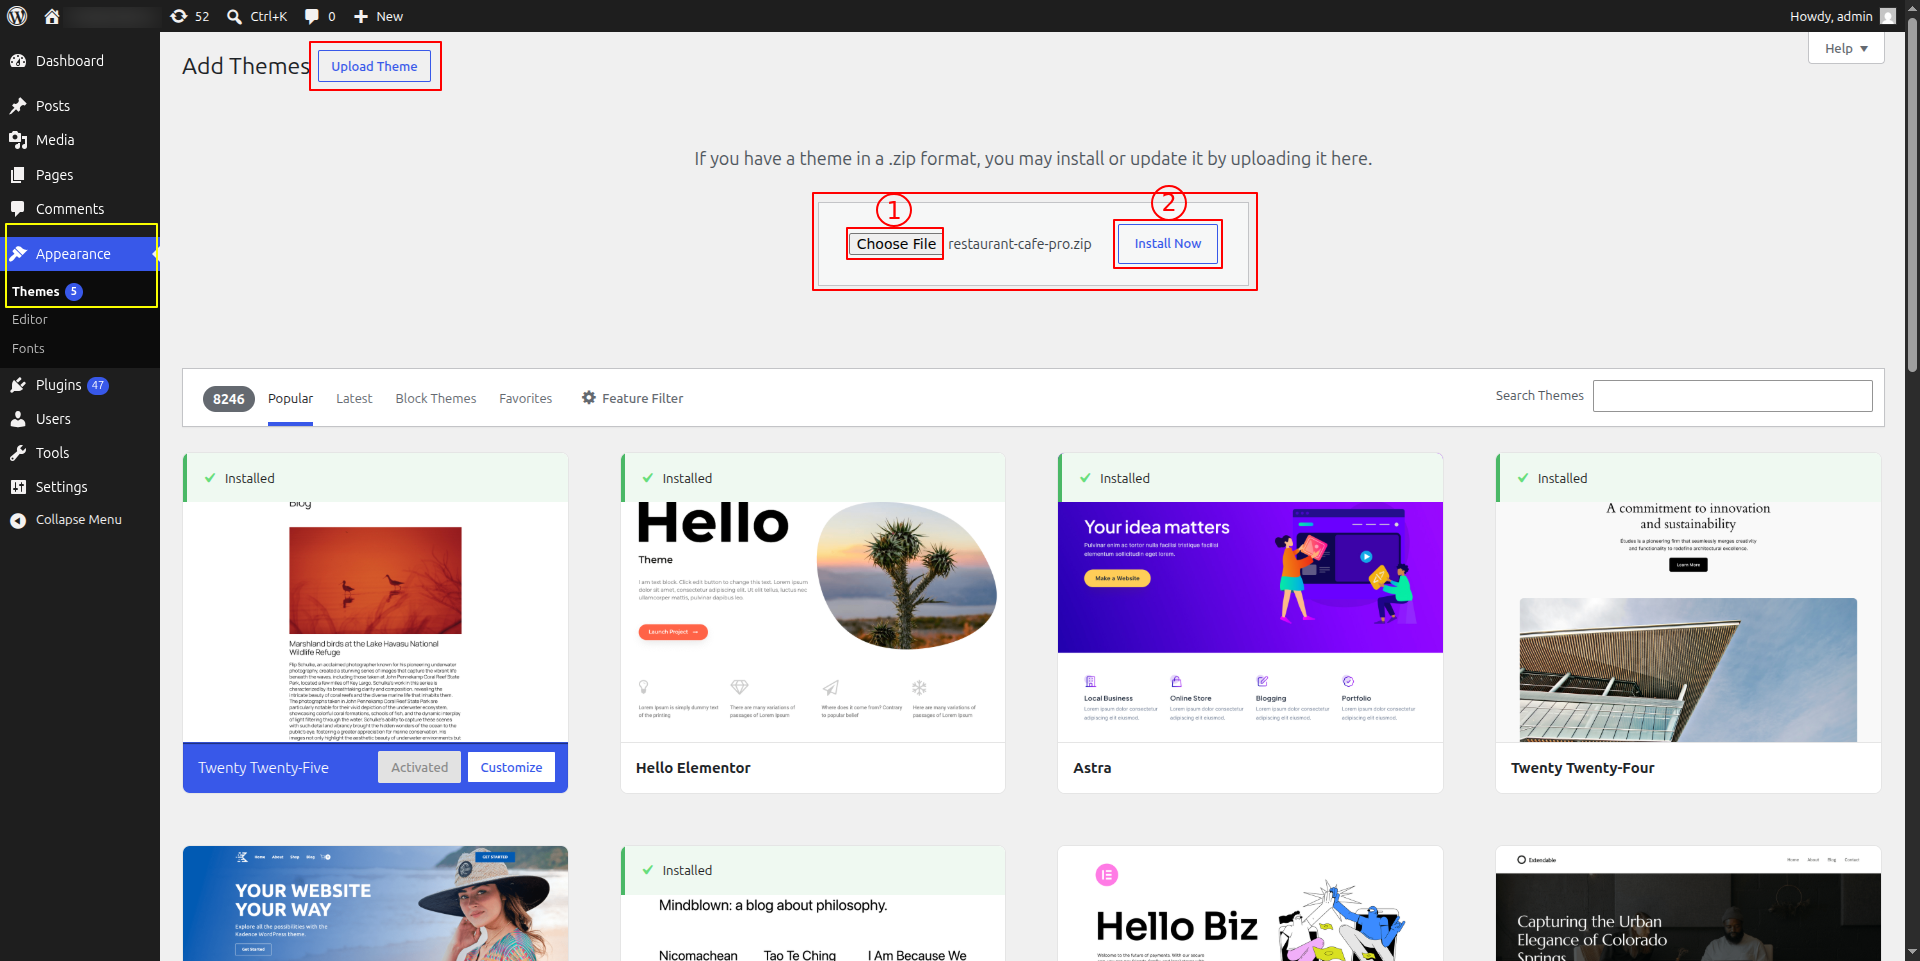
4. Select your restaurant-cafe-pro.zip file and After selecting Browse, select Install immediately.
5.Once your theme is installed, WordPress will display a success message along with a link to activate or view the live preview.
Well done! Installation of the theme is correct.
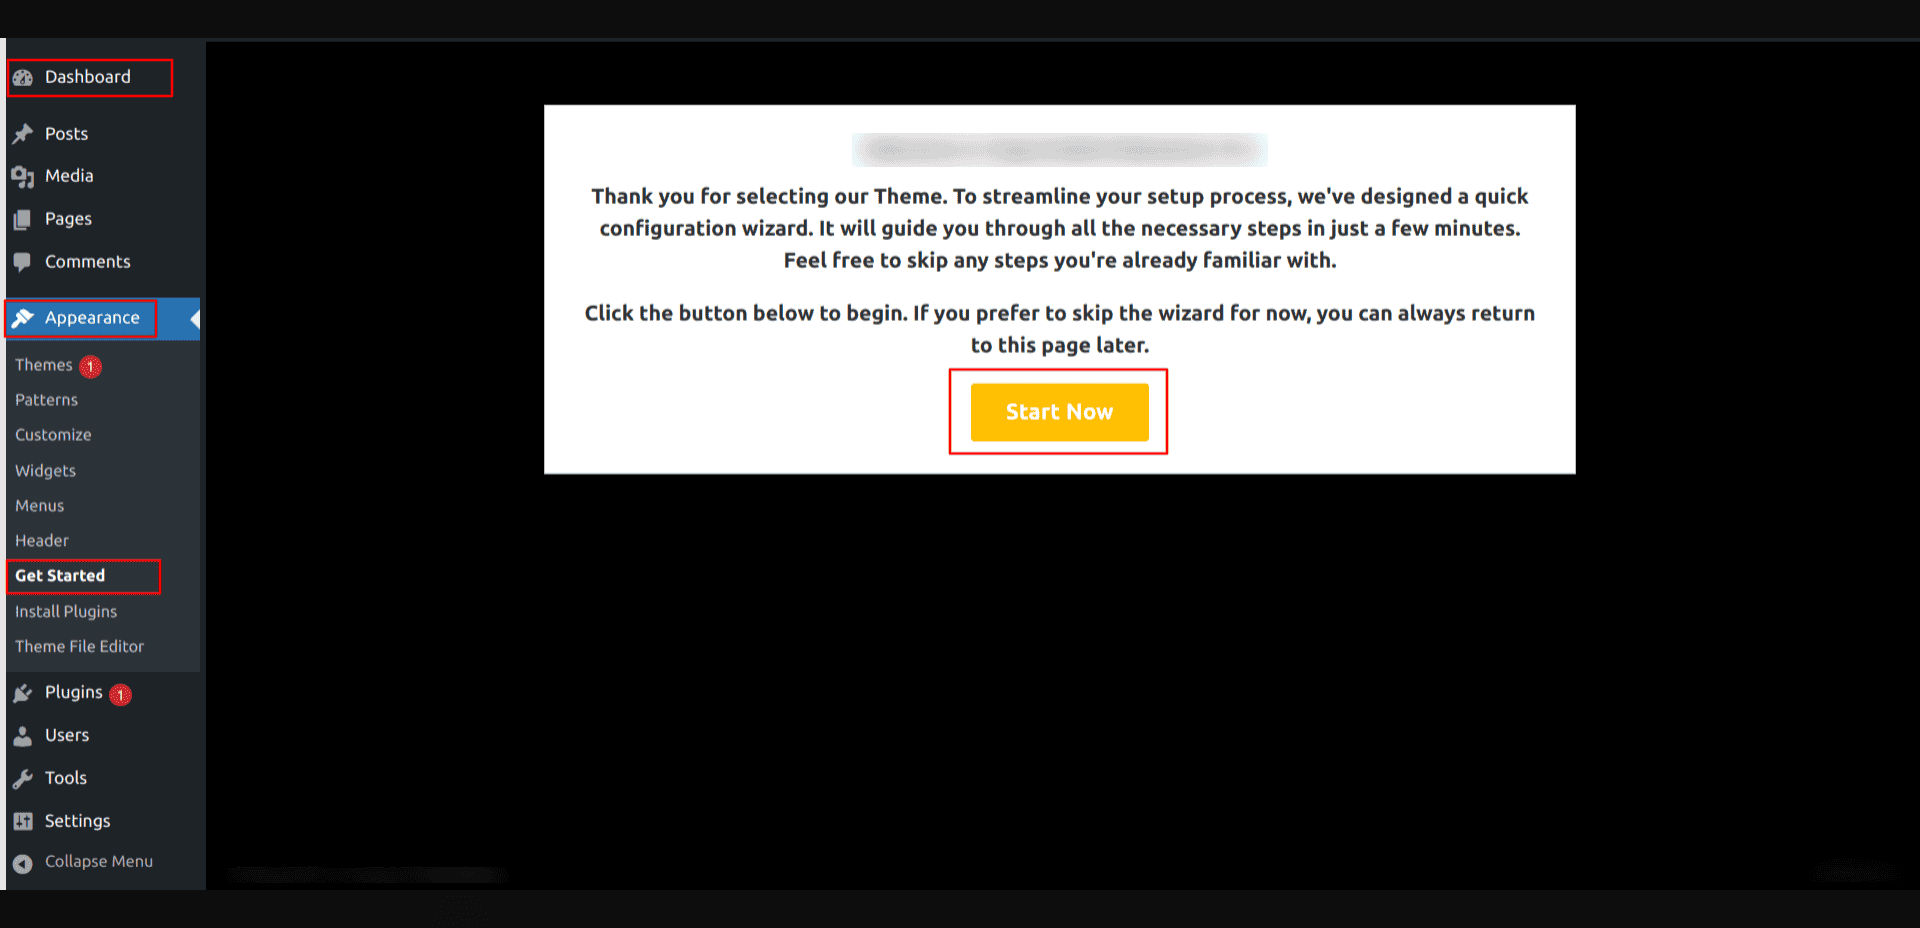
Go to Settings after logging into your WordPress website. Appearance >> Themes .
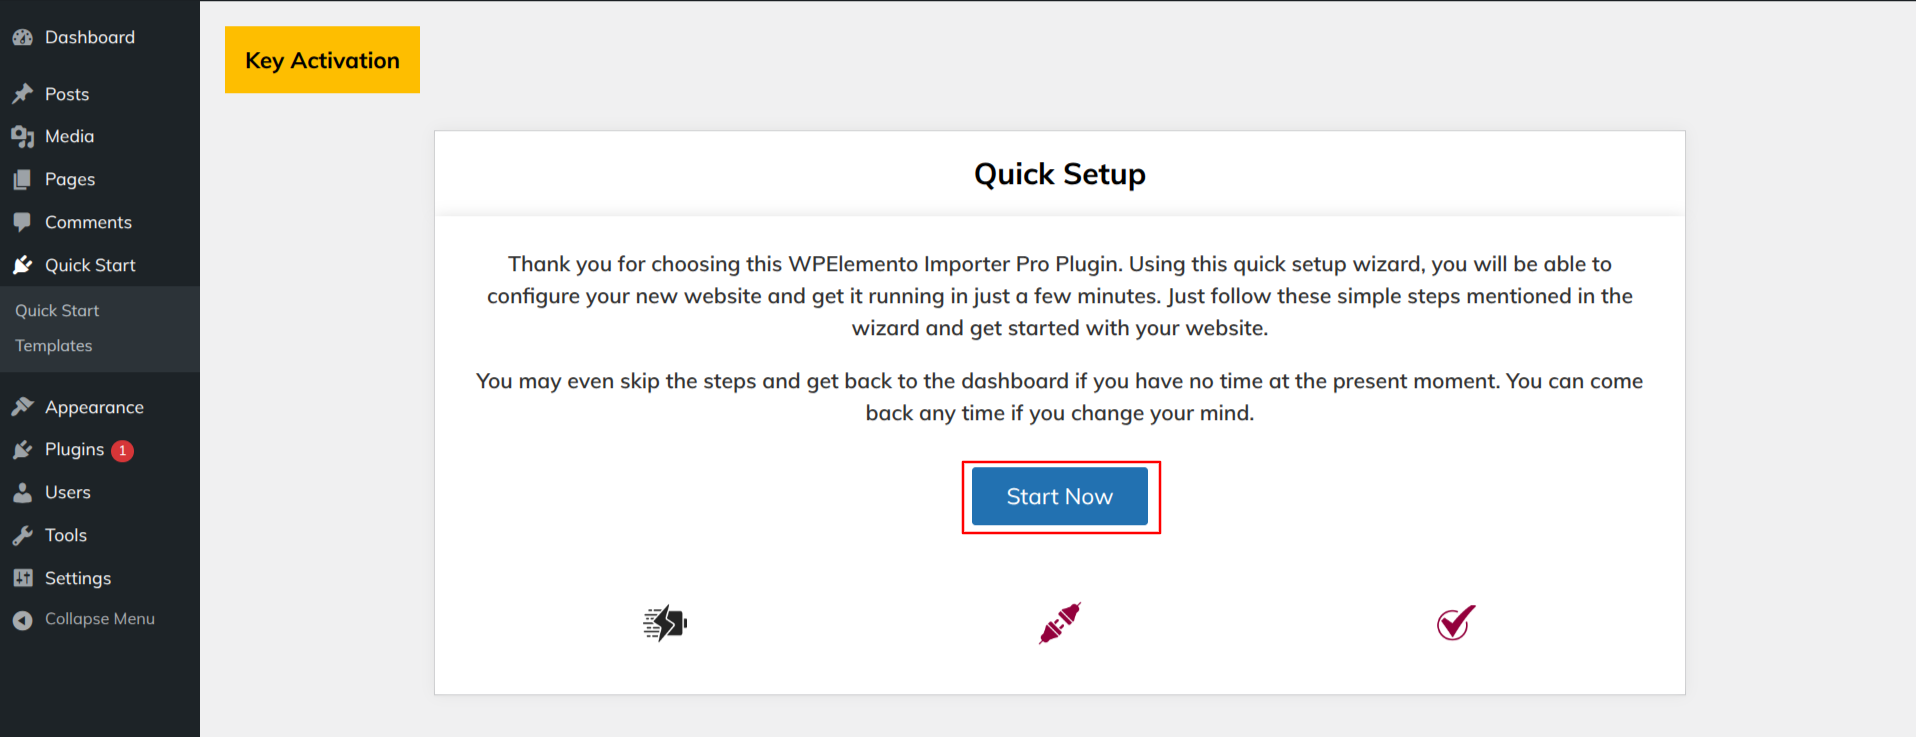
1) Example Import Procedure Simply click the "Start Now" button to get started.
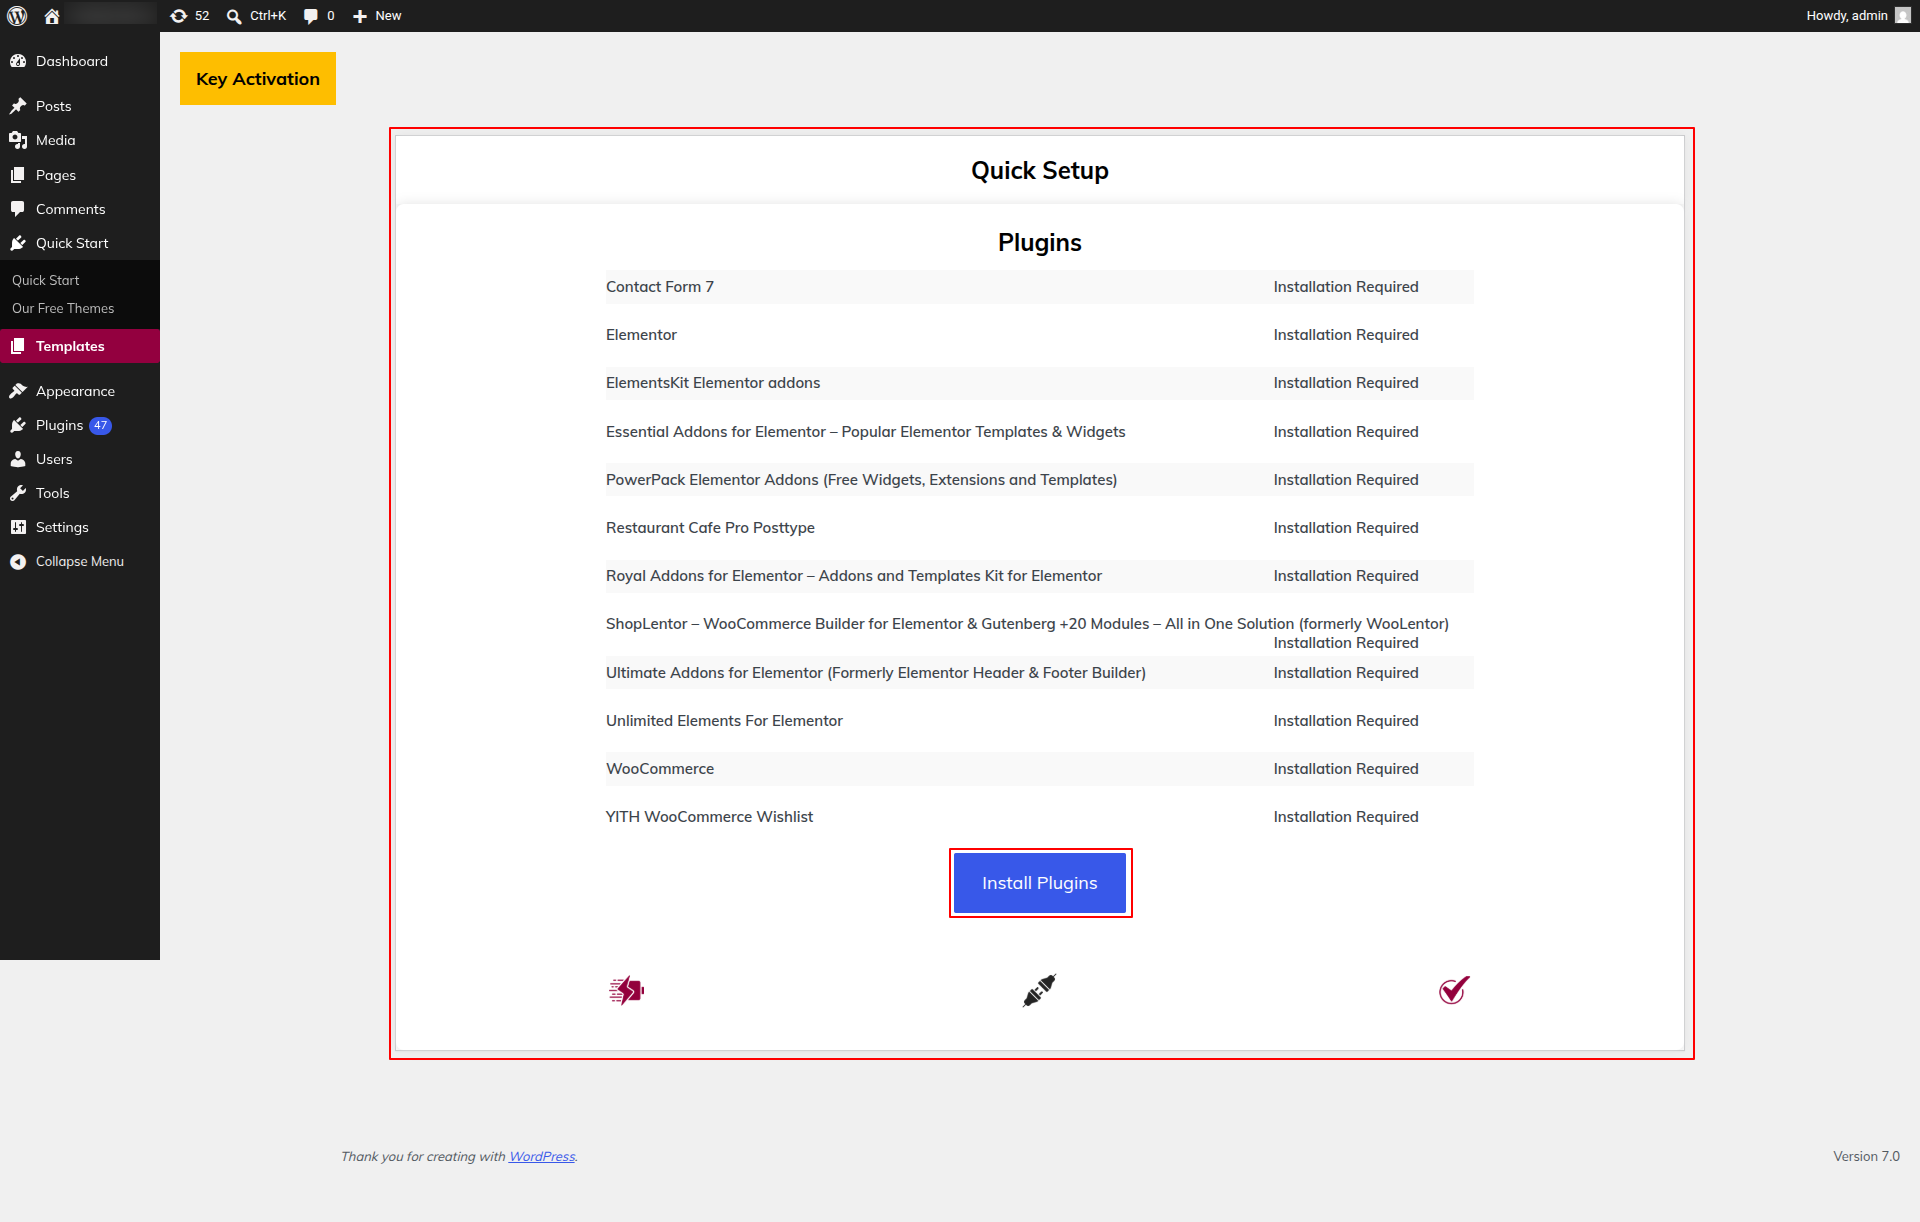
2) Install Every Plugin That's Needed Simply click the Install Plugs button.
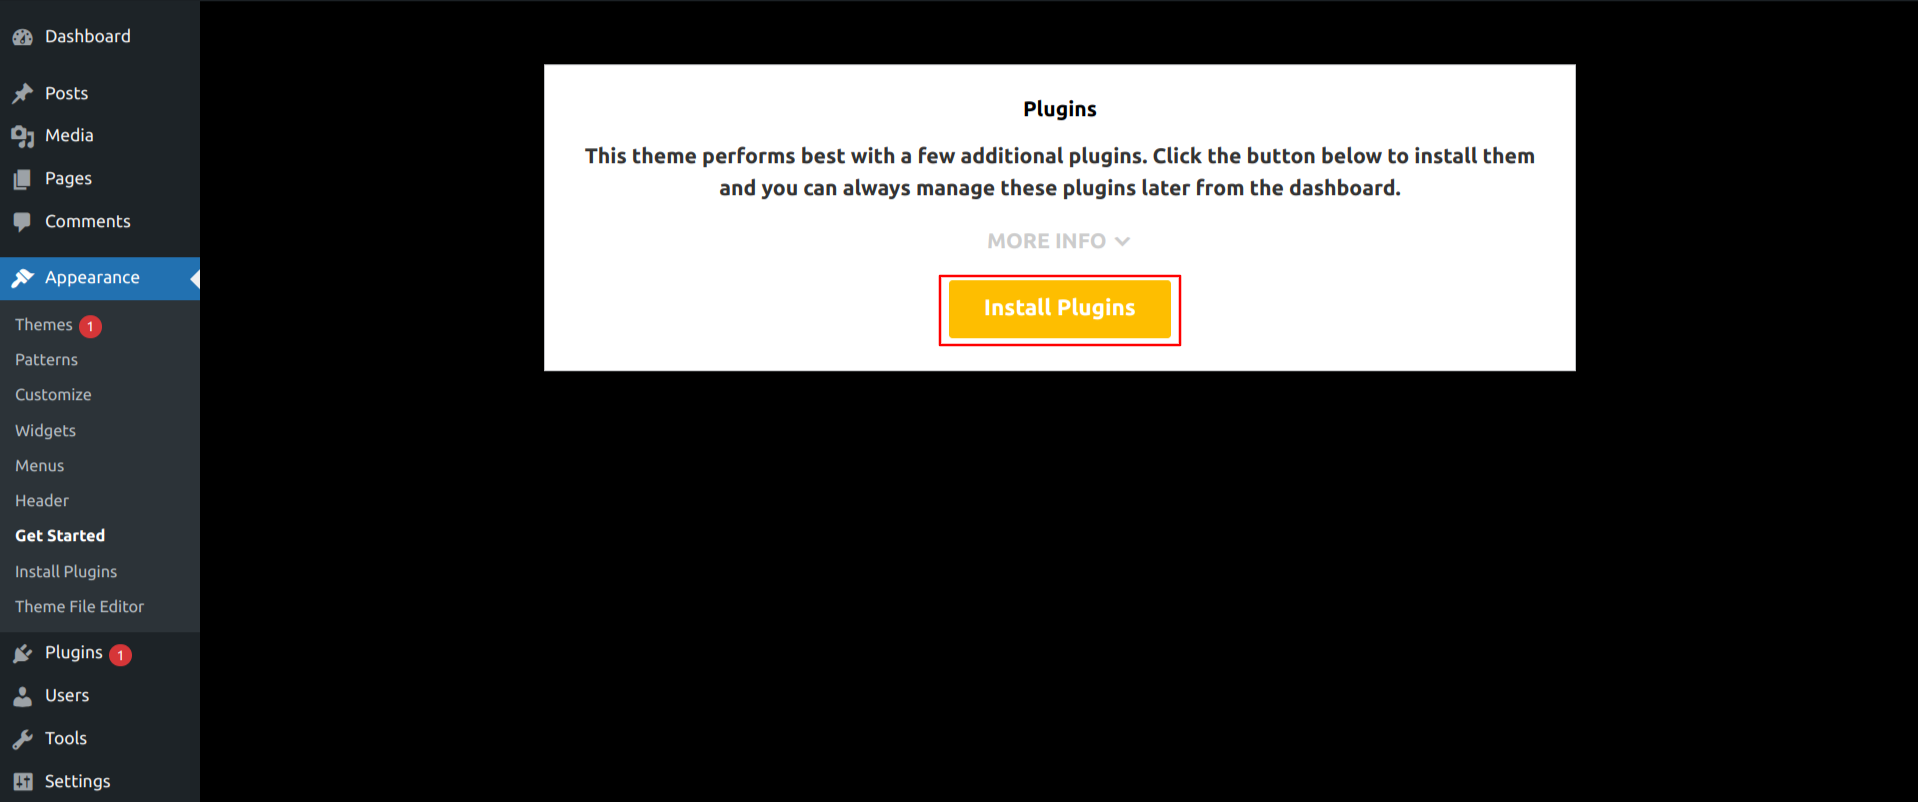
3) Select "Start Demo" Import Buttons
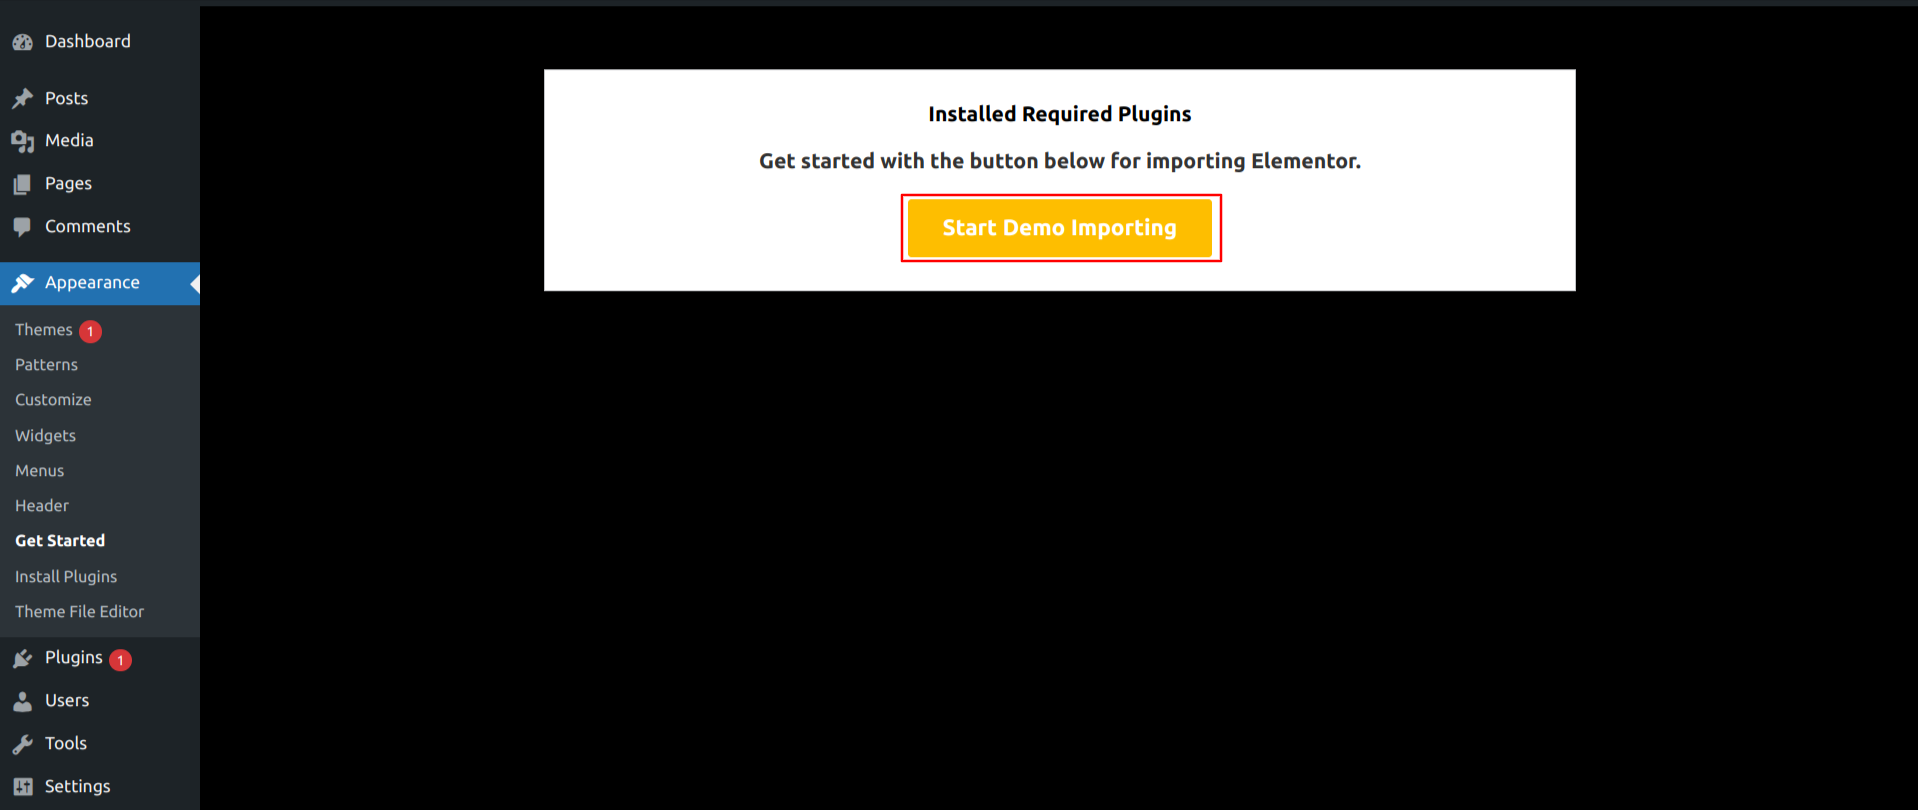
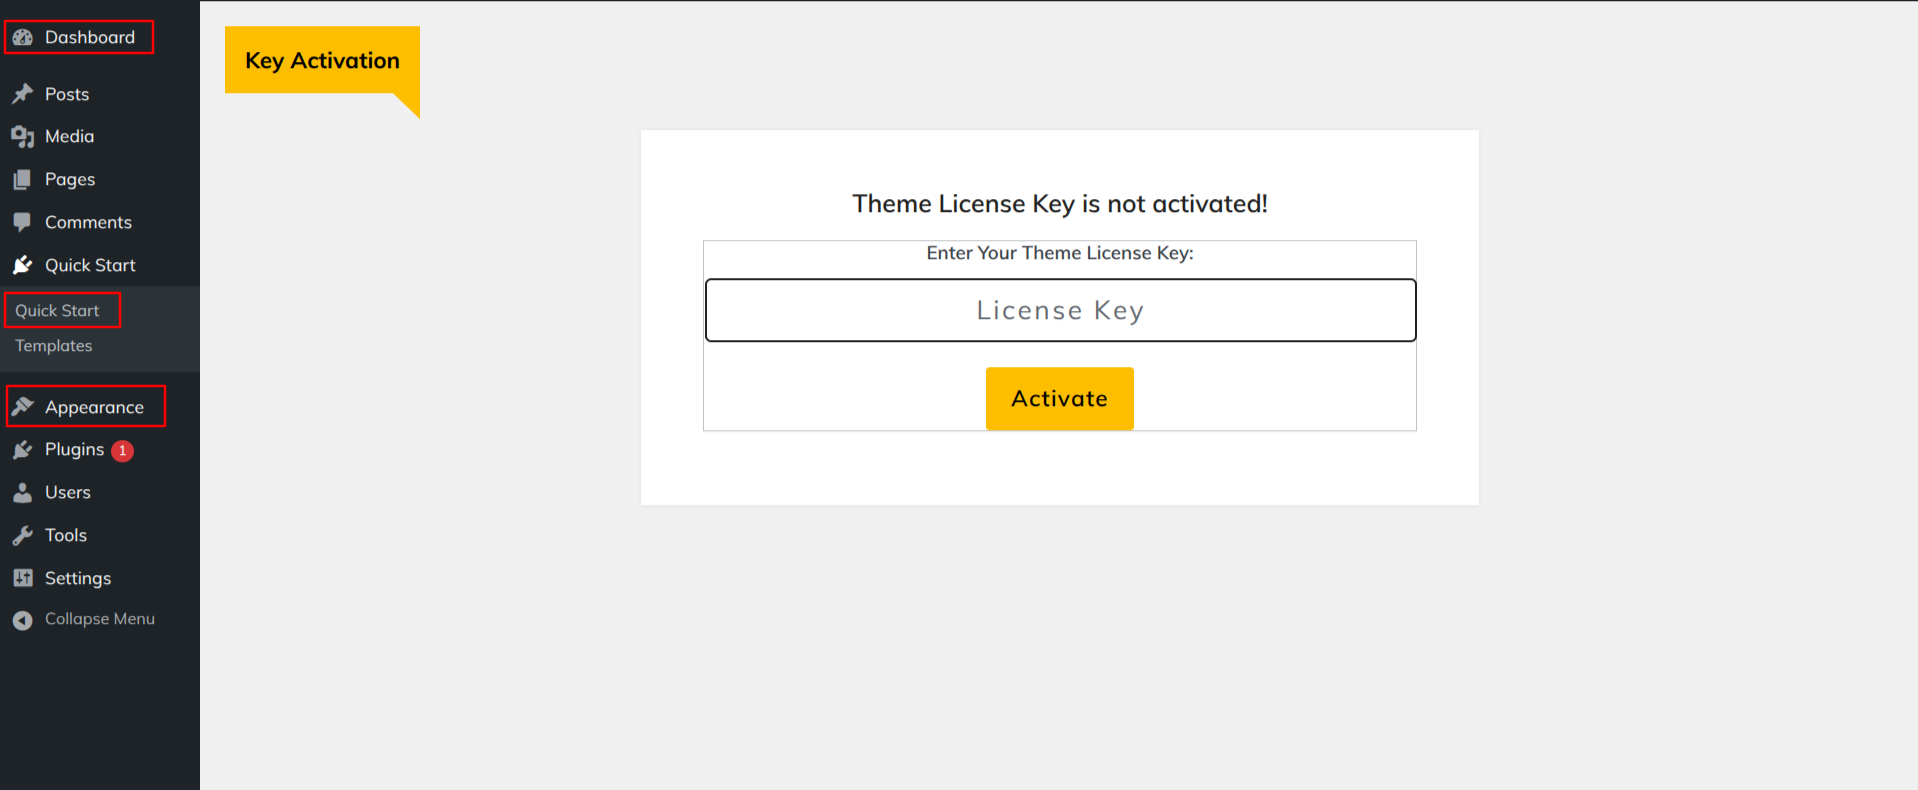
4) After entering your license key, select "Activate."
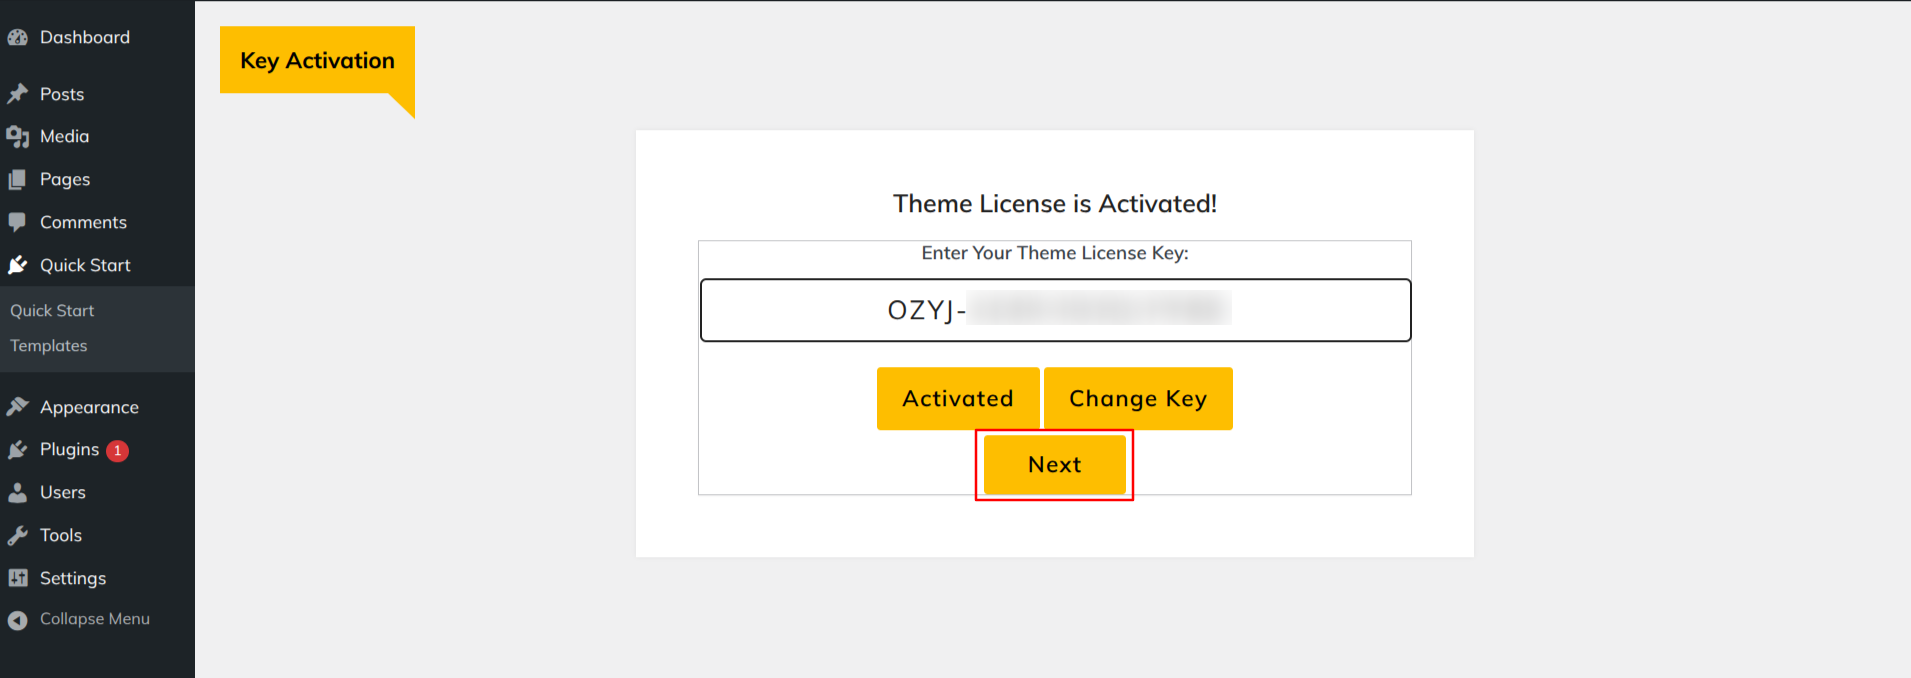
5) After activating the license key, click Next.
6) Click the "Start Now" button.
7) Hit the Plugins Install button.
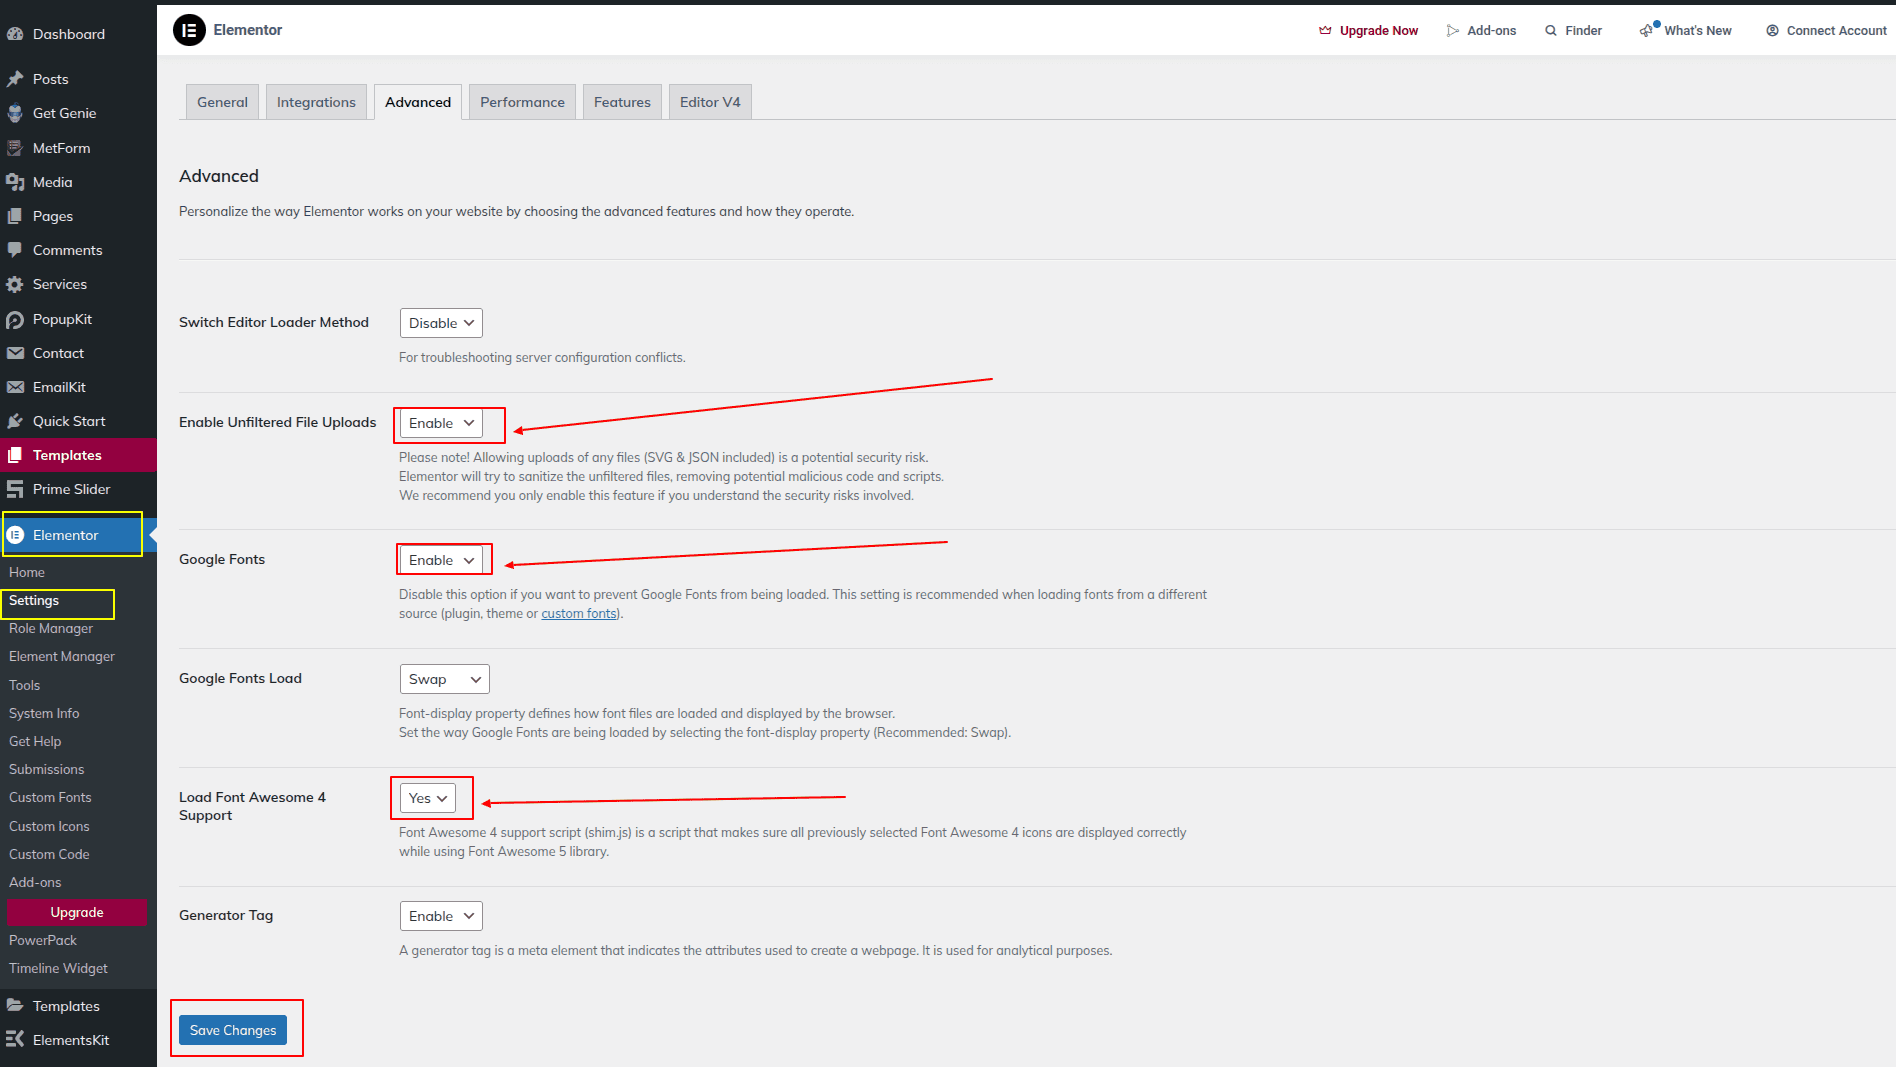
Install the Unlimited Element Widget for Showing Header Before Importing Demo After Installing Pulgin
1) Go to:- Dashboard >> Unlimited Elements >> Widgets.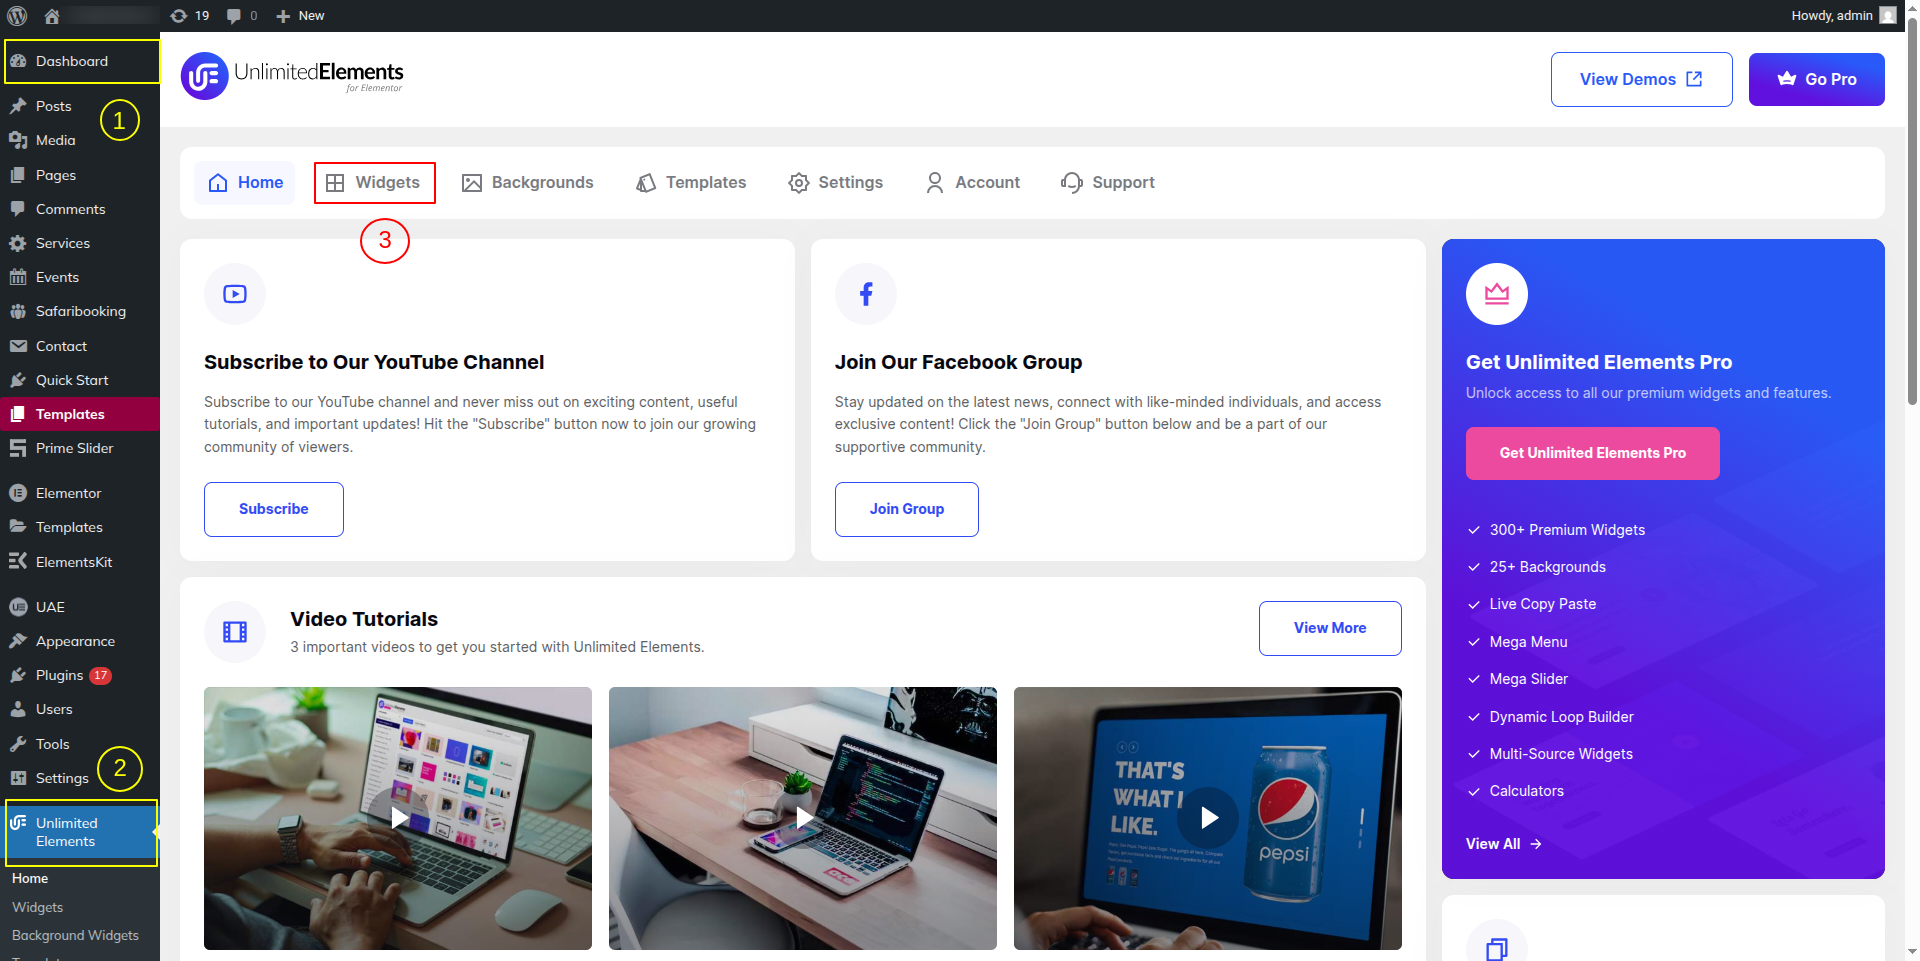
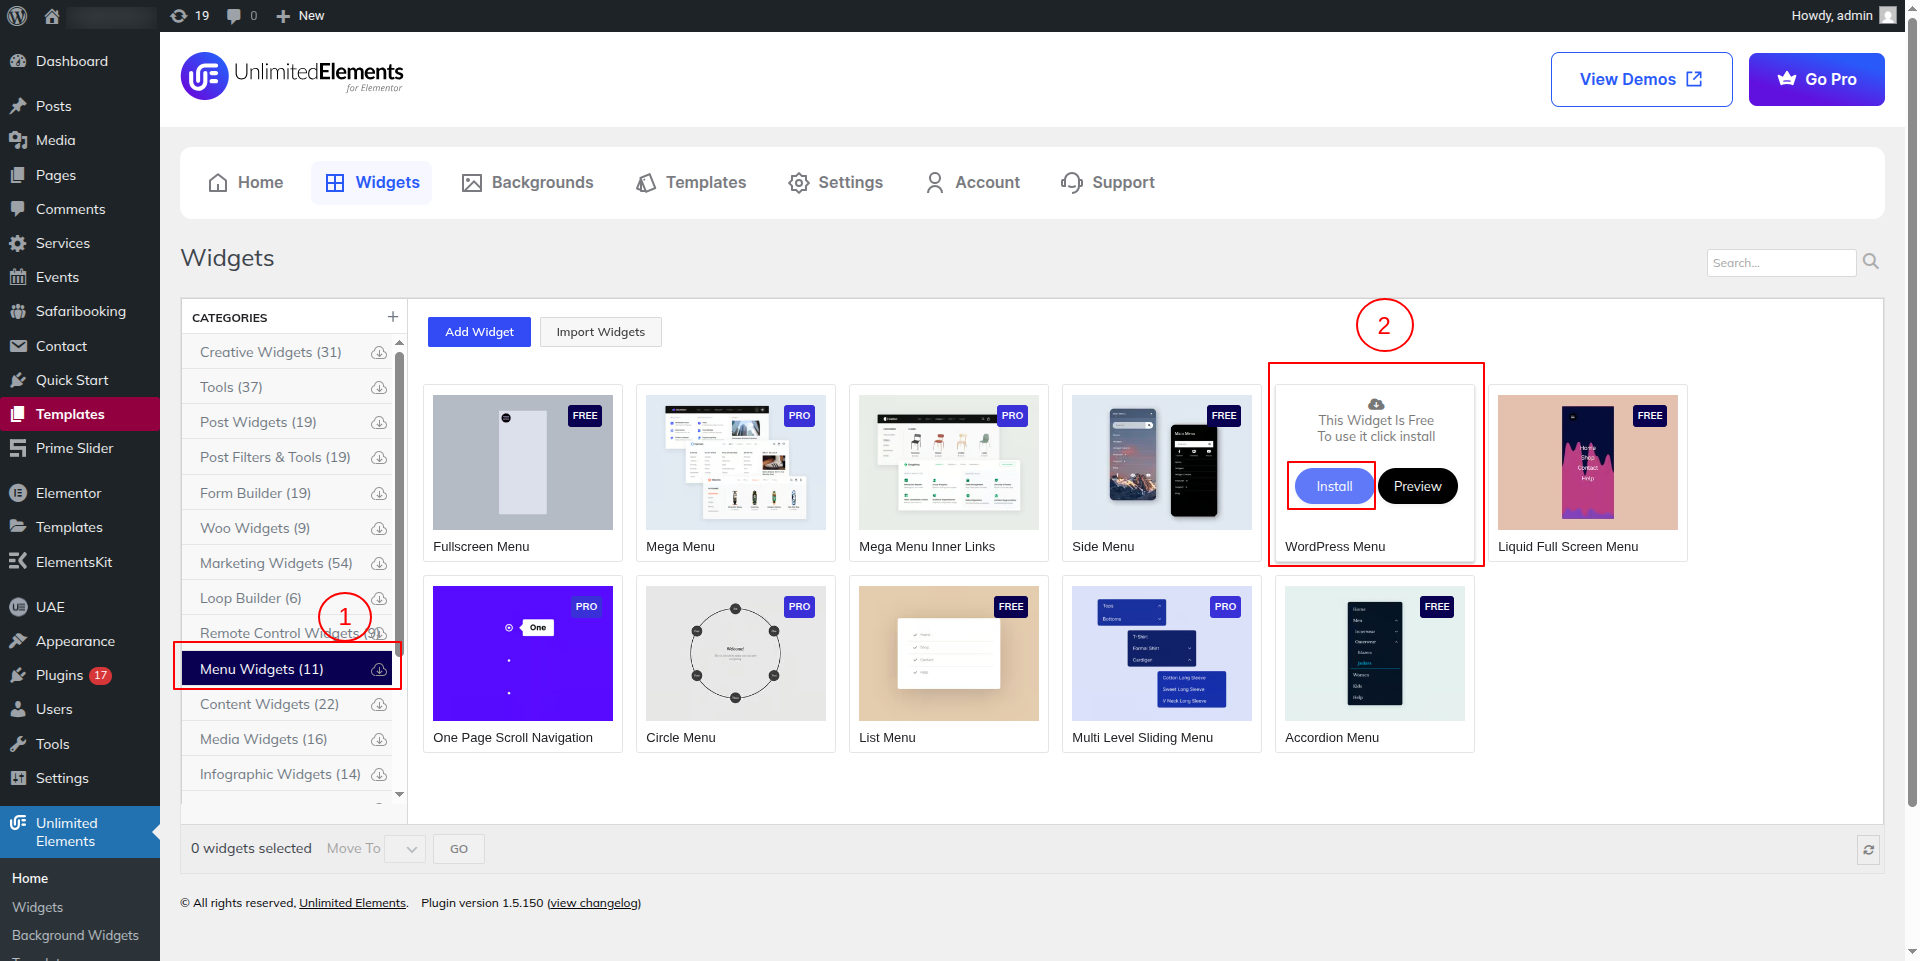
After that, install the Menu Widgets by clicking on WordPress Menu.
After that, Click on Elementor Settings Advance, then enable or yes showing settings.
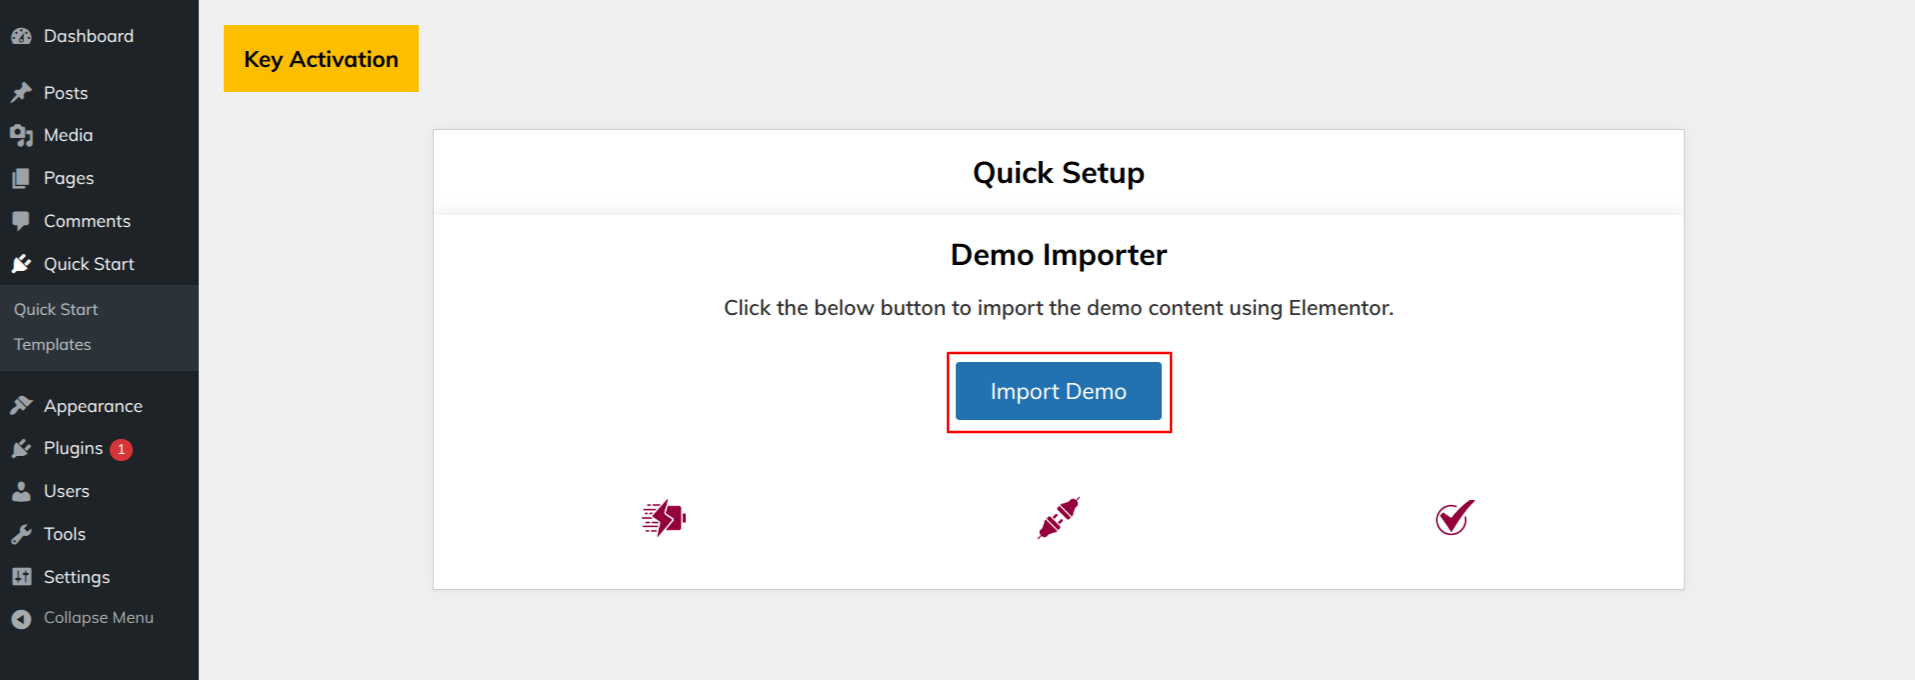
8) To import a demo, click Import Demo.
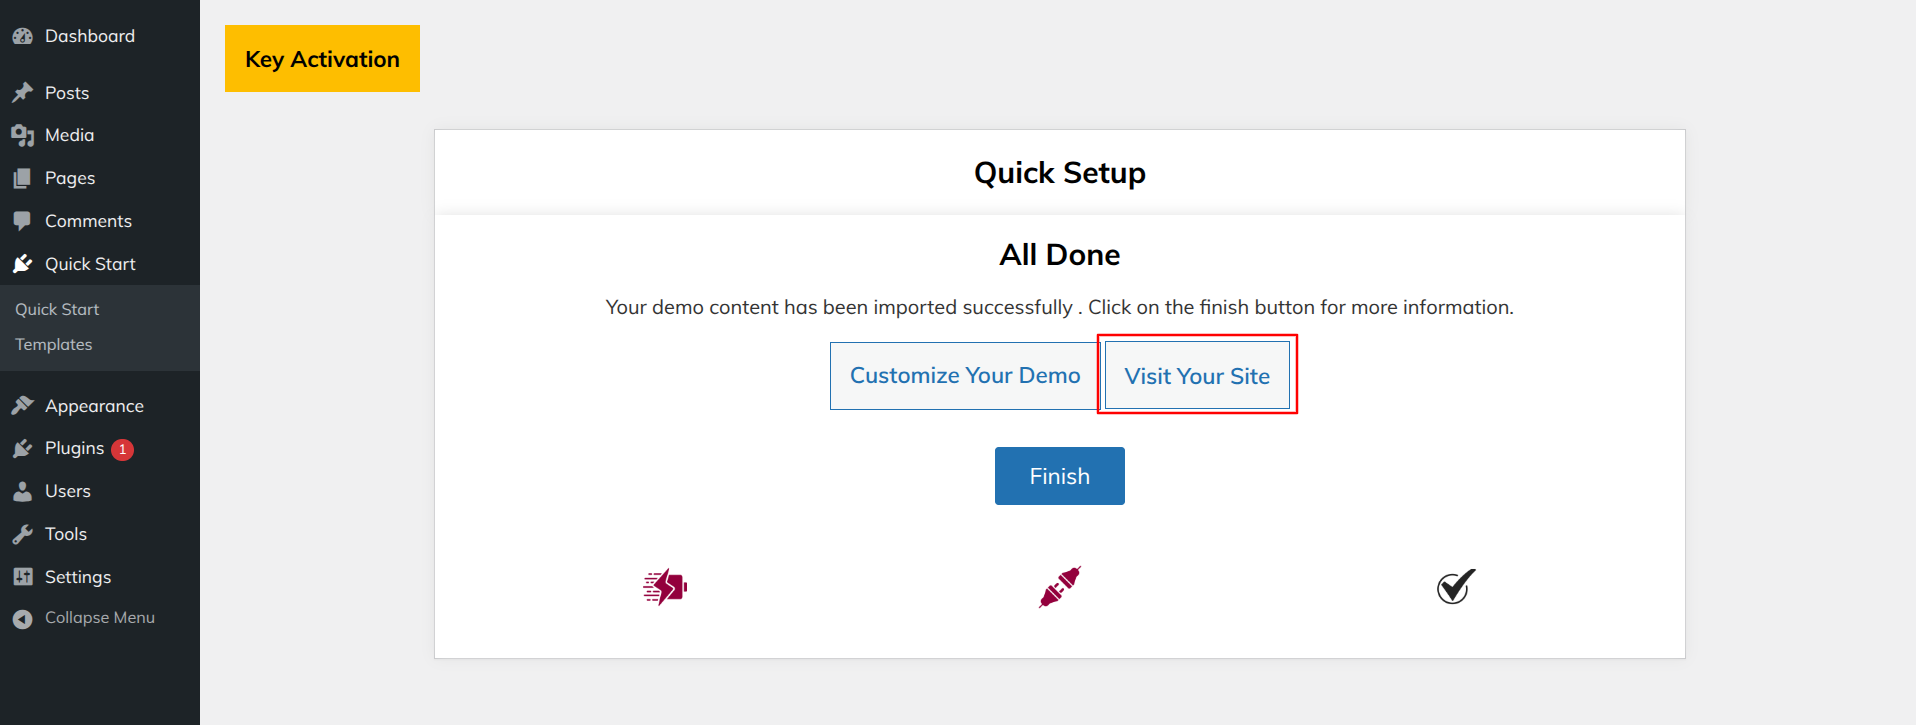
9) Choose Visit Site after that.
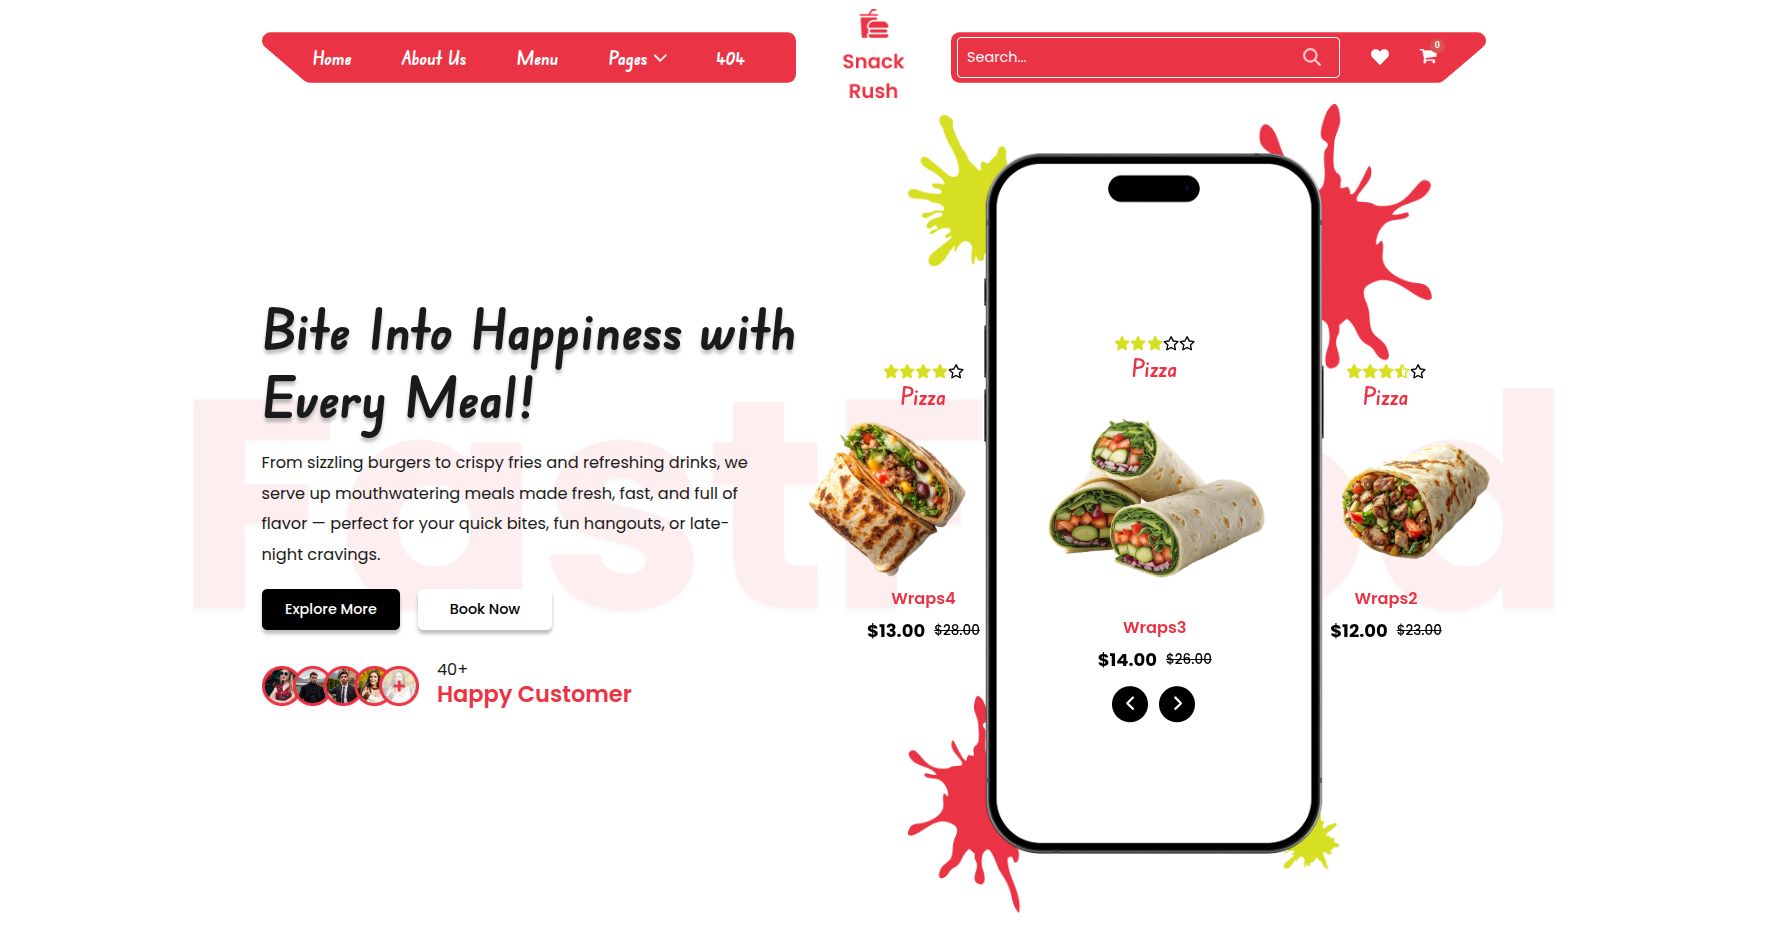
10) This Is Your Theme's Final View.
Setup Homepage Template
4.1 Header Section
for setting up the Header section. the instructions below.
1) Go to:- Dashboard >> Elementskit >> Header Footer >> Edit.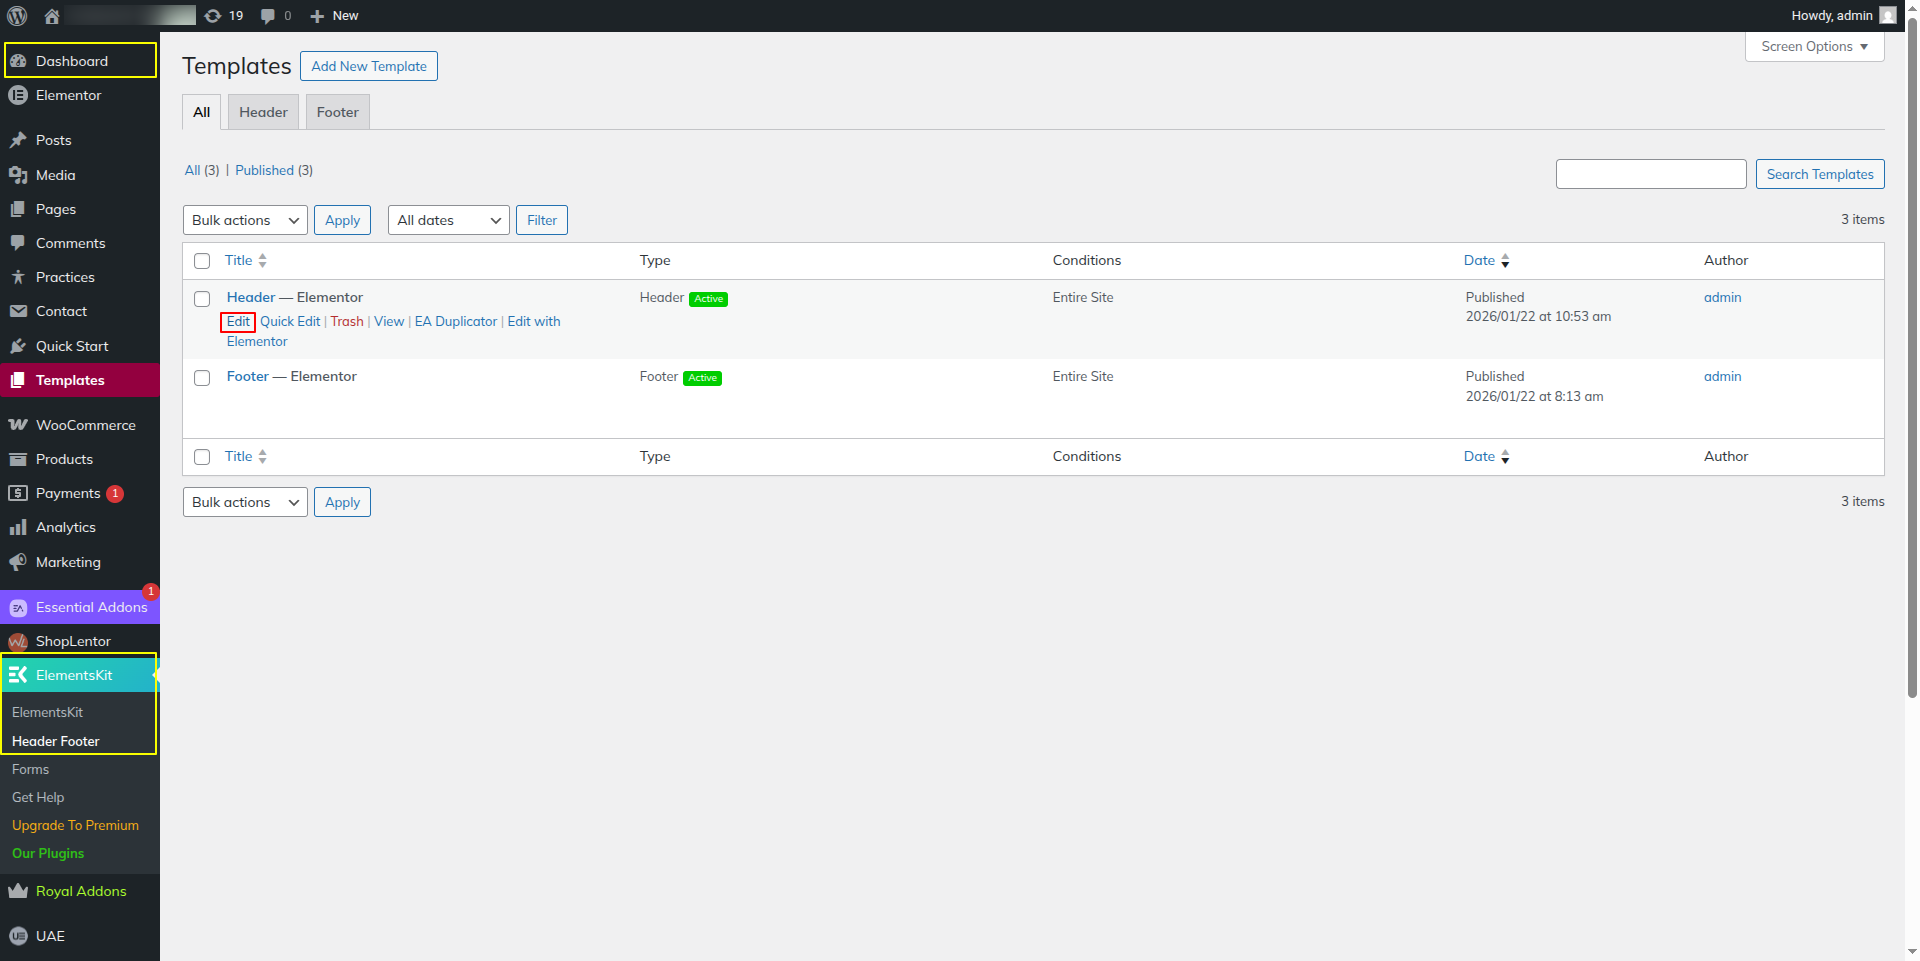
2) You have to go inside the header and edit content.
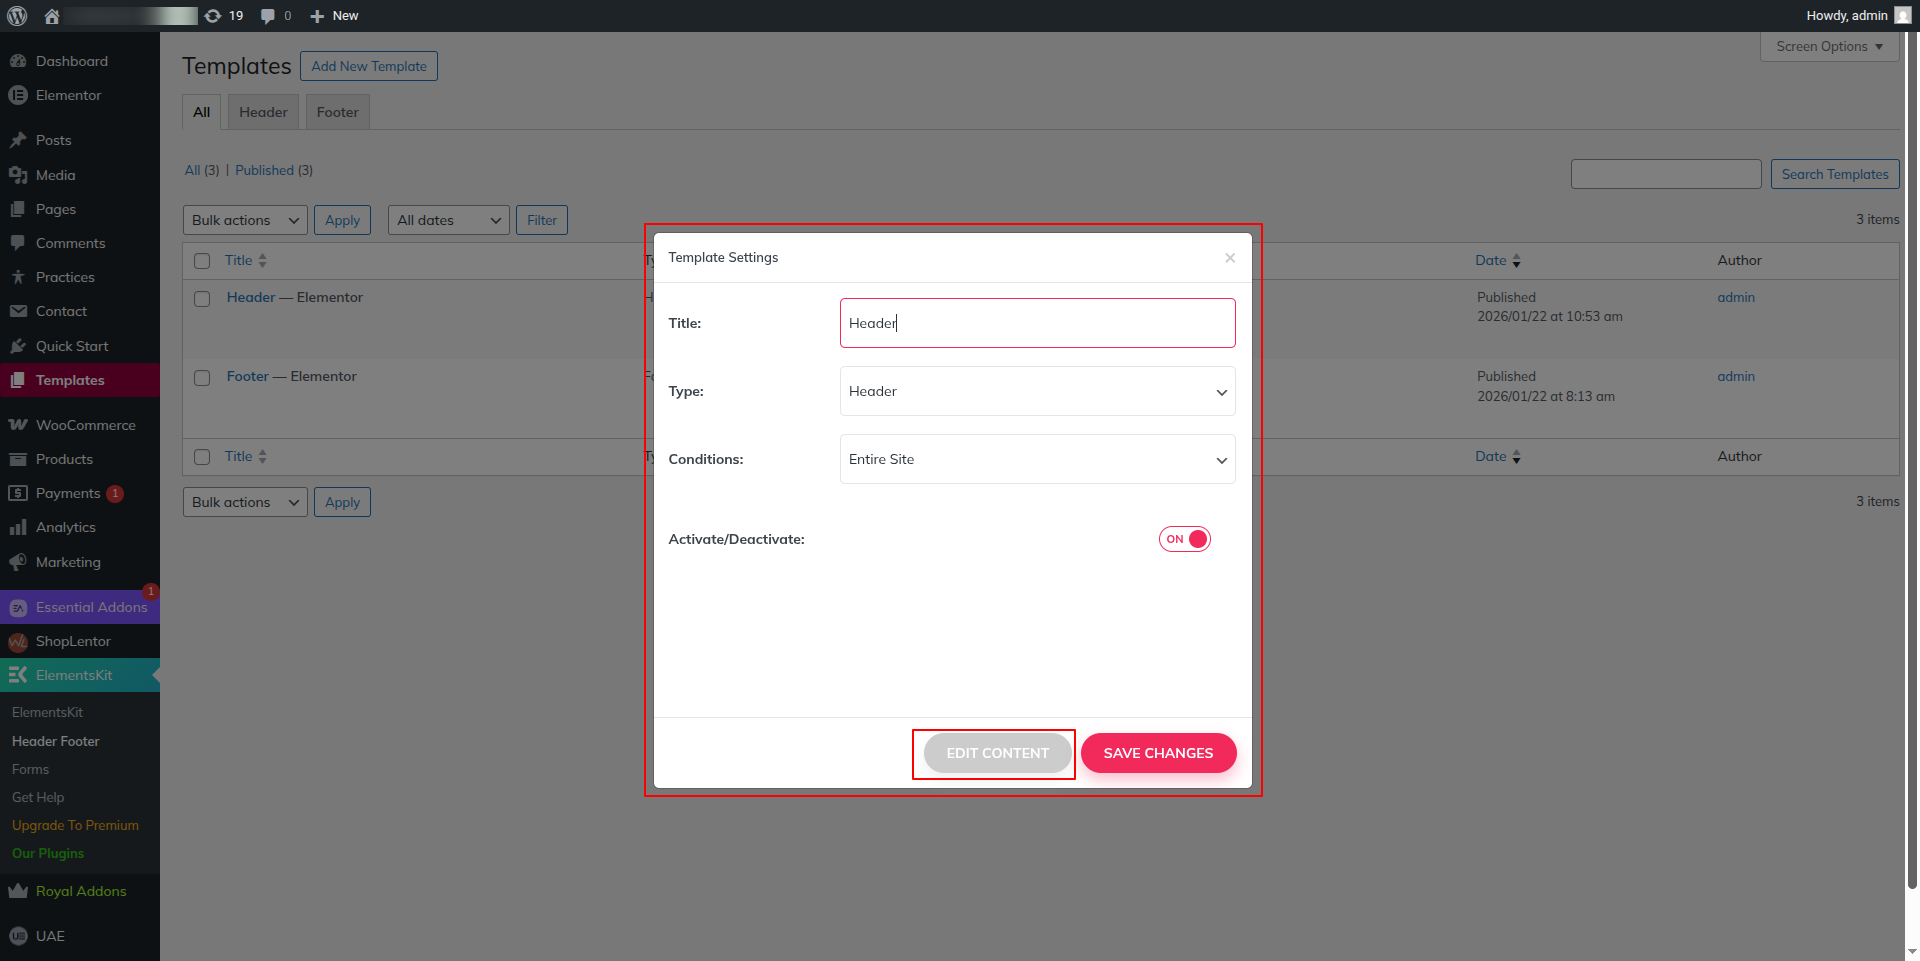
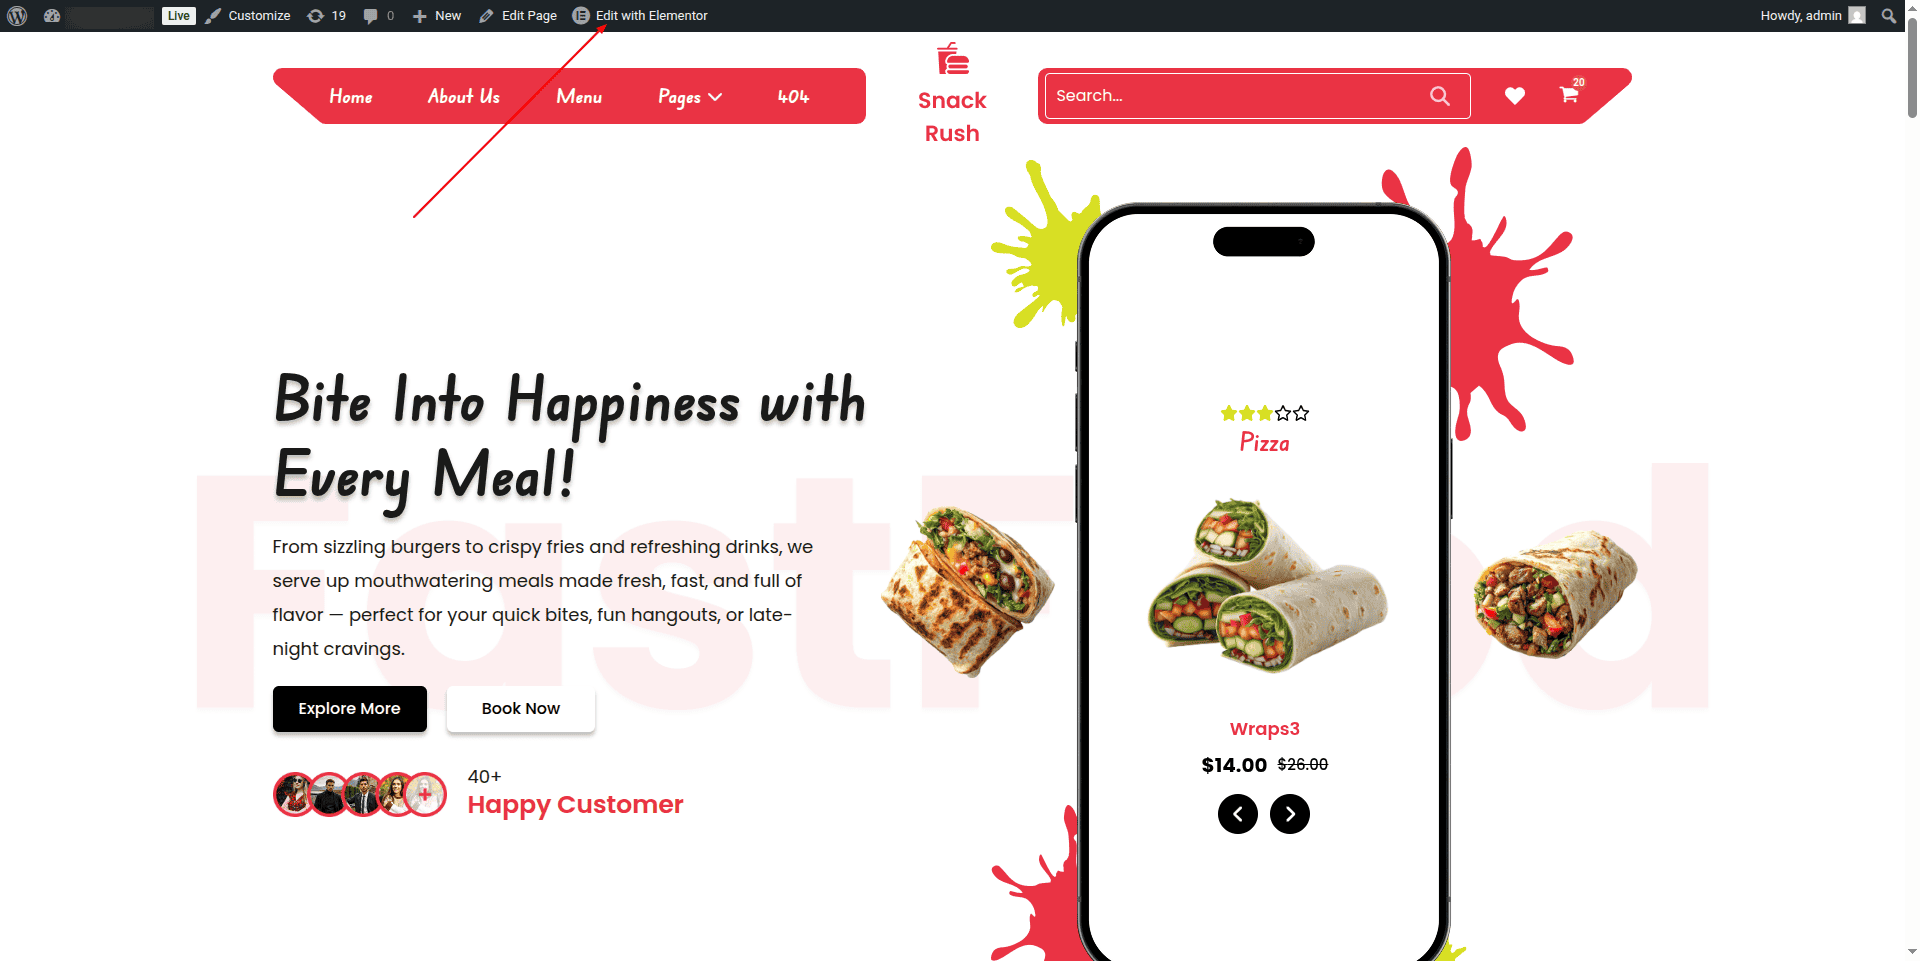
To Edit this Section, Click On the "Edit With Elementor" Button which will open the Elementor Widget editor.
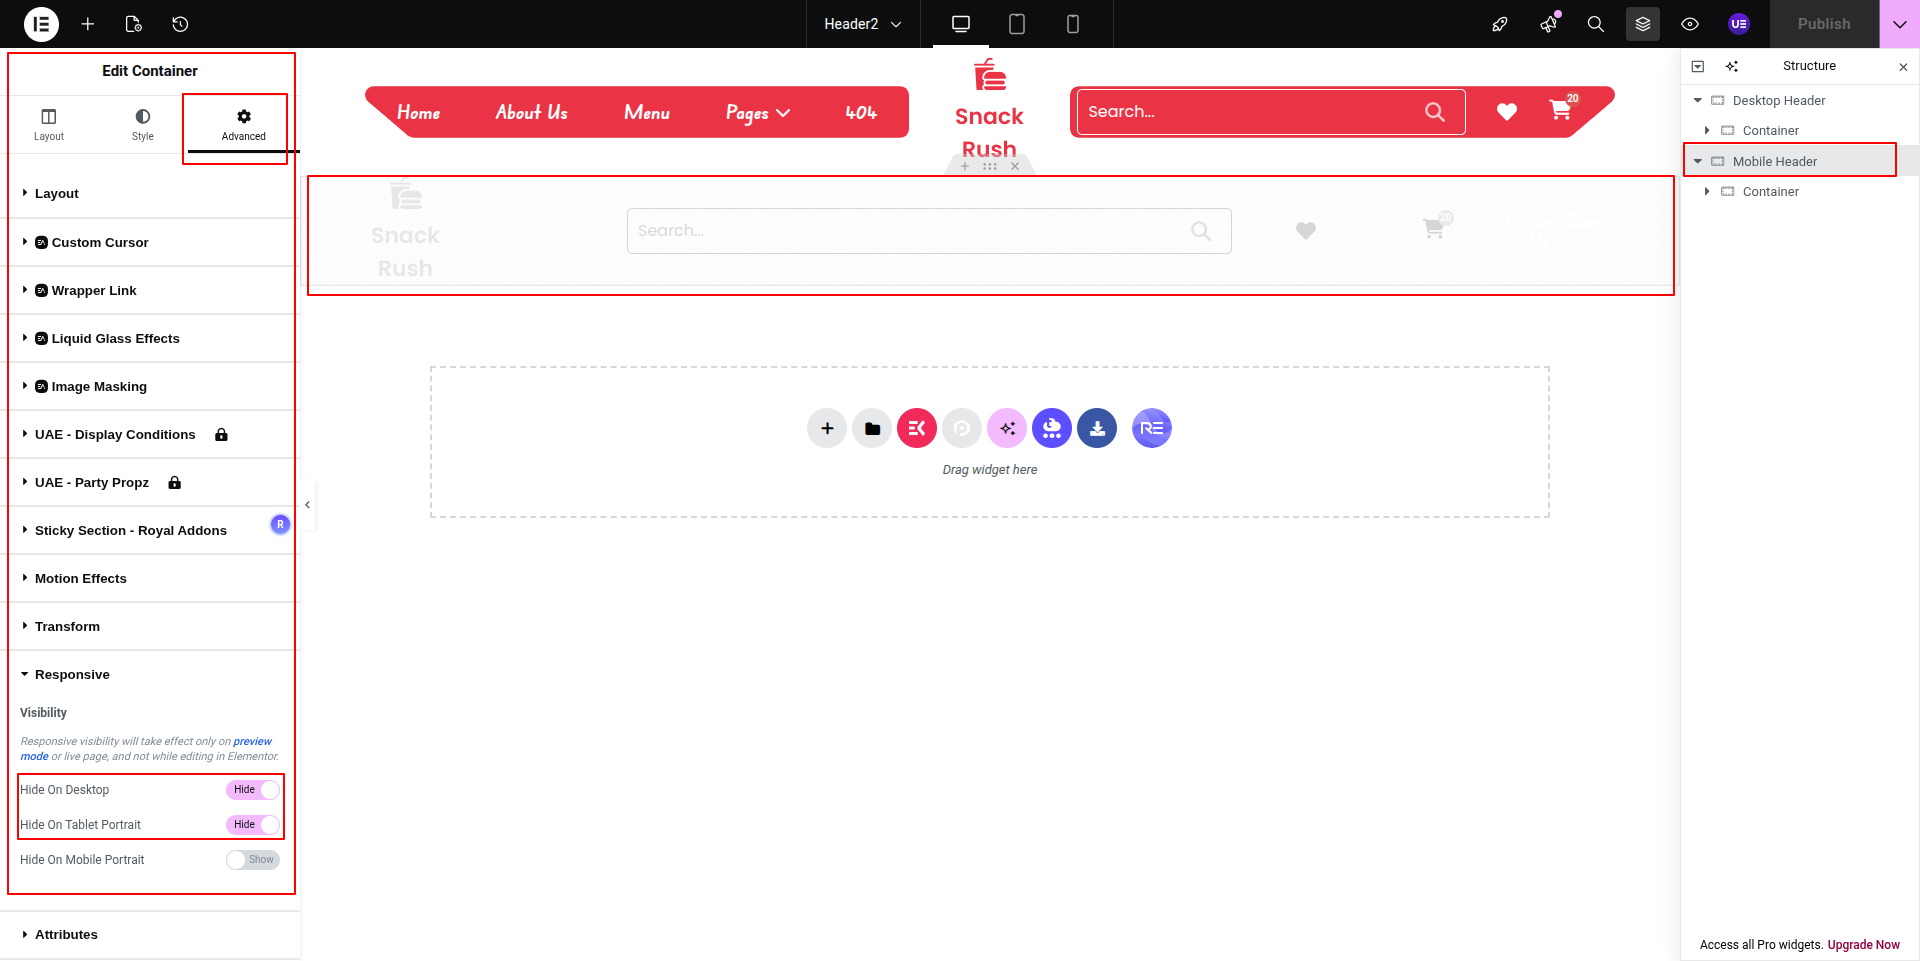
We have created two header. One for Desktop, one for Mobile.
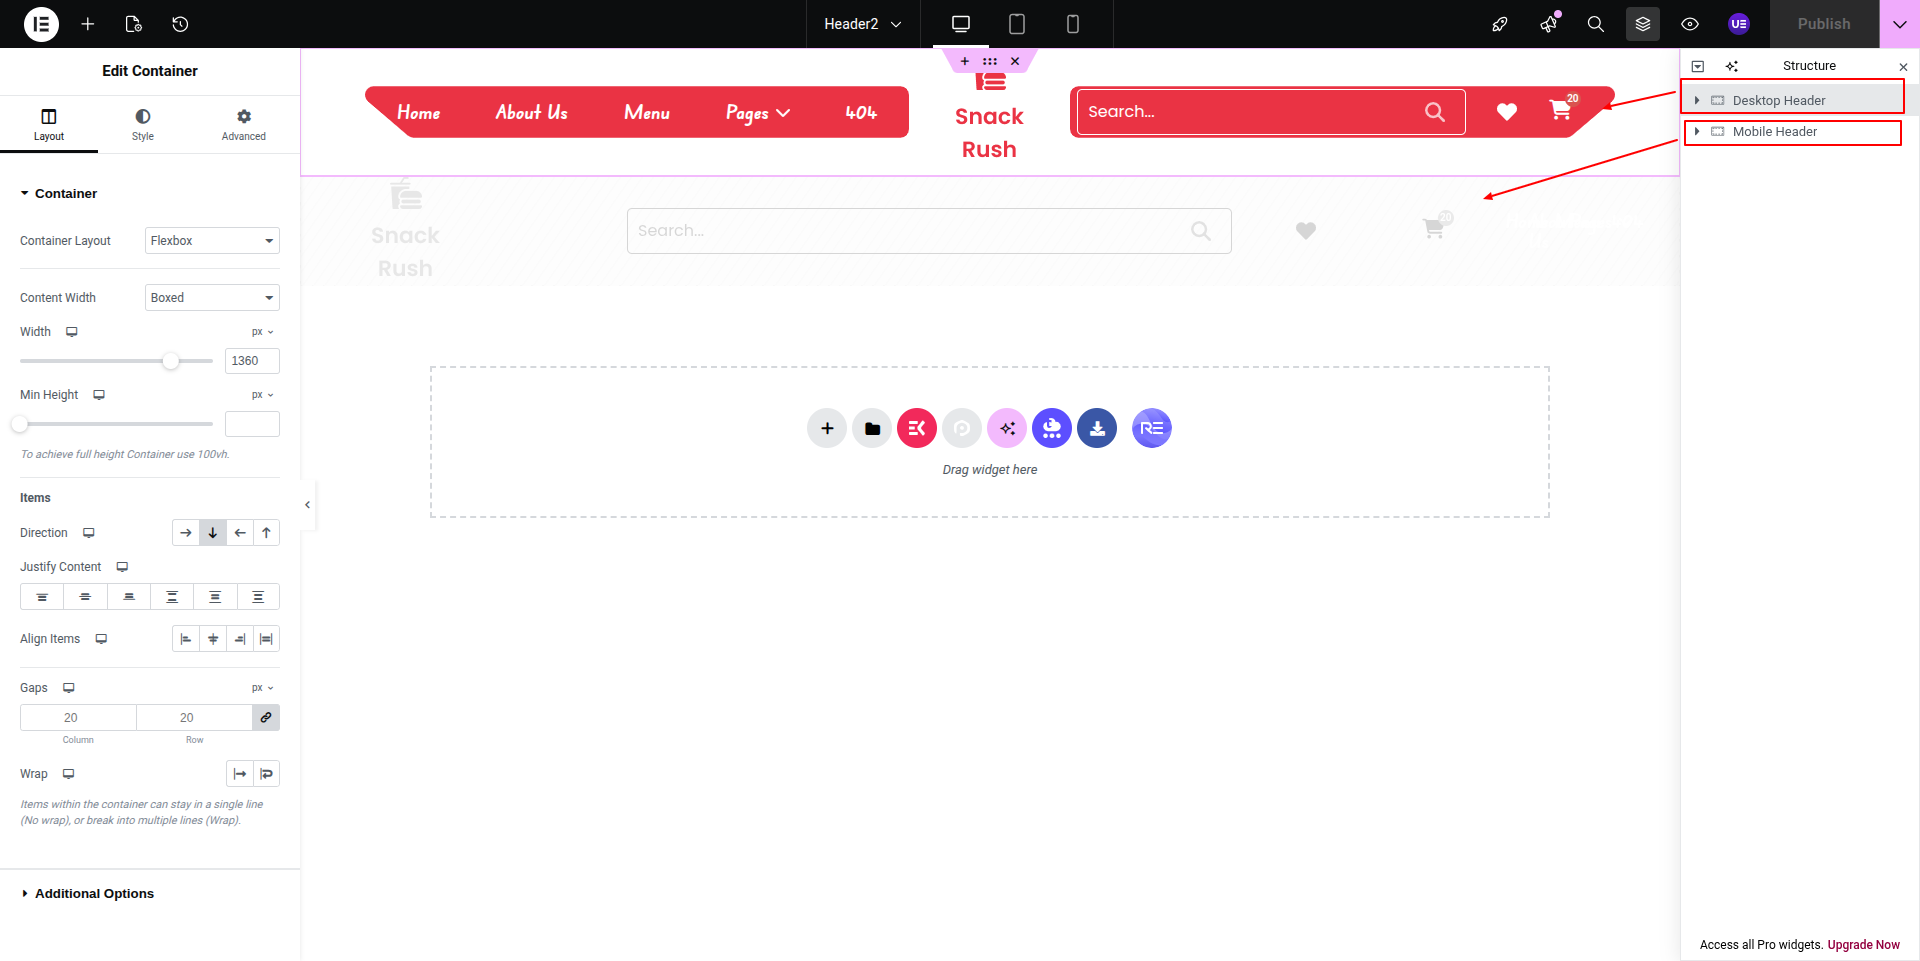
Desktop header hide for Mobile. Show on Desktop & Tablet
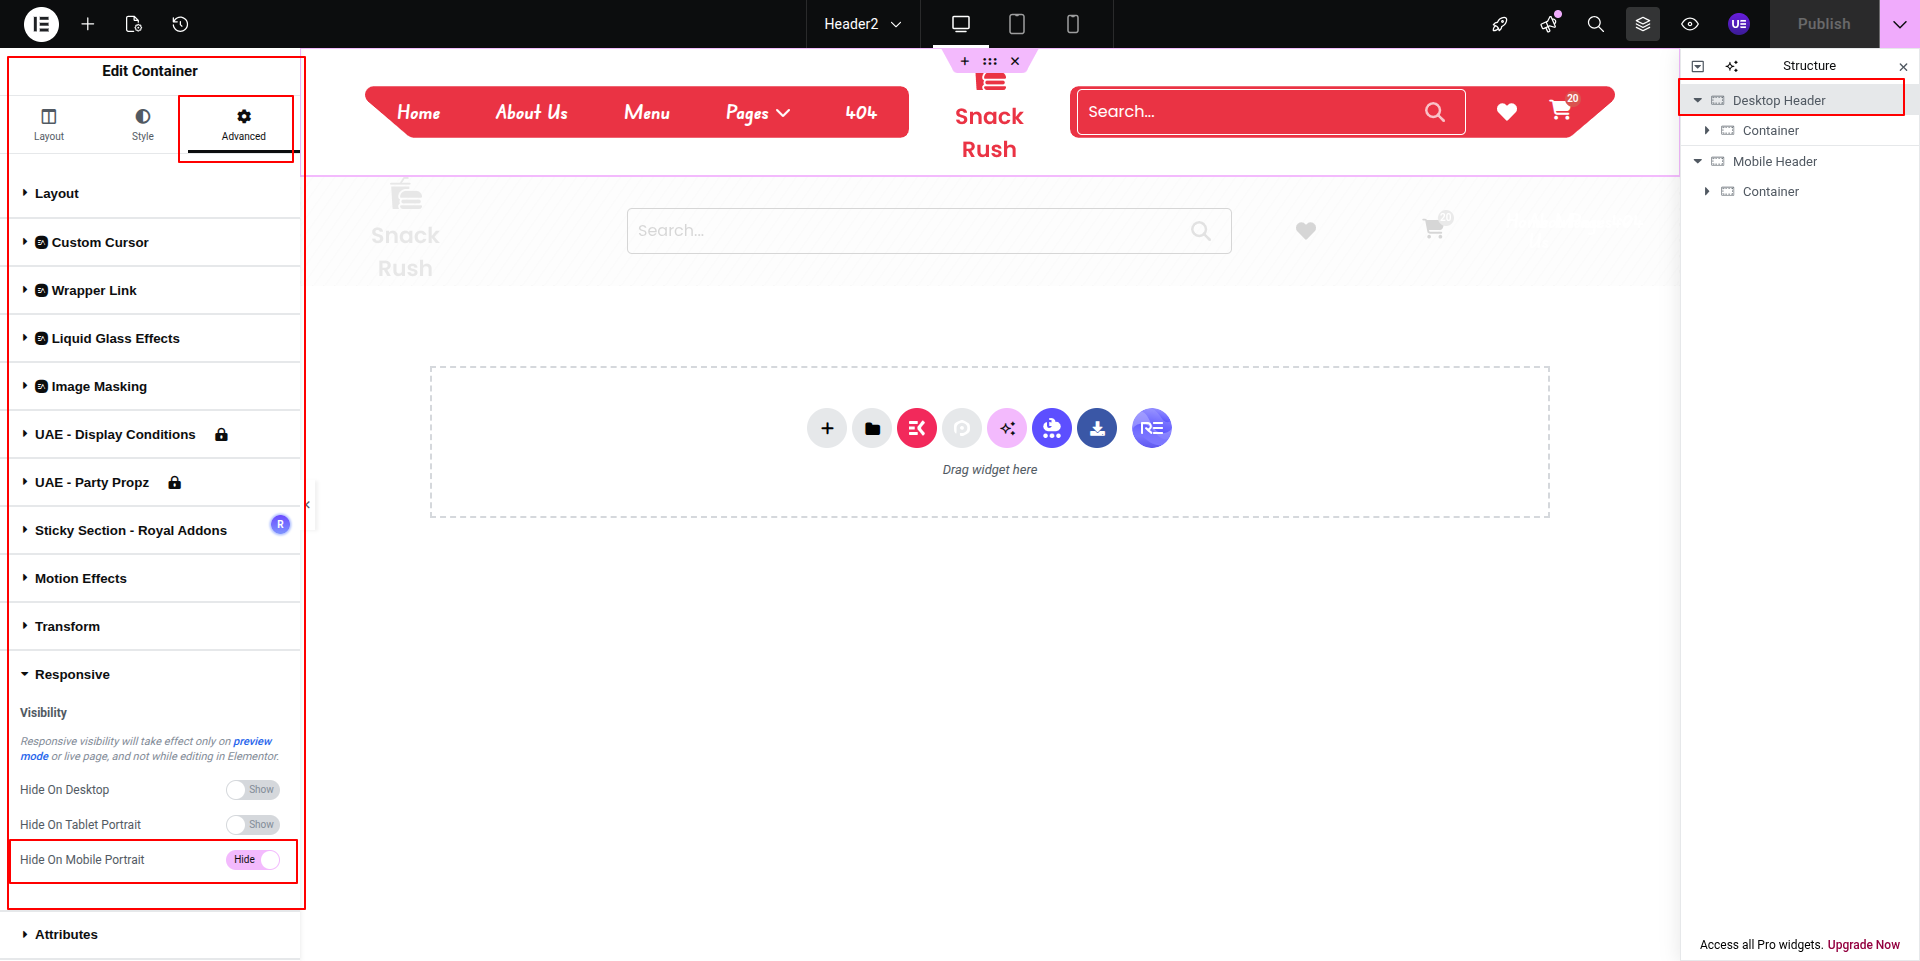
Mobile header hide for Desktop & Tablet. Show on Mobile
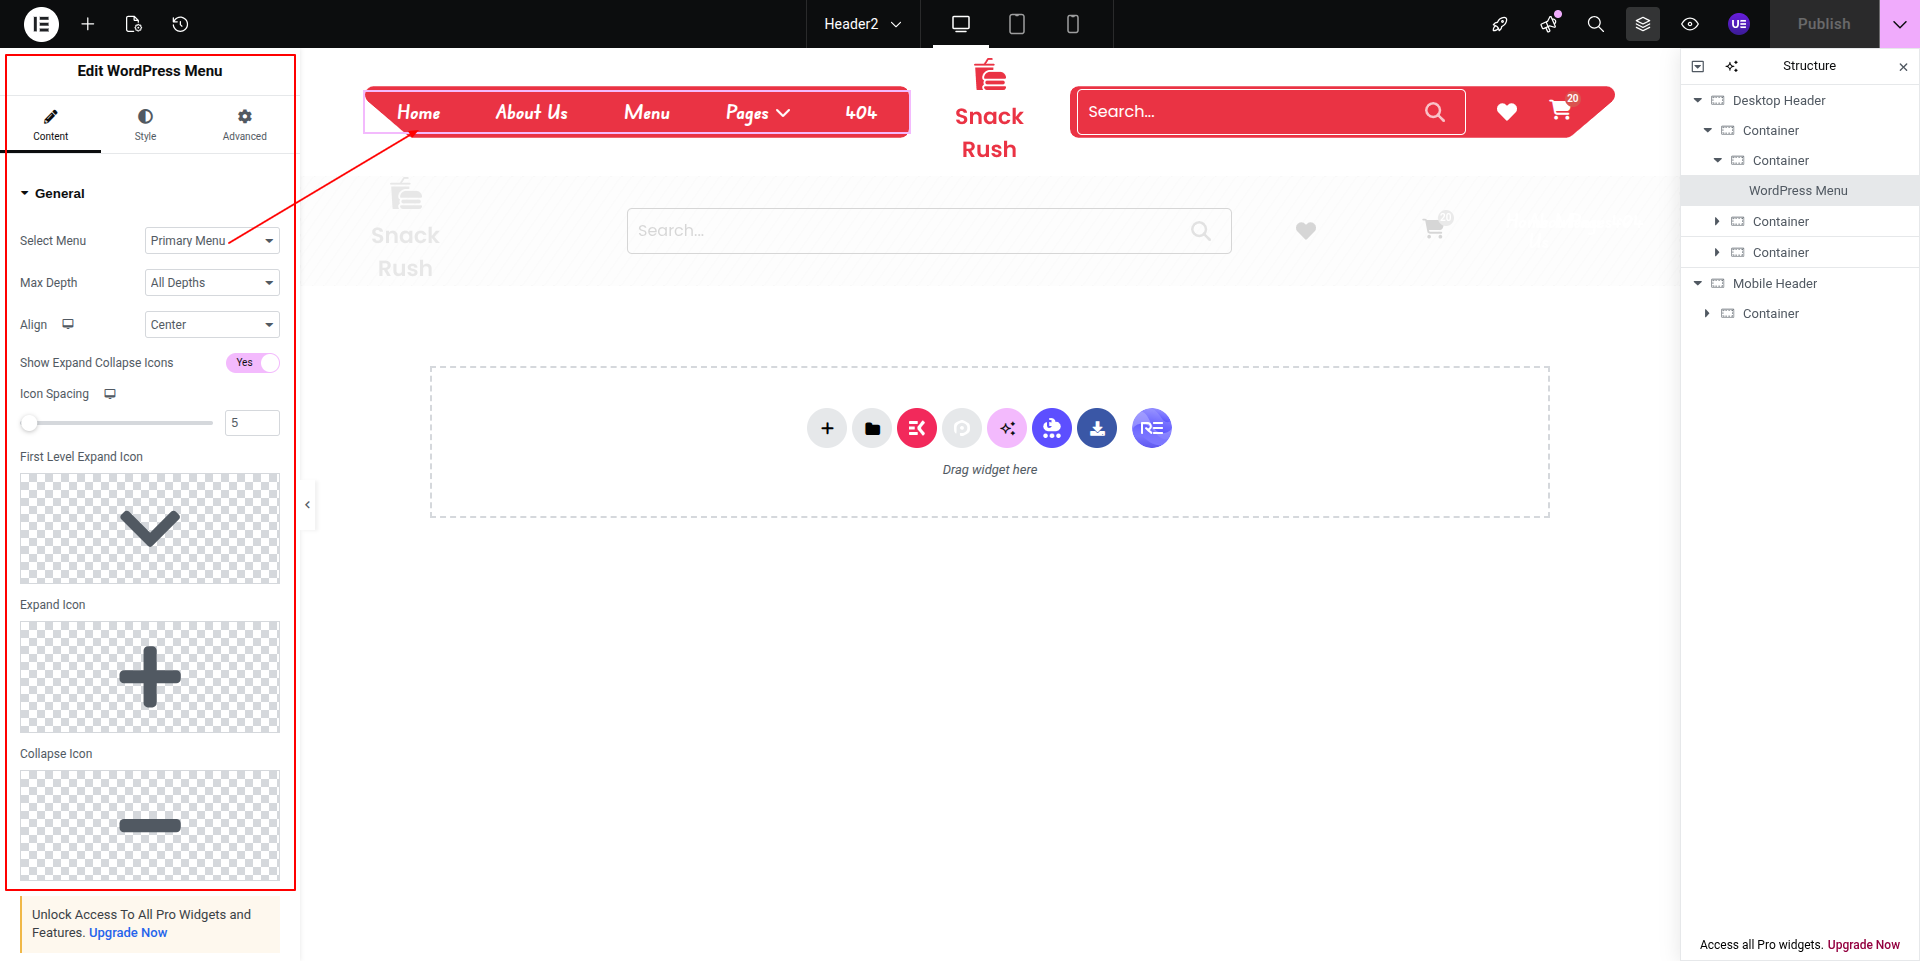
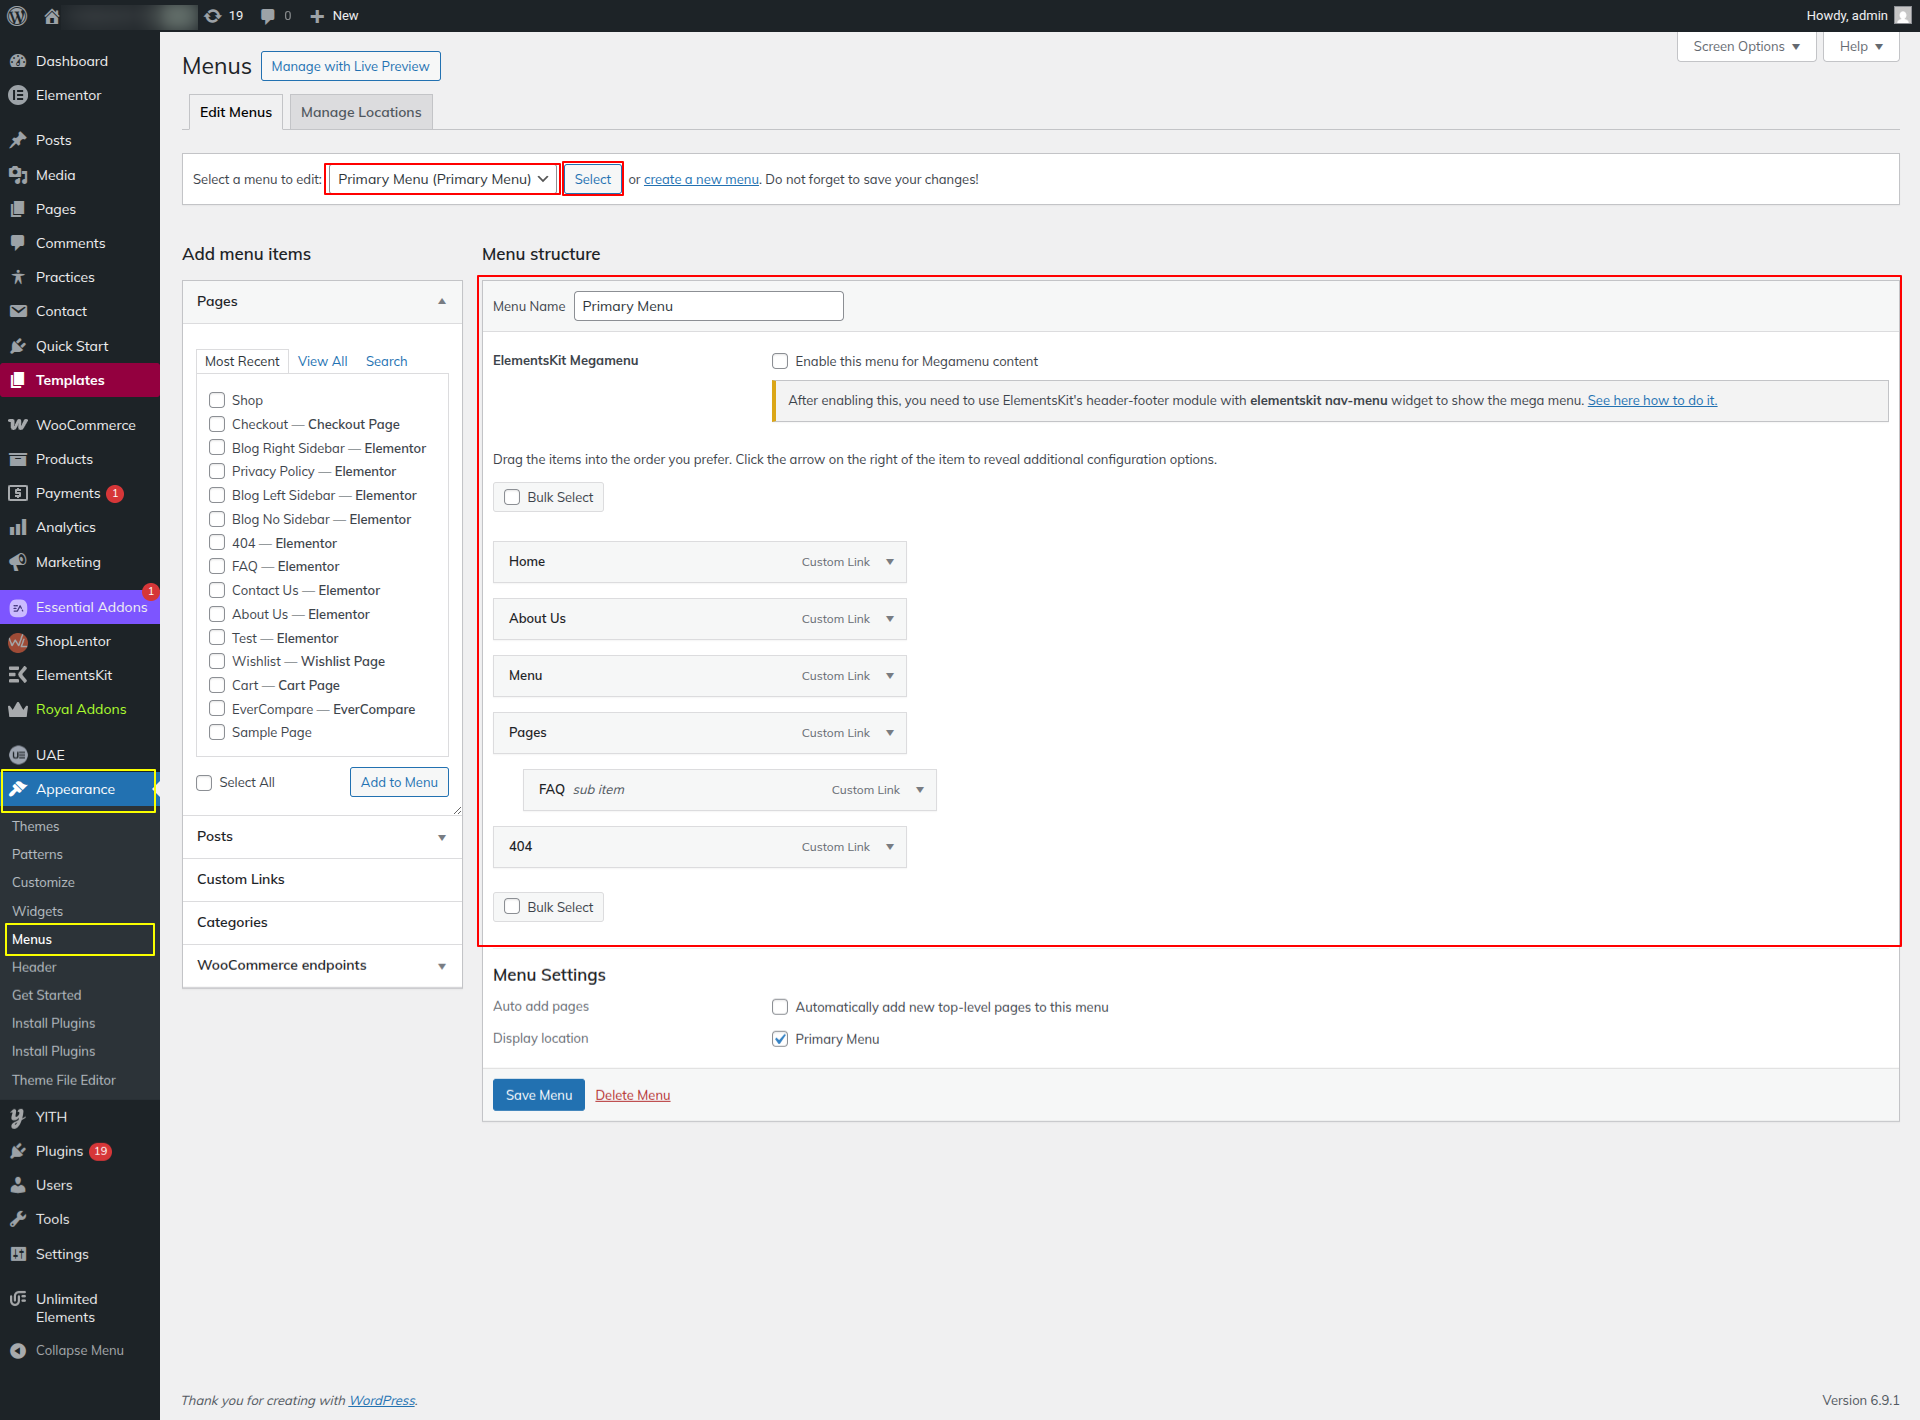
Menus comes from dashboard. Here you can see.
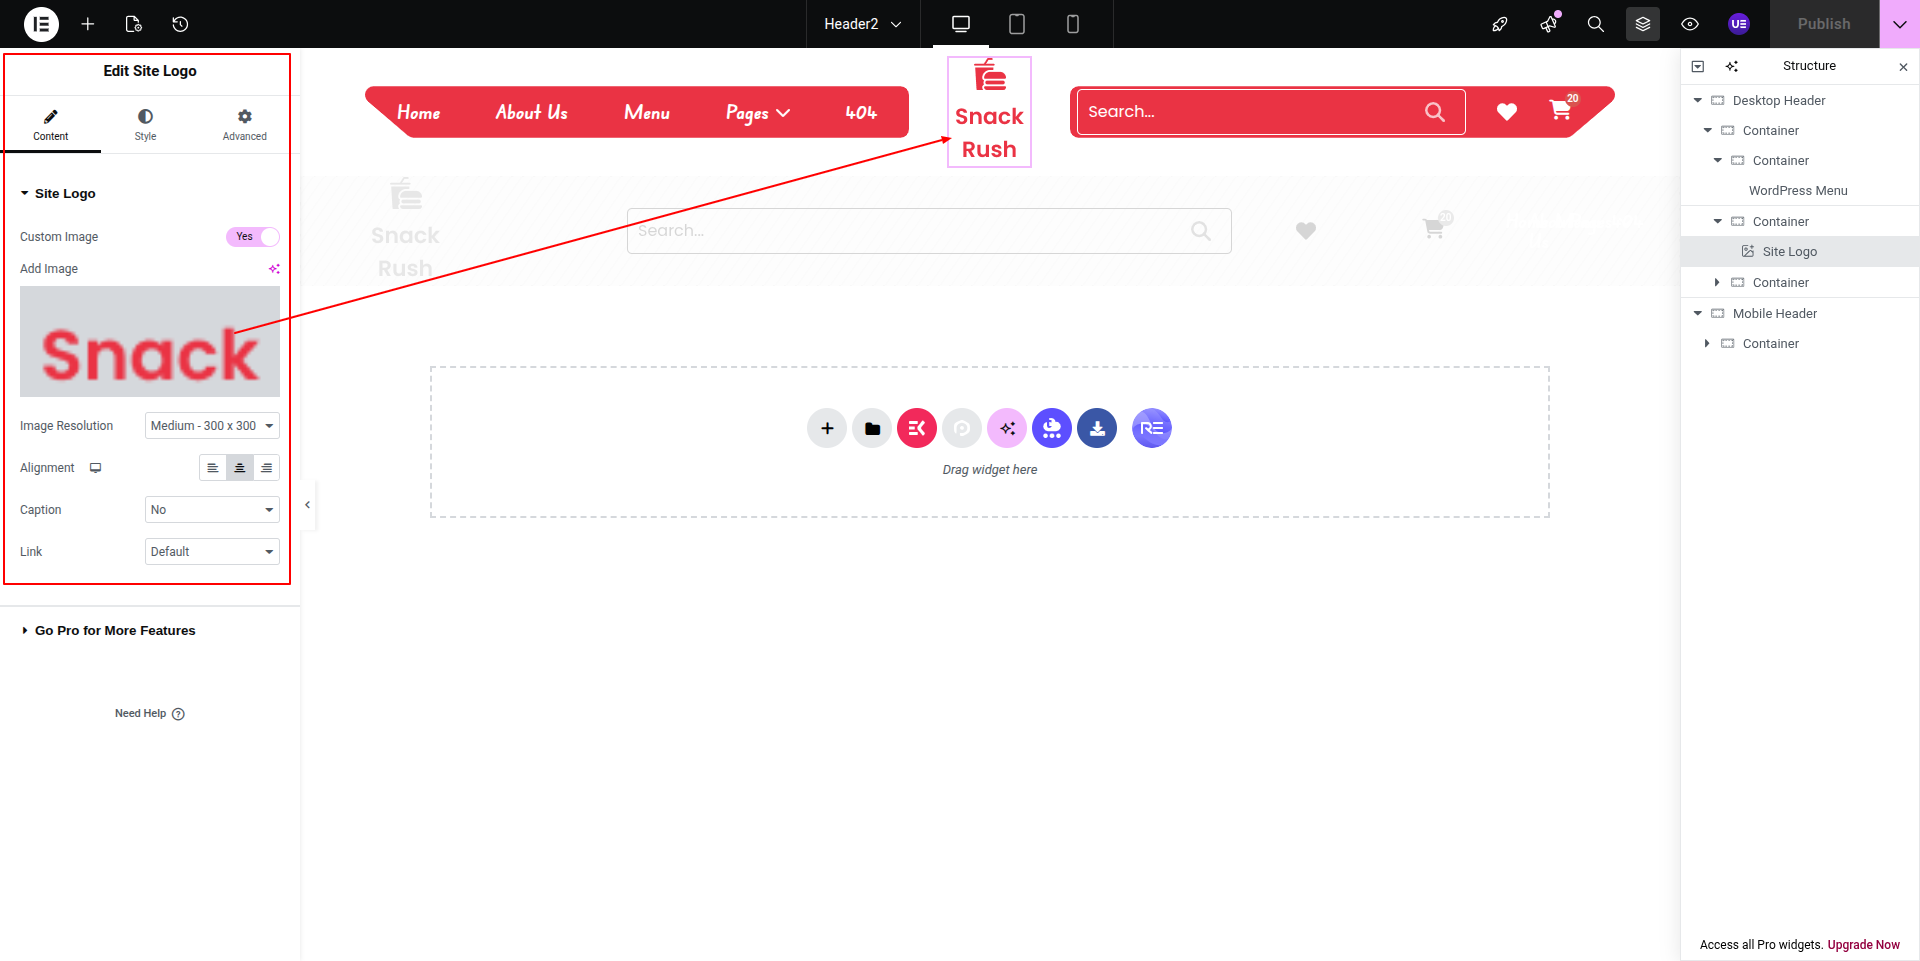
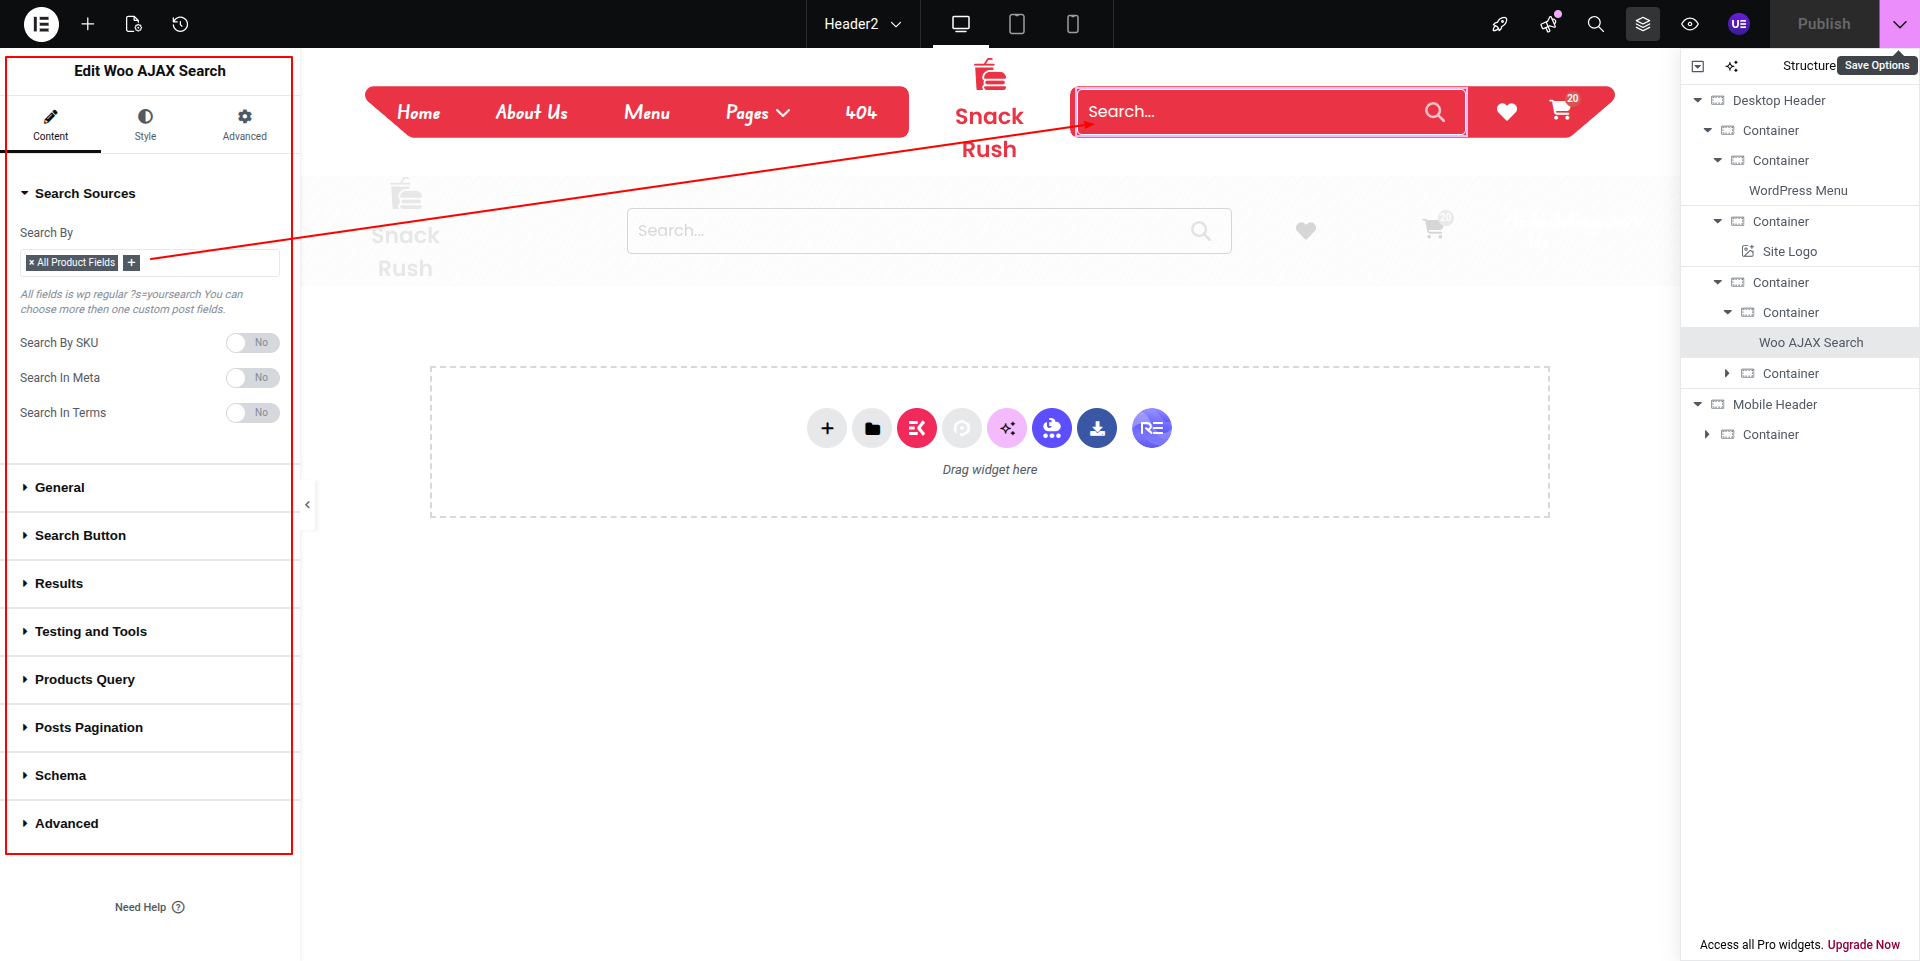
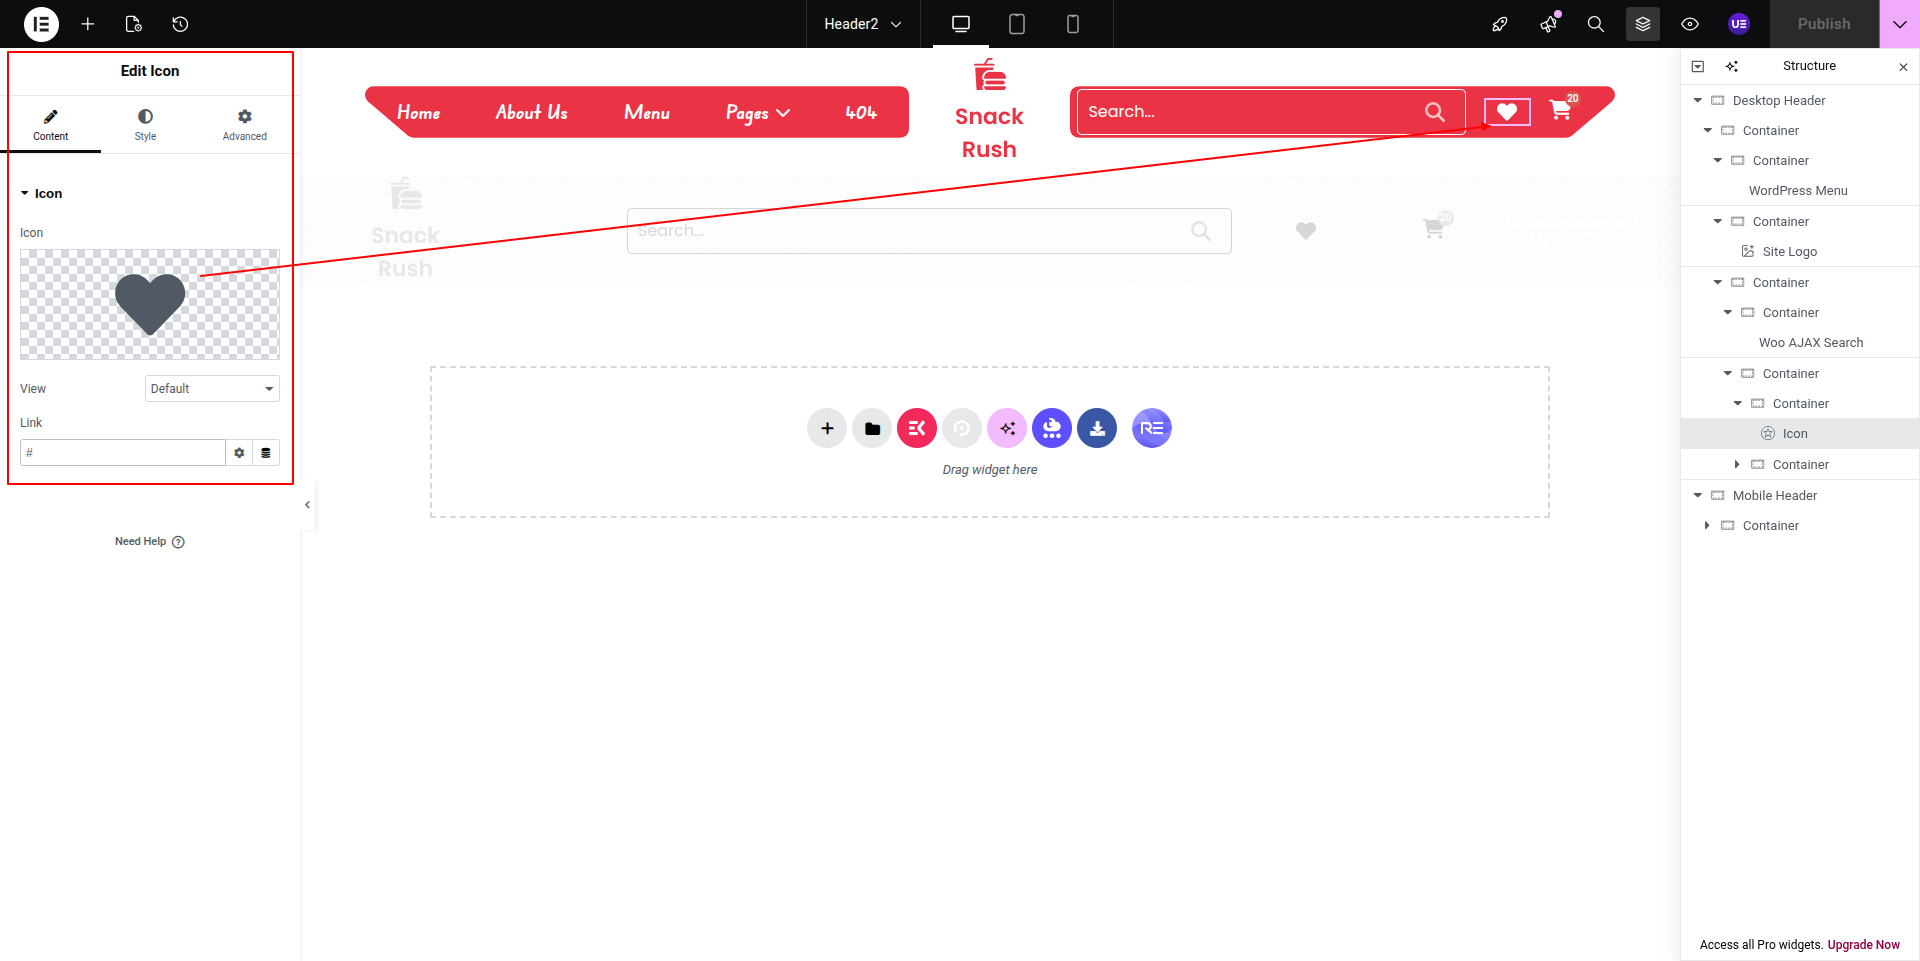
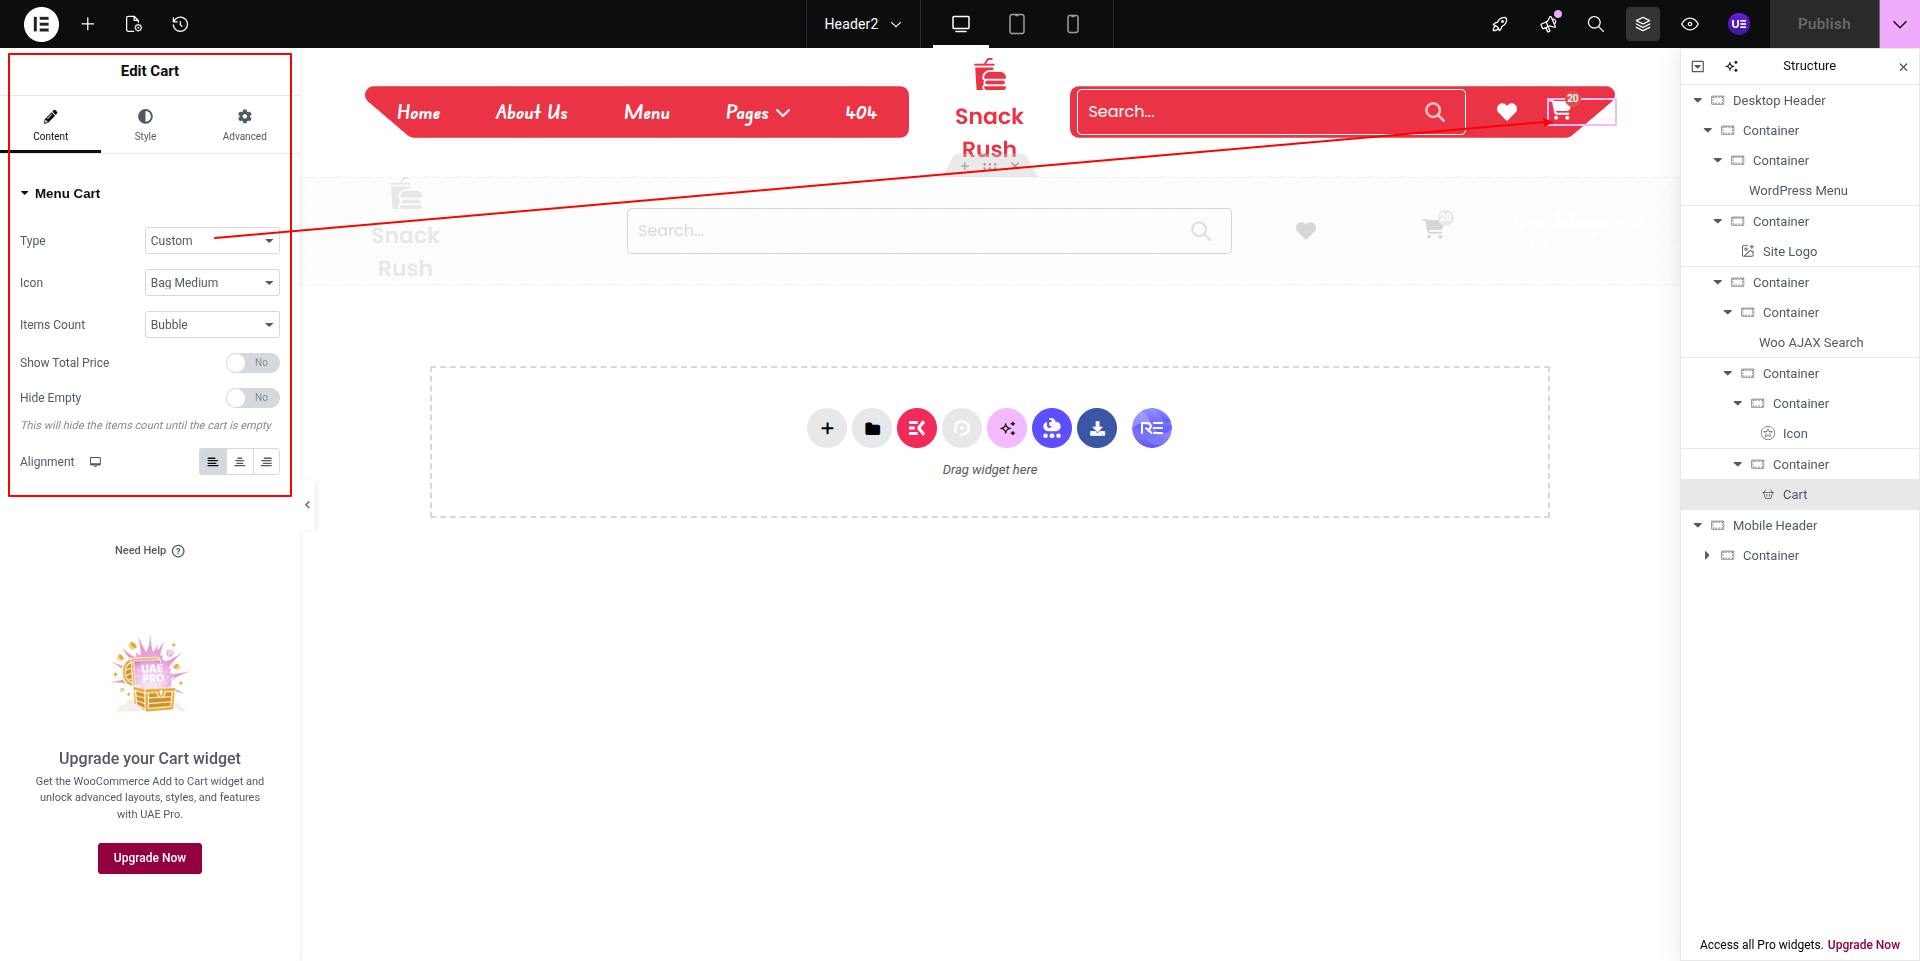
This is final image of header.

4.2 Top Banner Section
To proceed Top Banner Section
To Edit this Section, Click On the "Edit With Elementor" Button which will open the Elementor Widget editor.
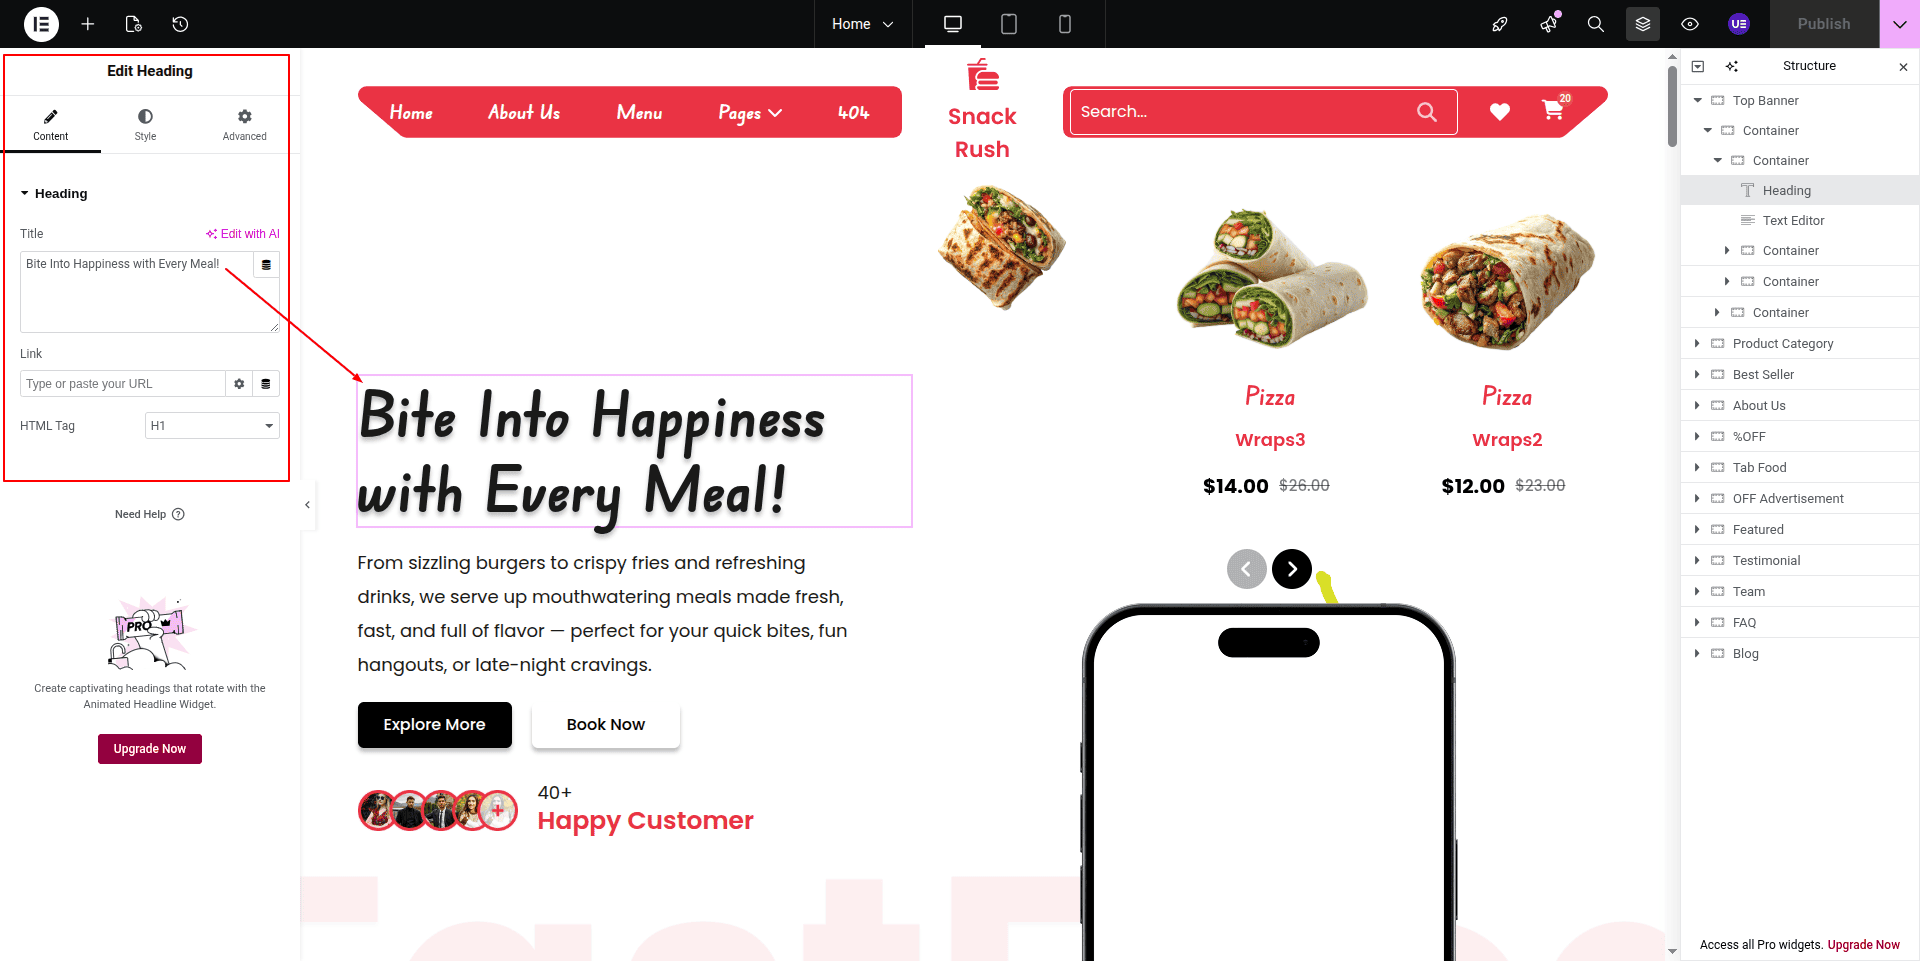
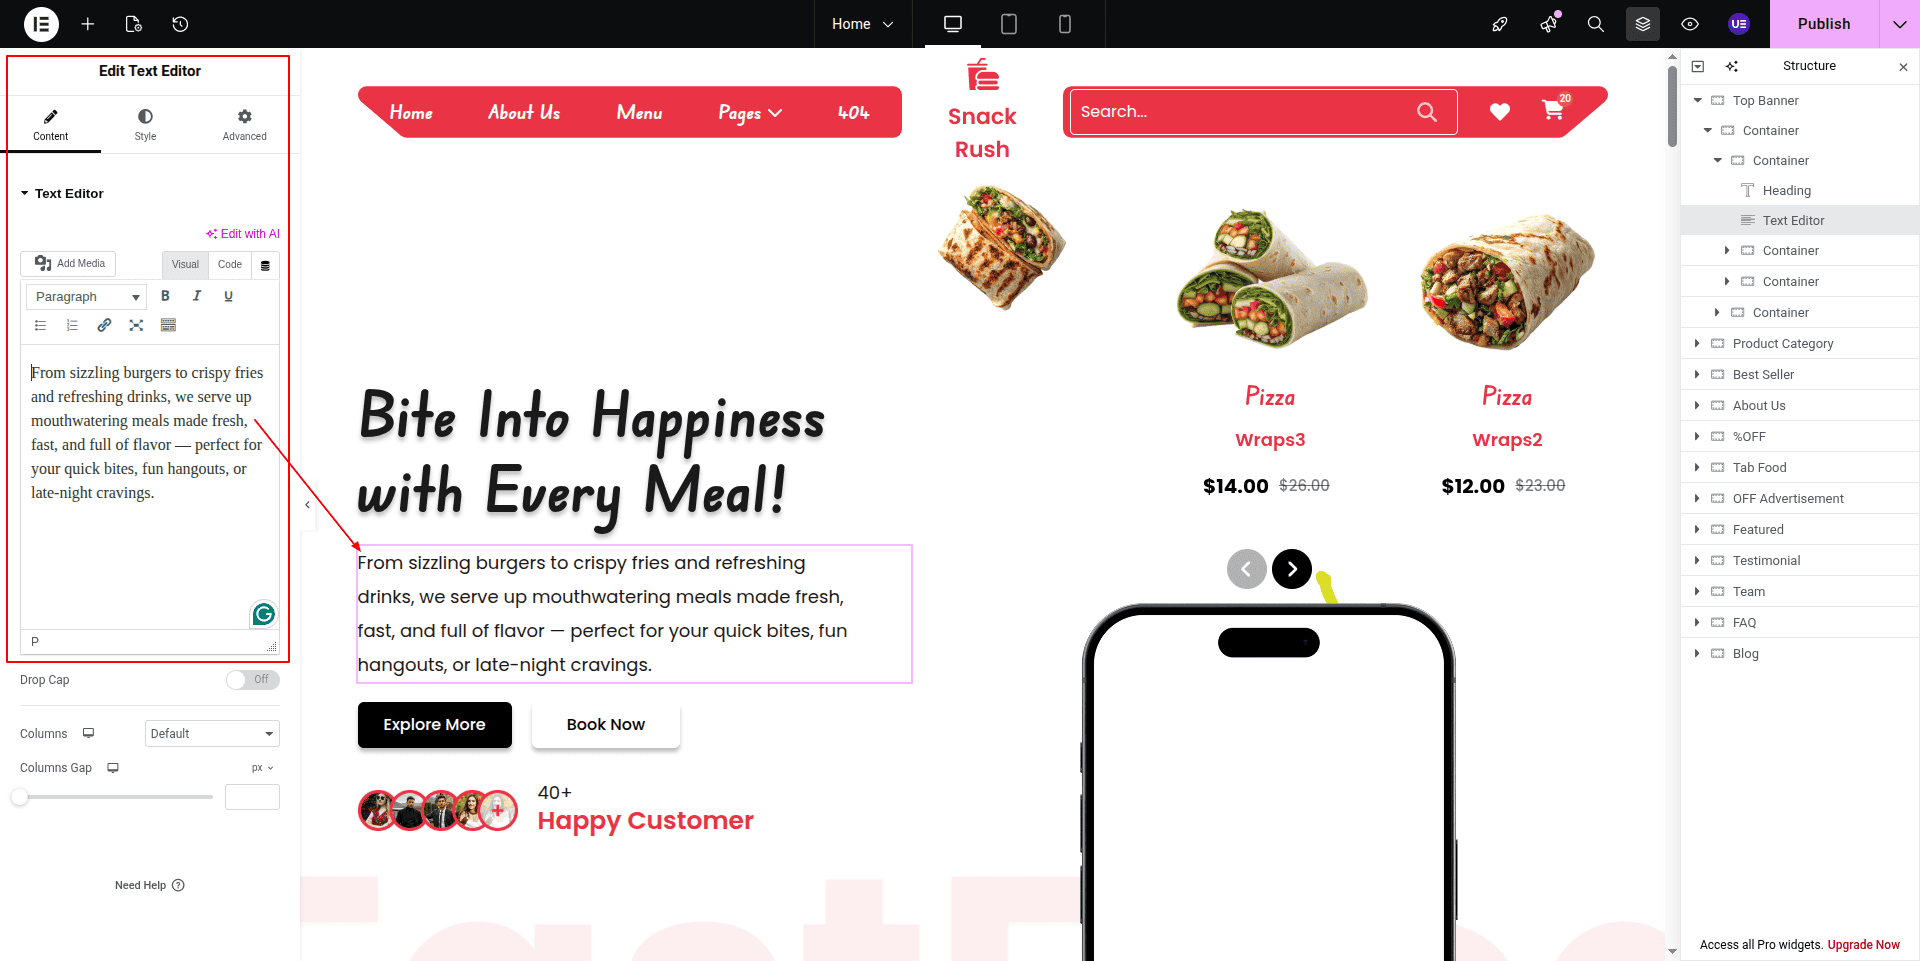
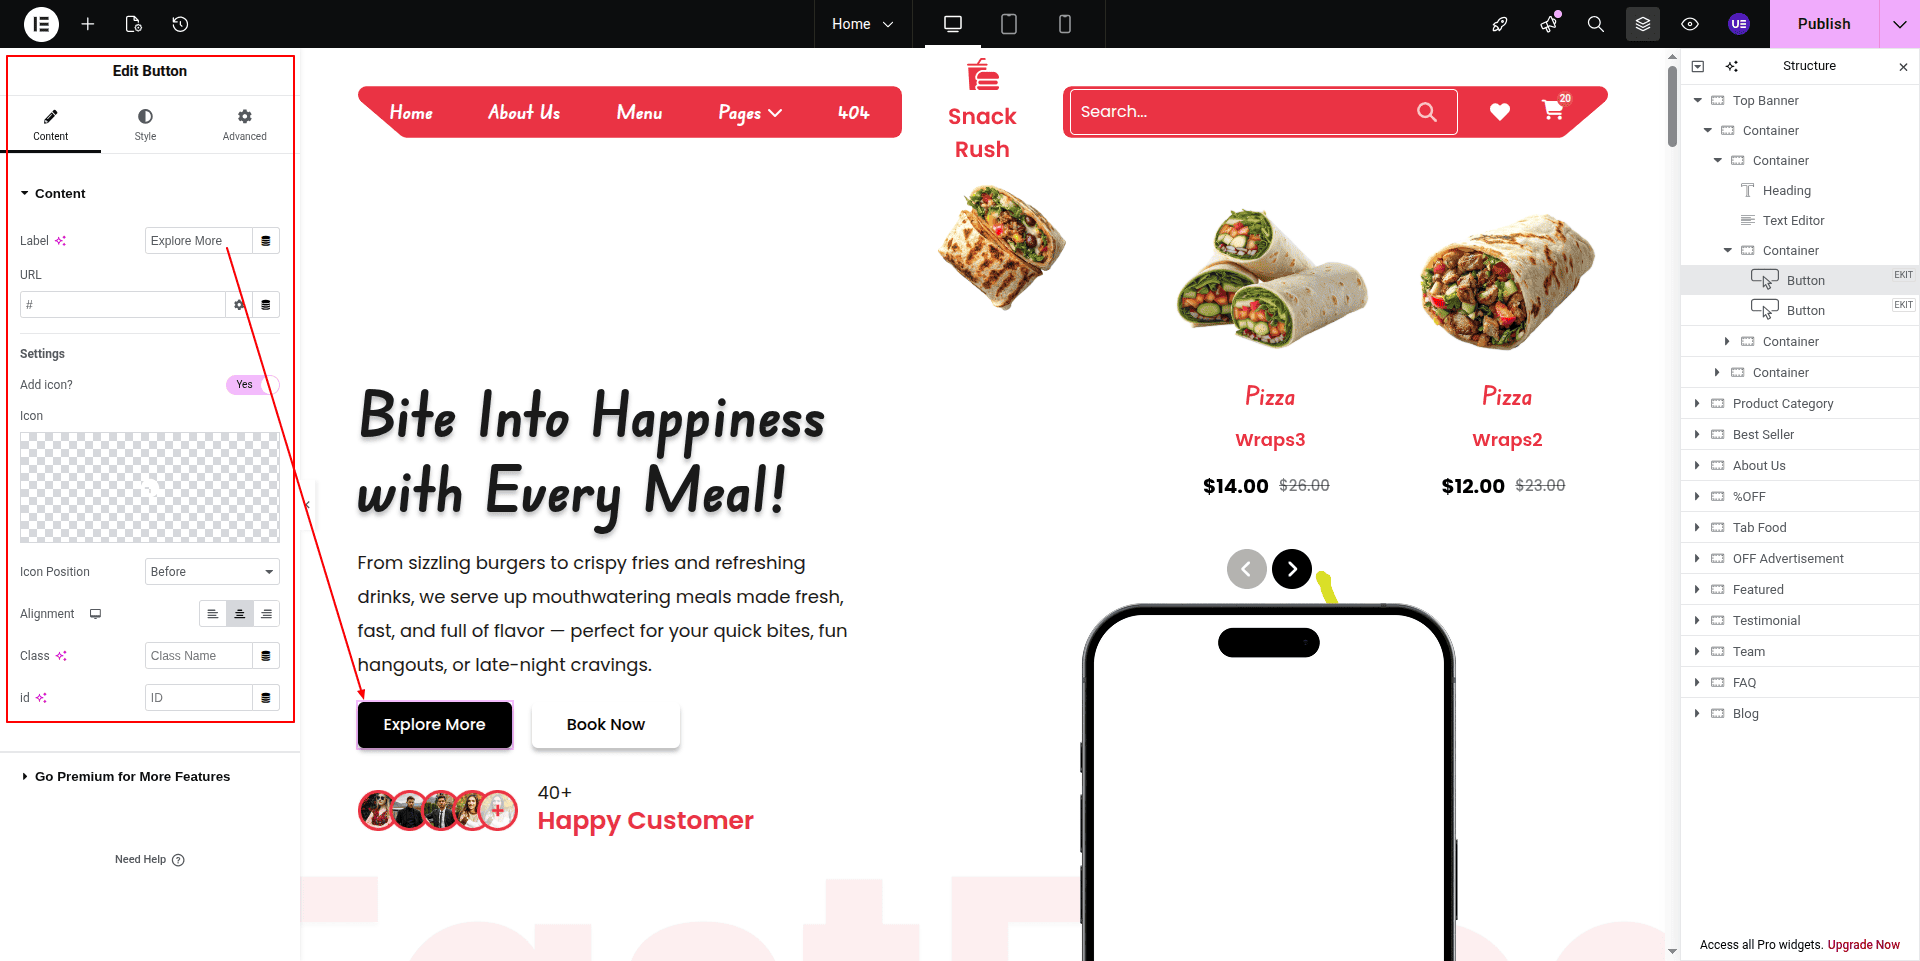
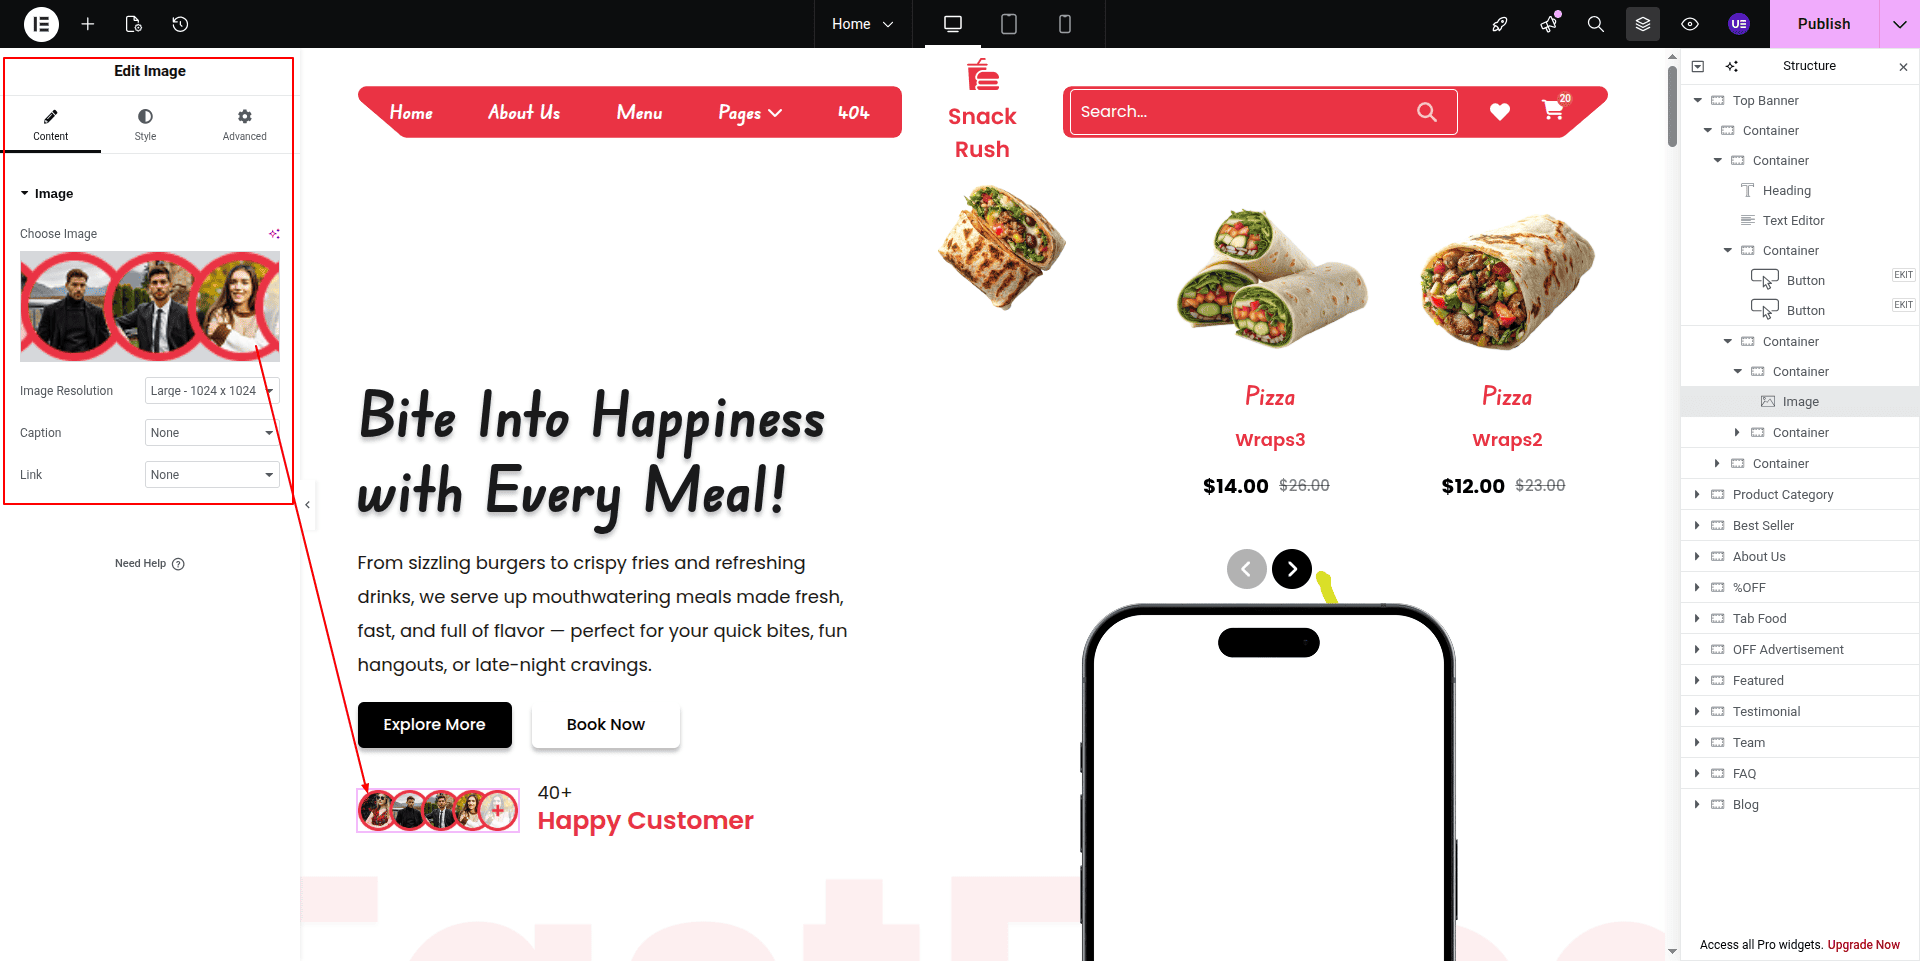
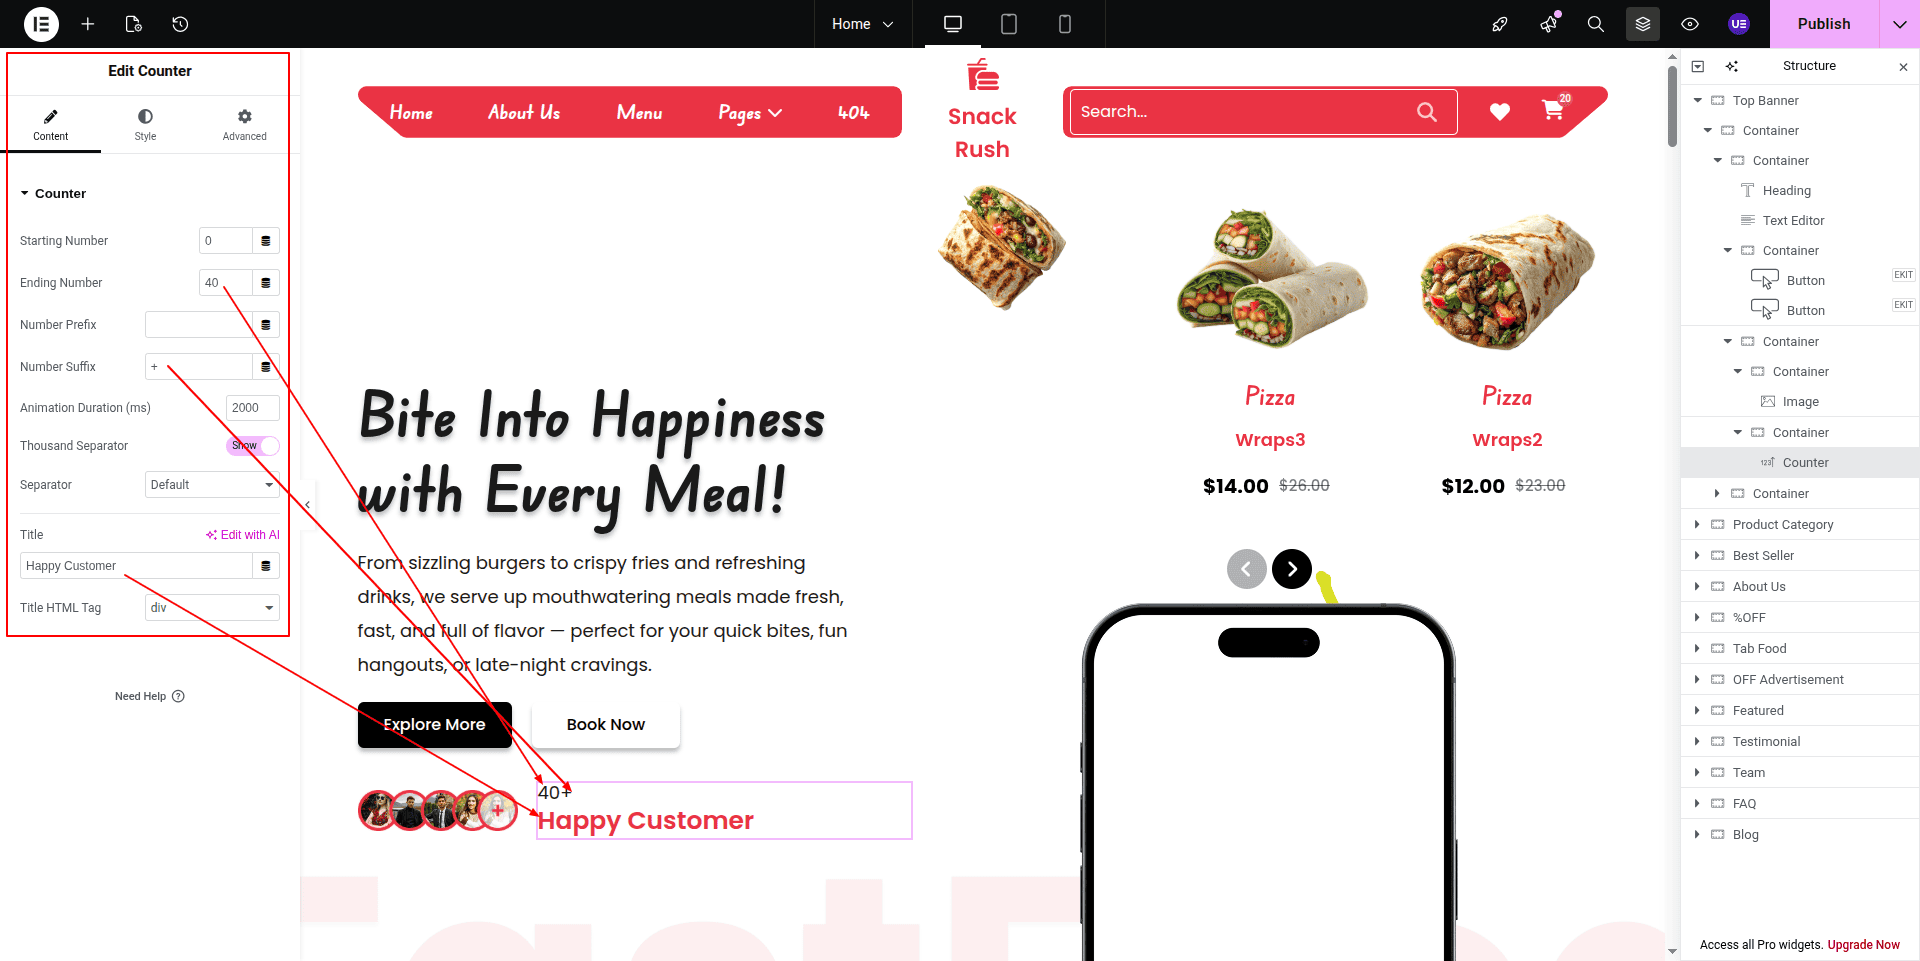
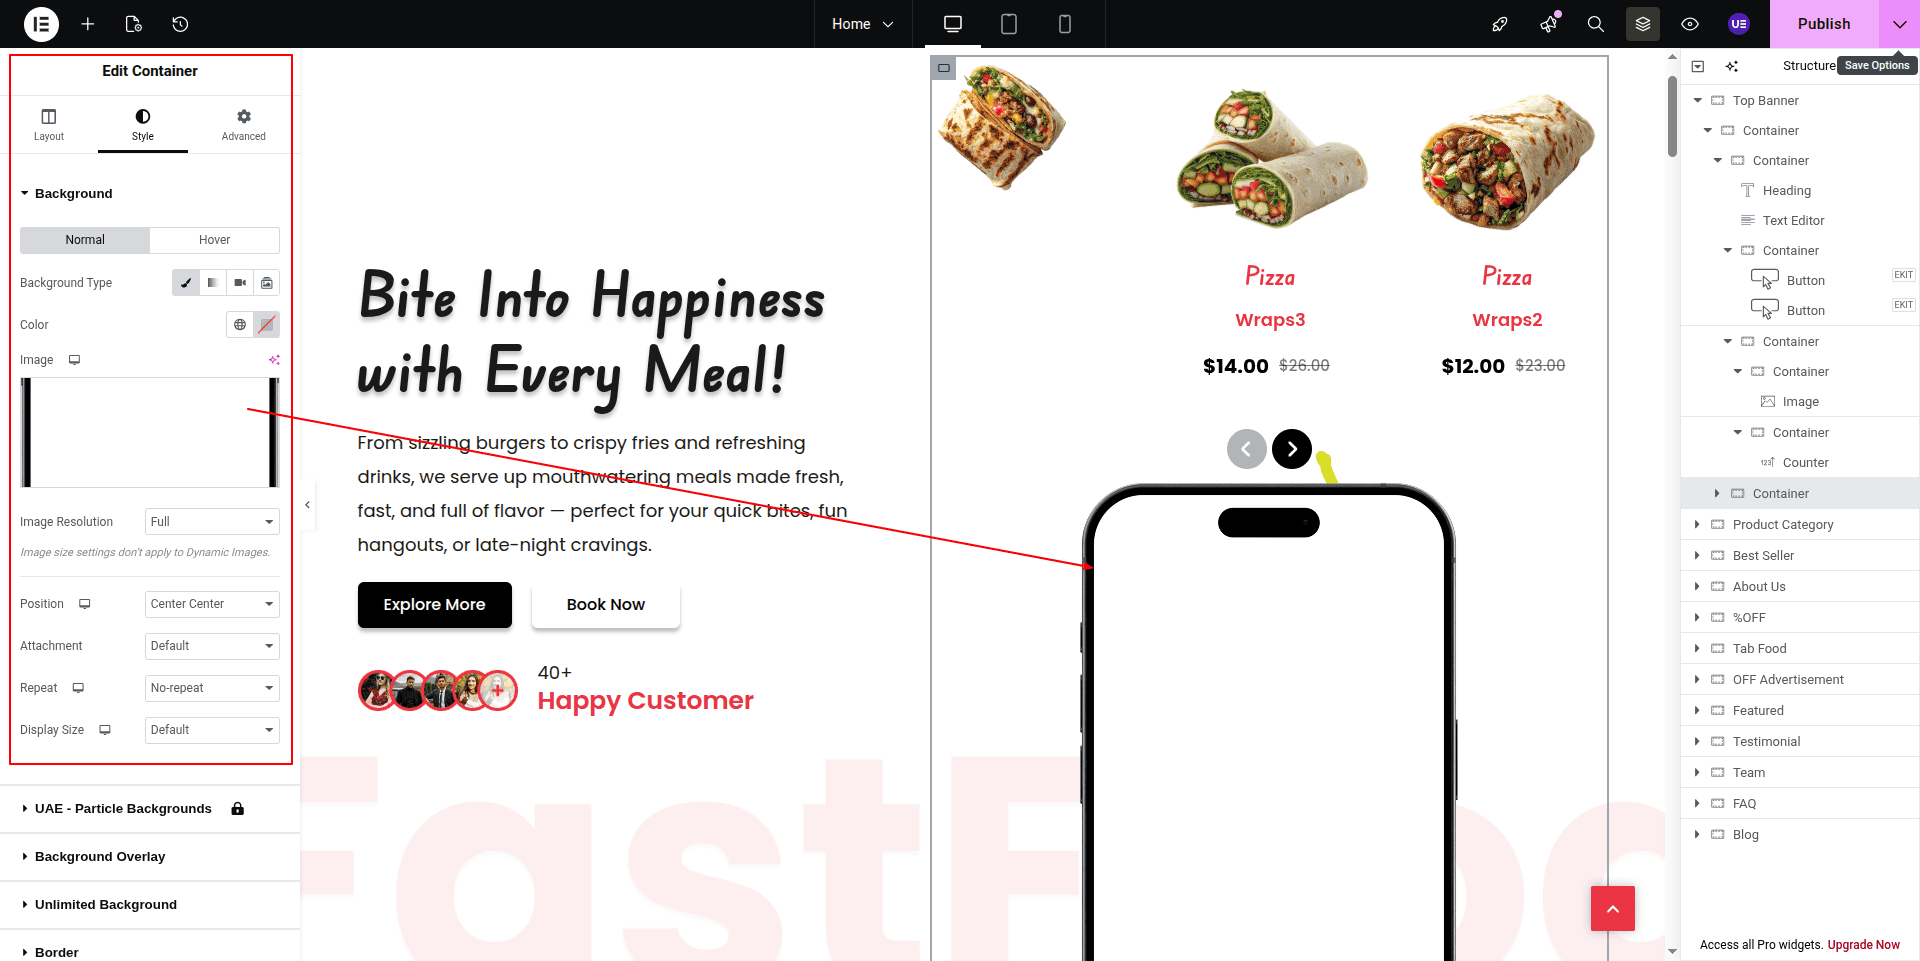
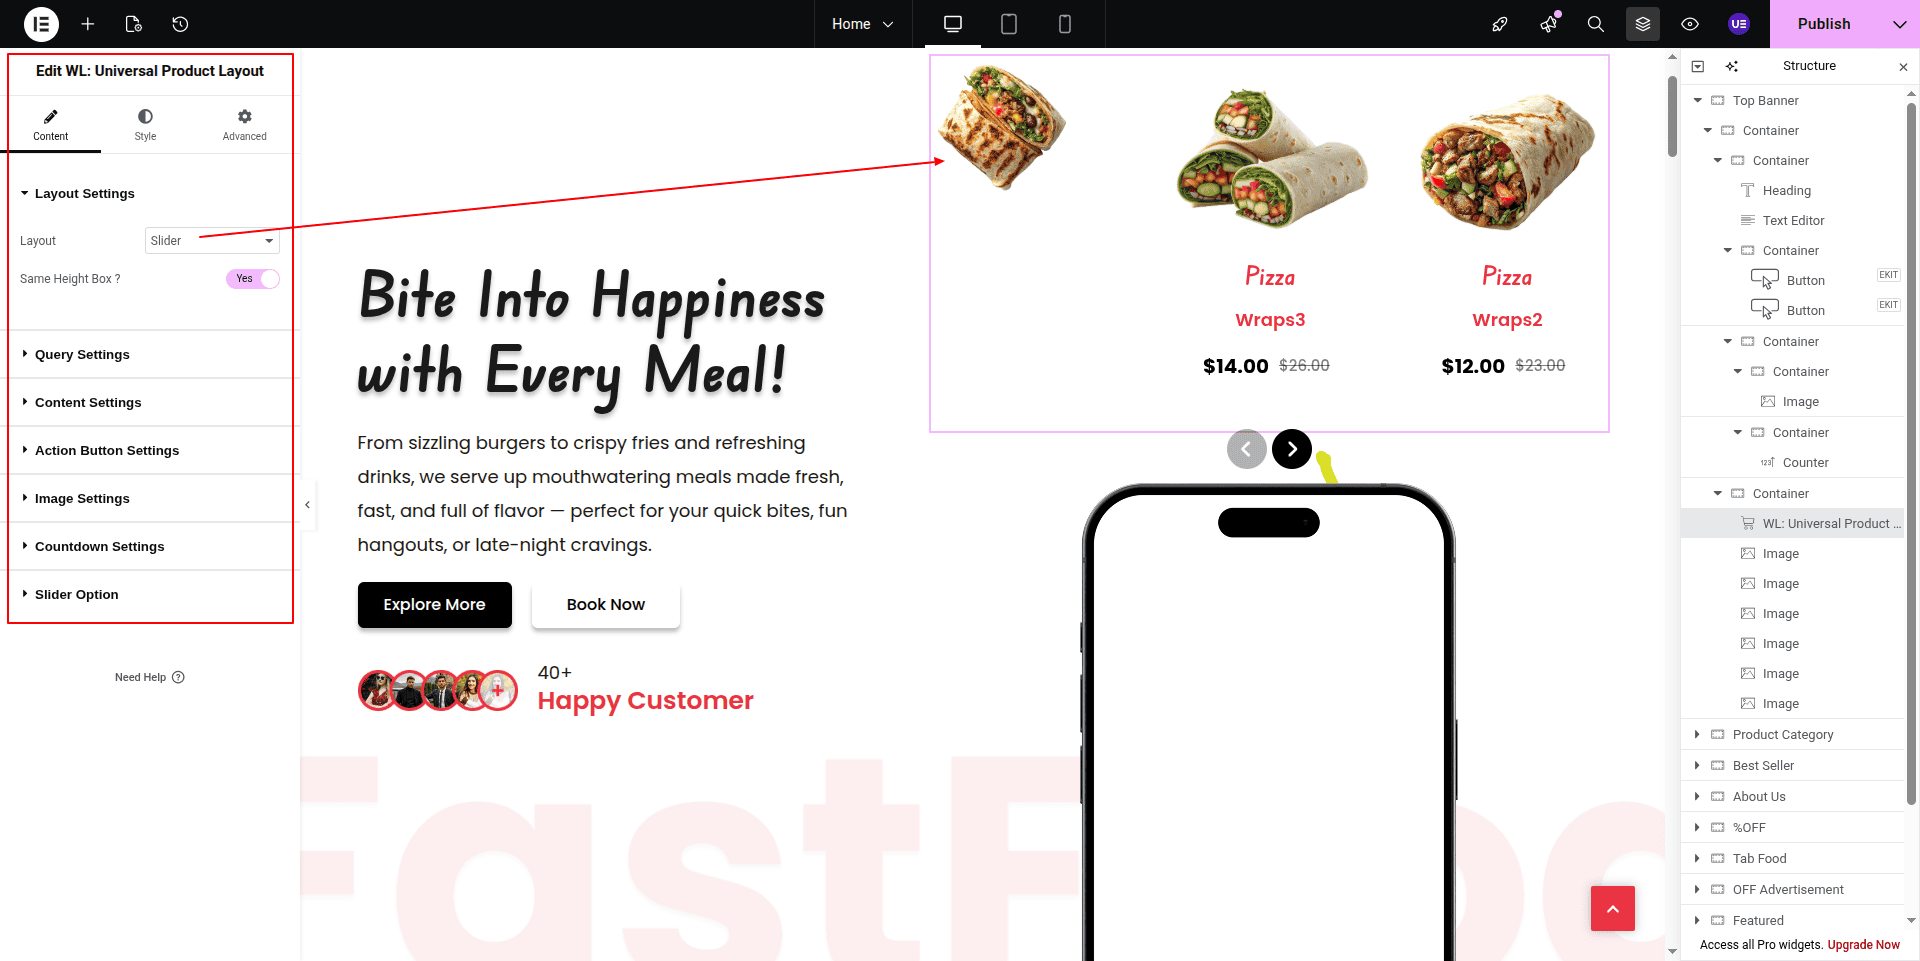
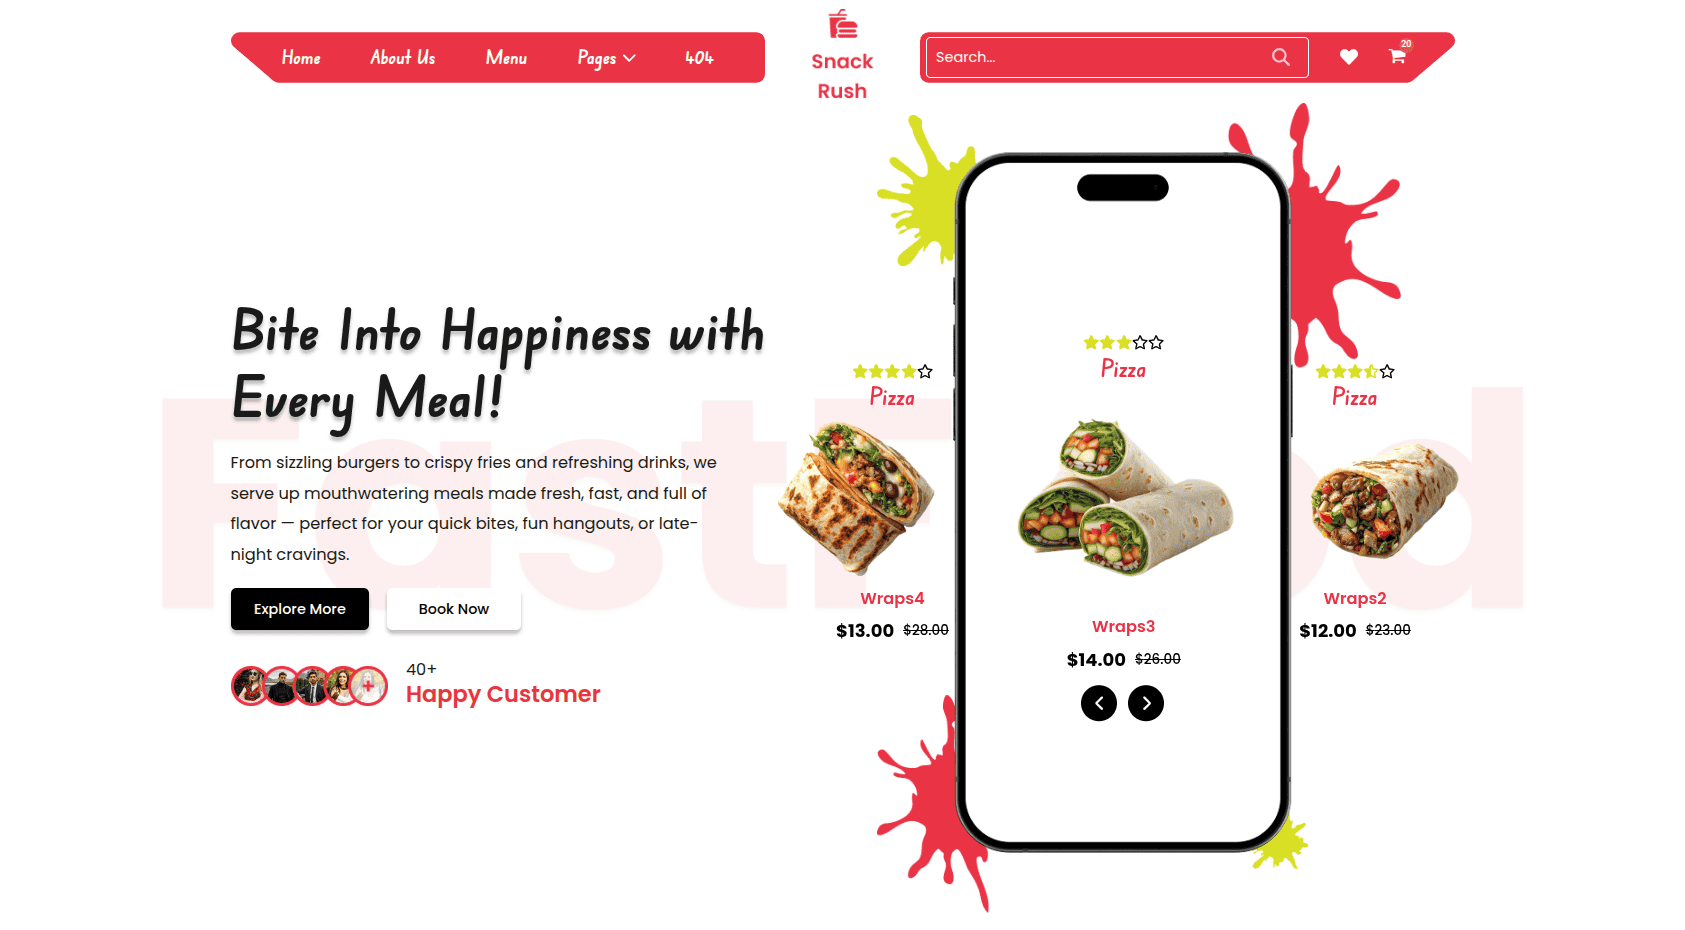
This is the final image of the Top Banner section.
4.3 Product Category Section
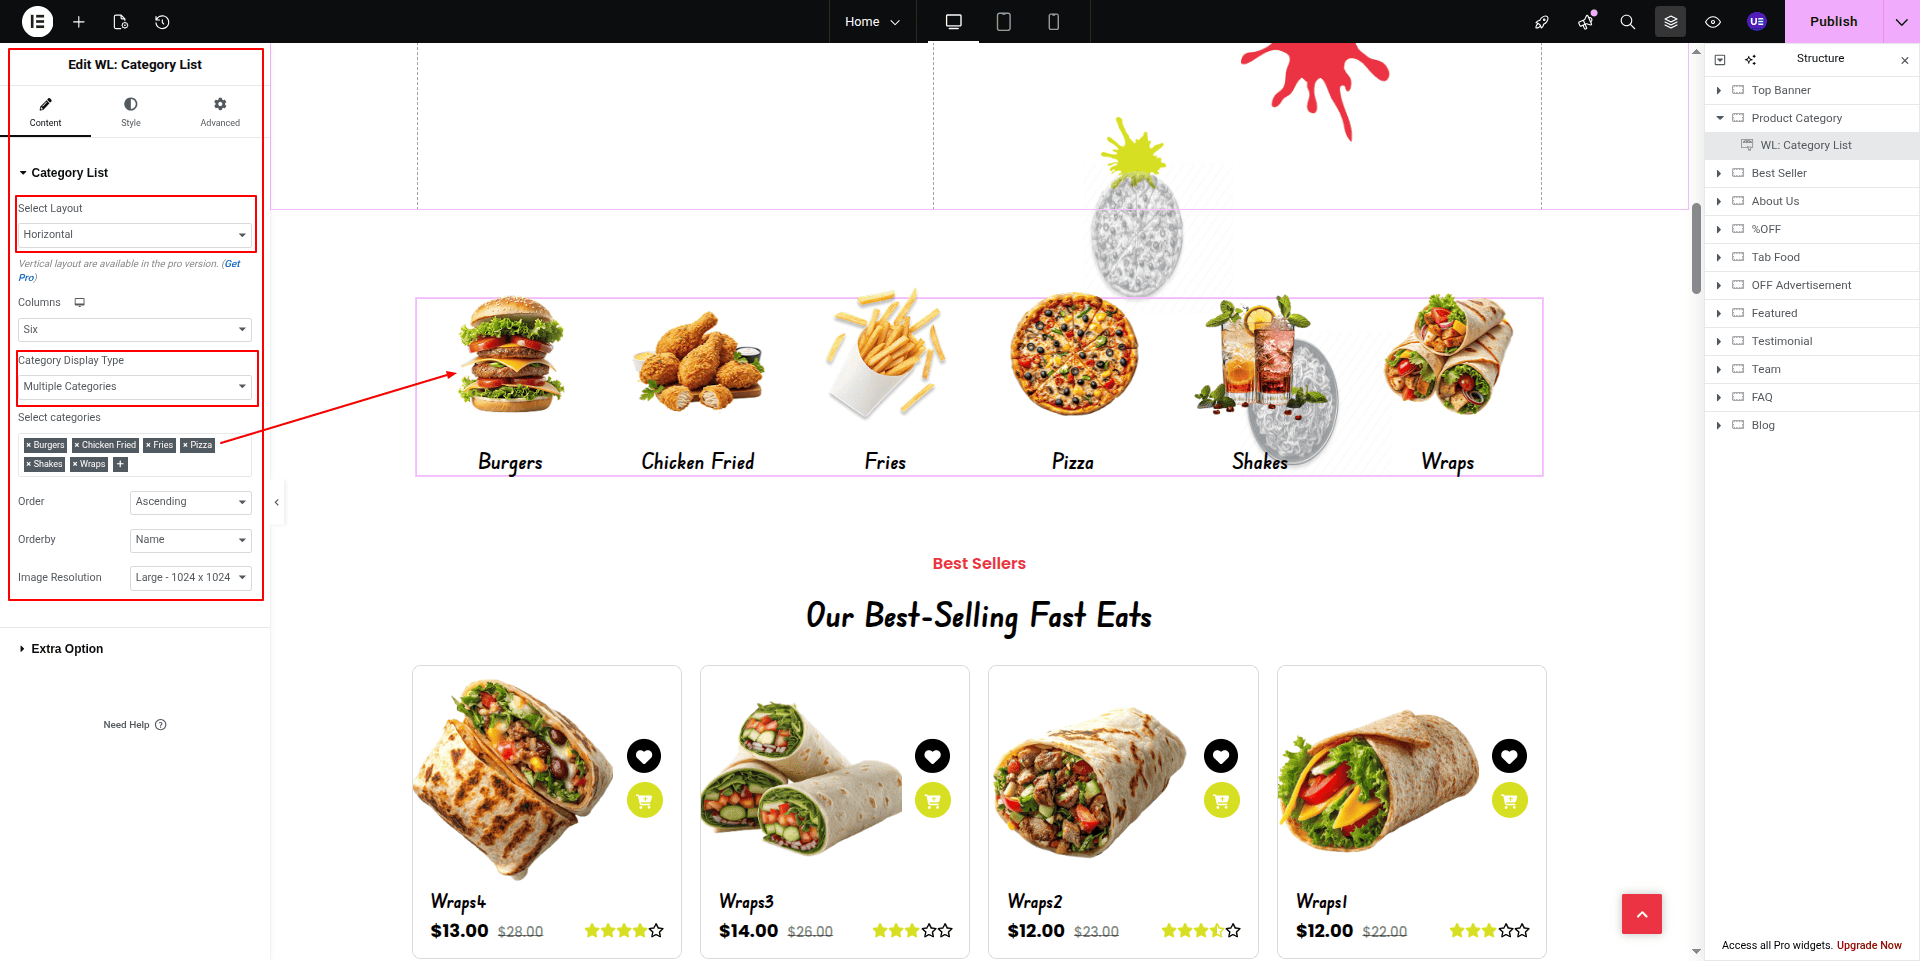
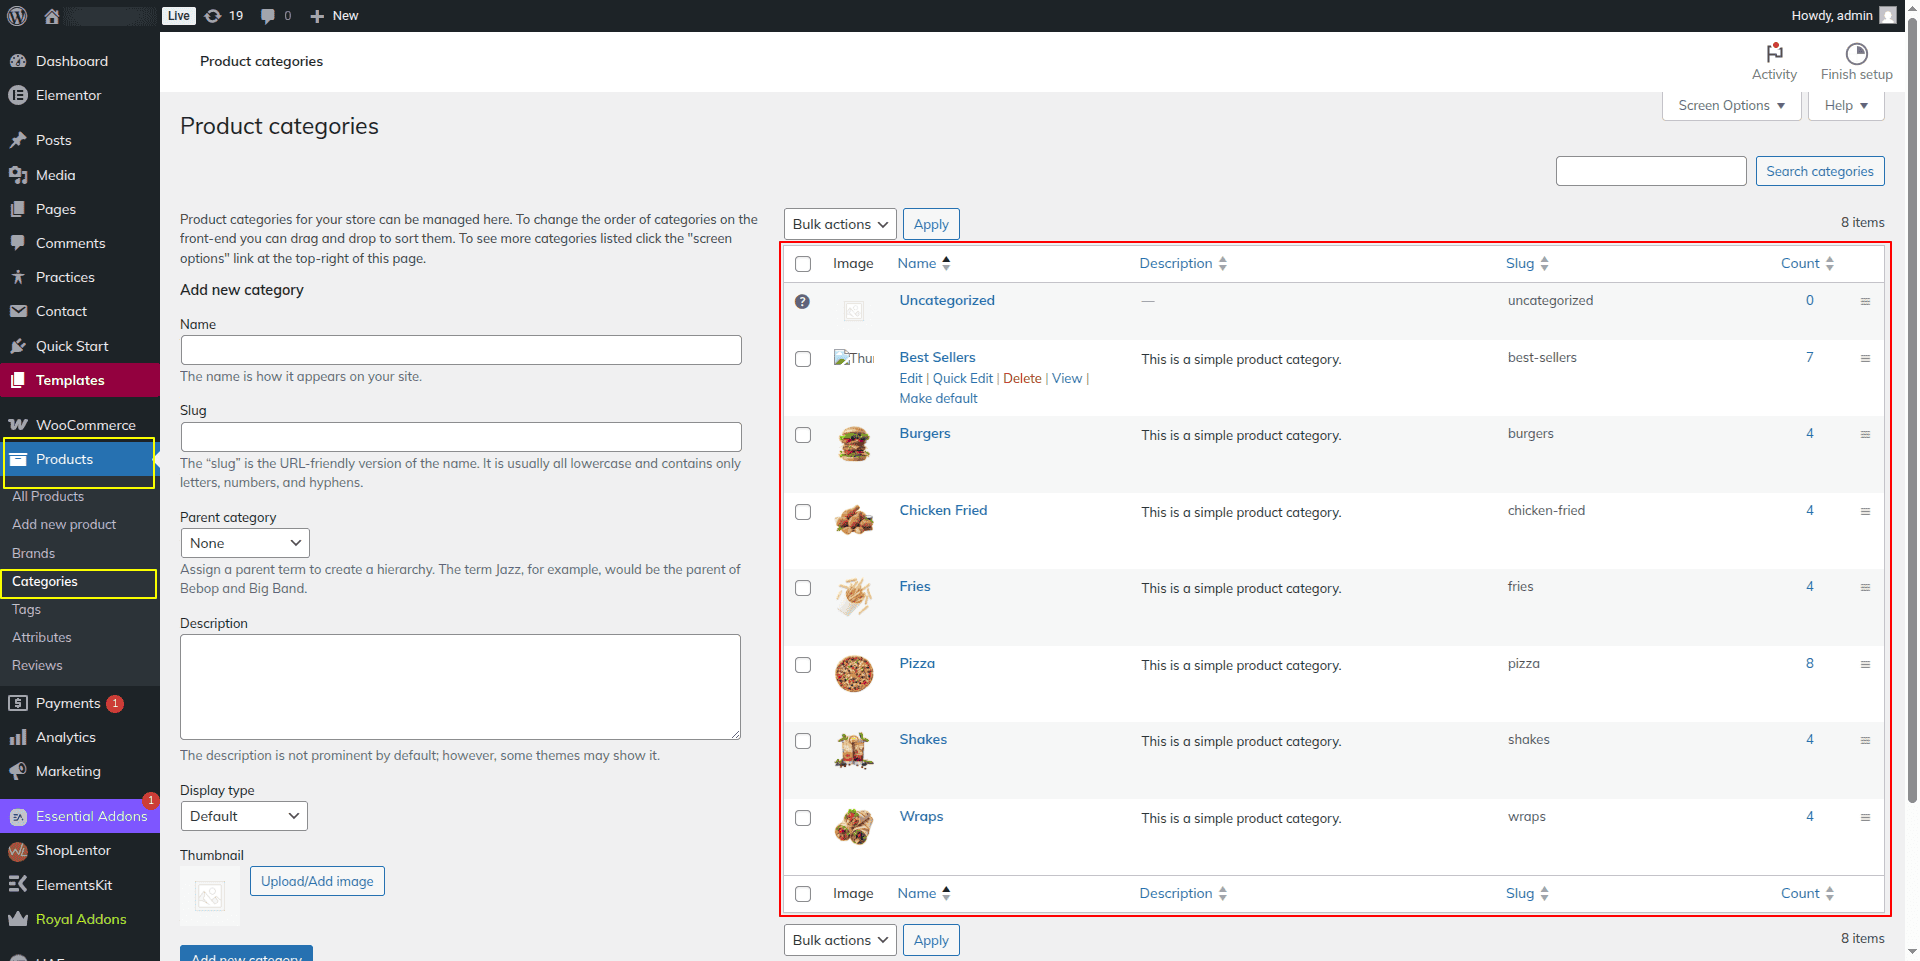
Product category comes from the dashboard.
This is the final image of the Product Category Section .

4.4 Best Sellers Section
To Edit this Section, Click On the "Edit With Elementor" Button which will open the Elementor Widget editor.
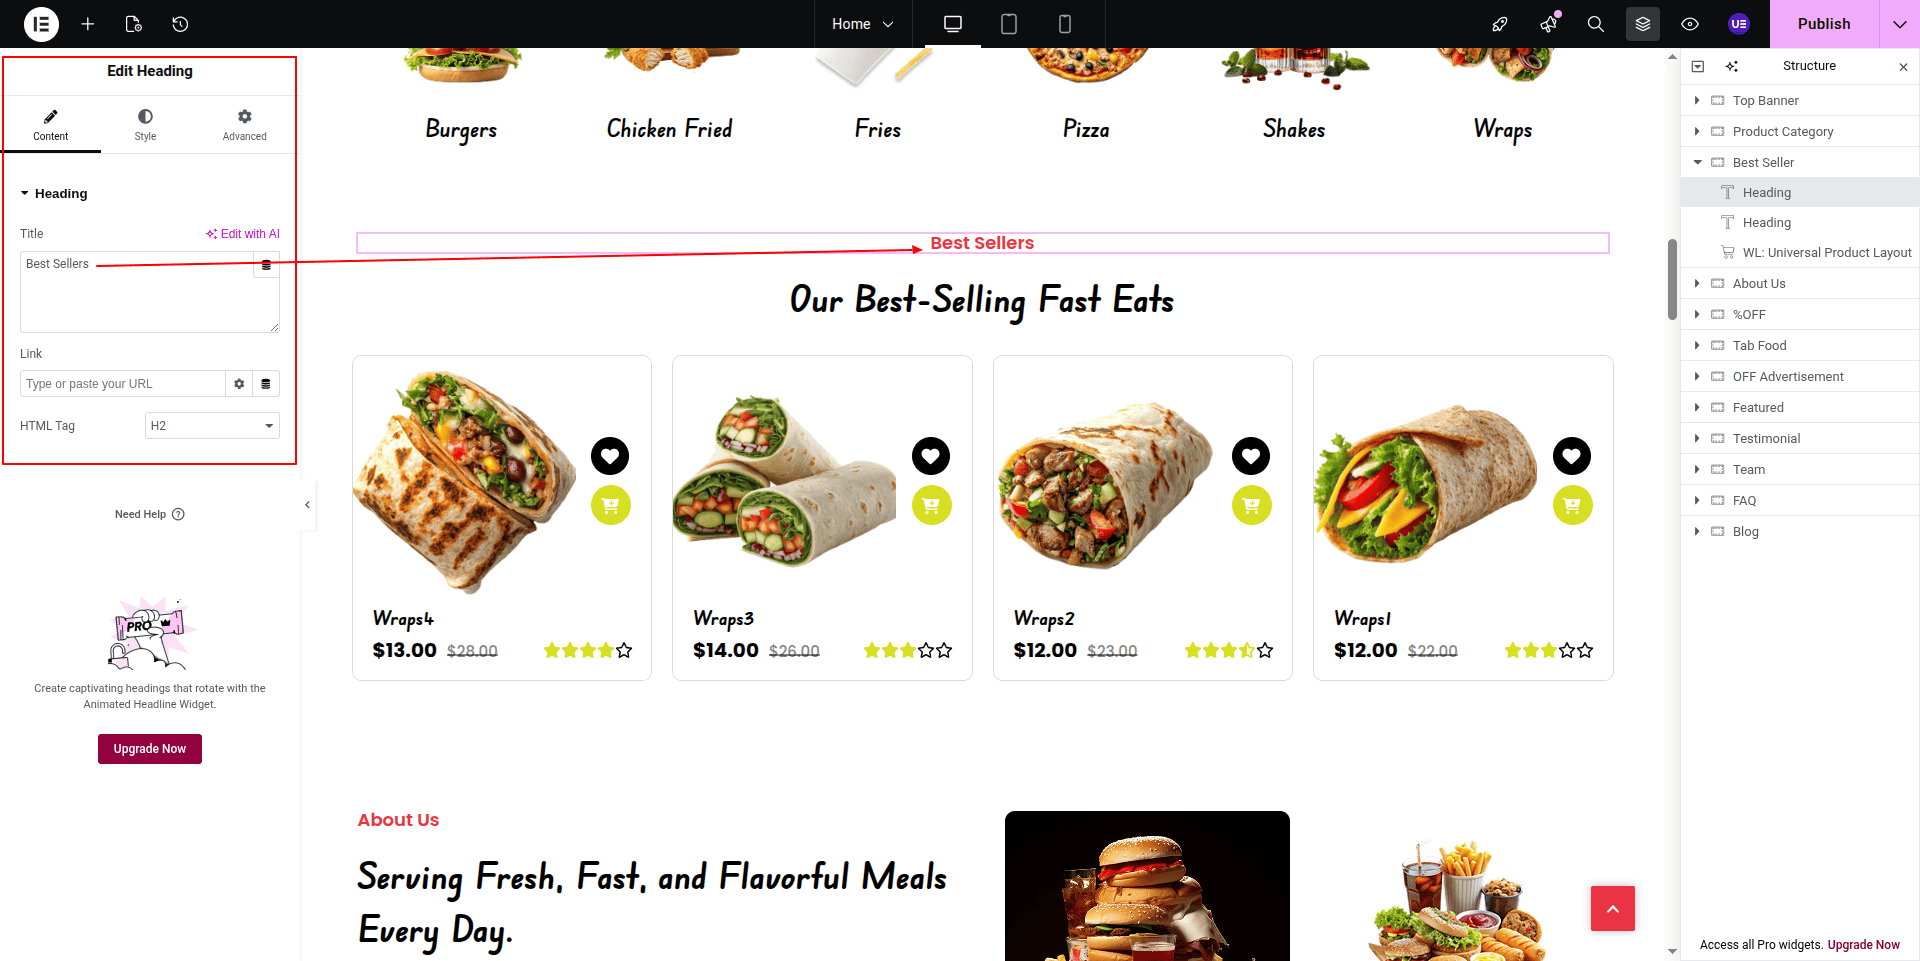
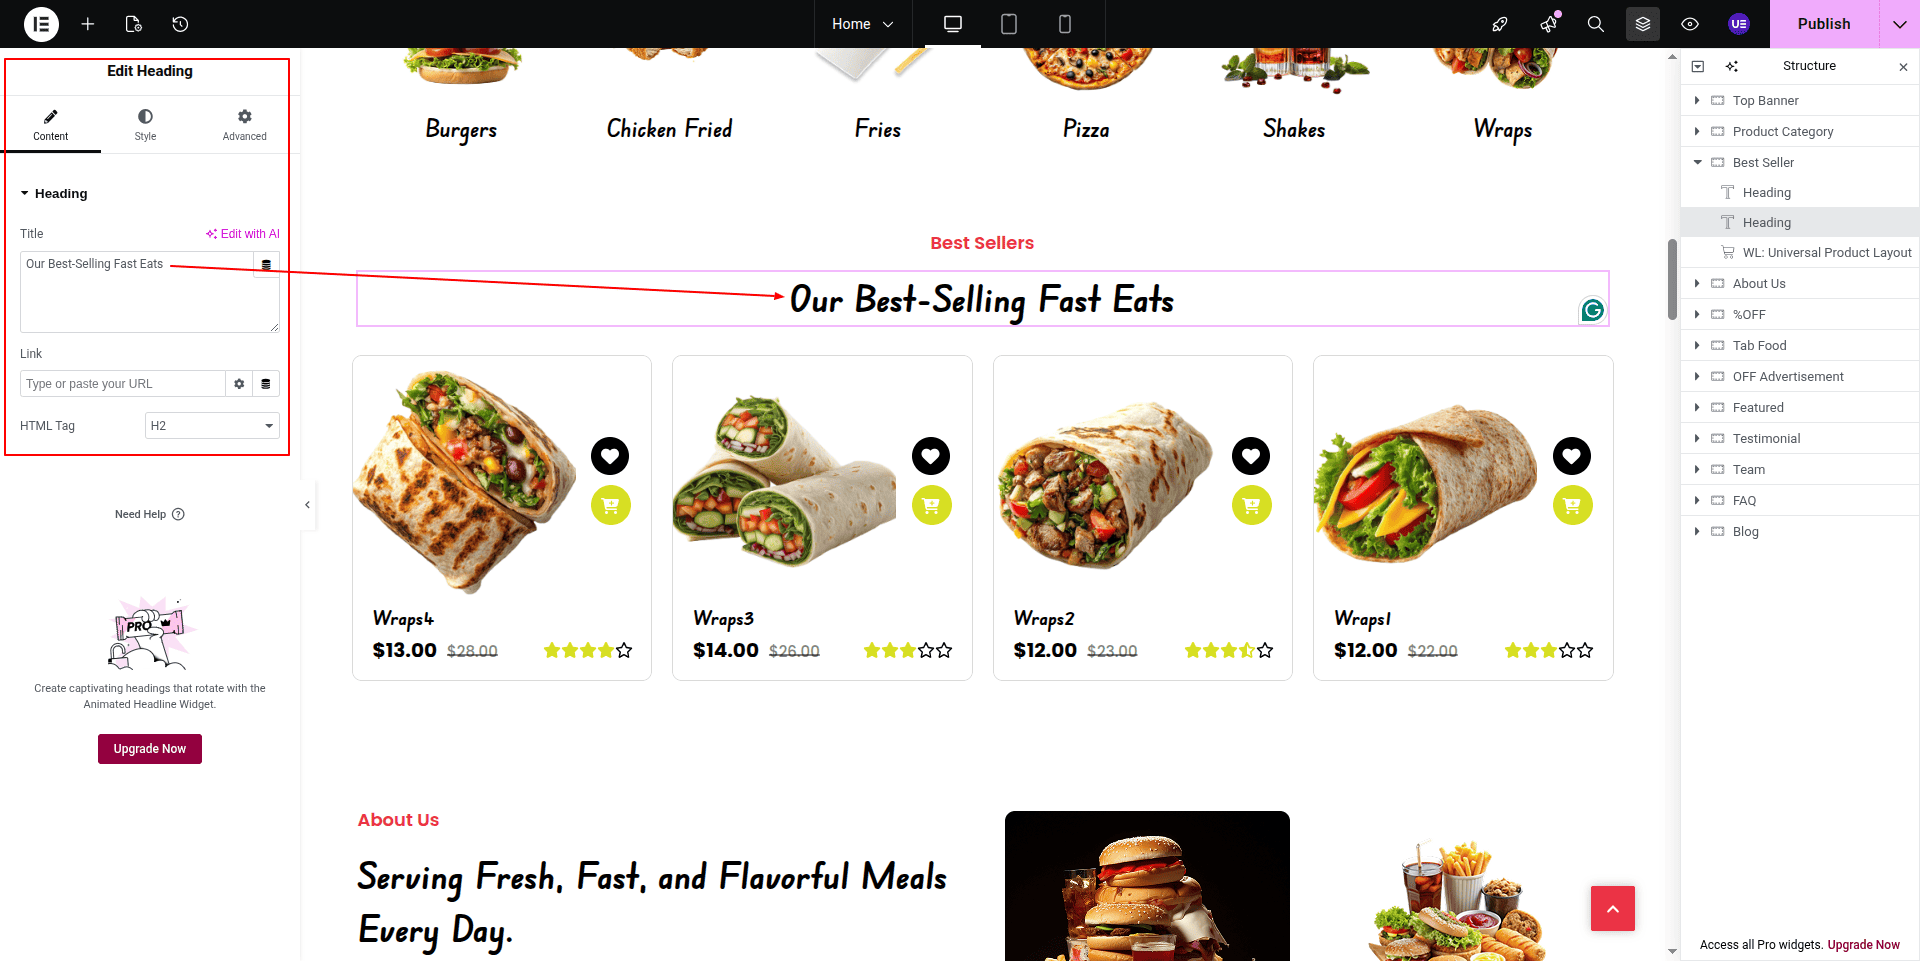
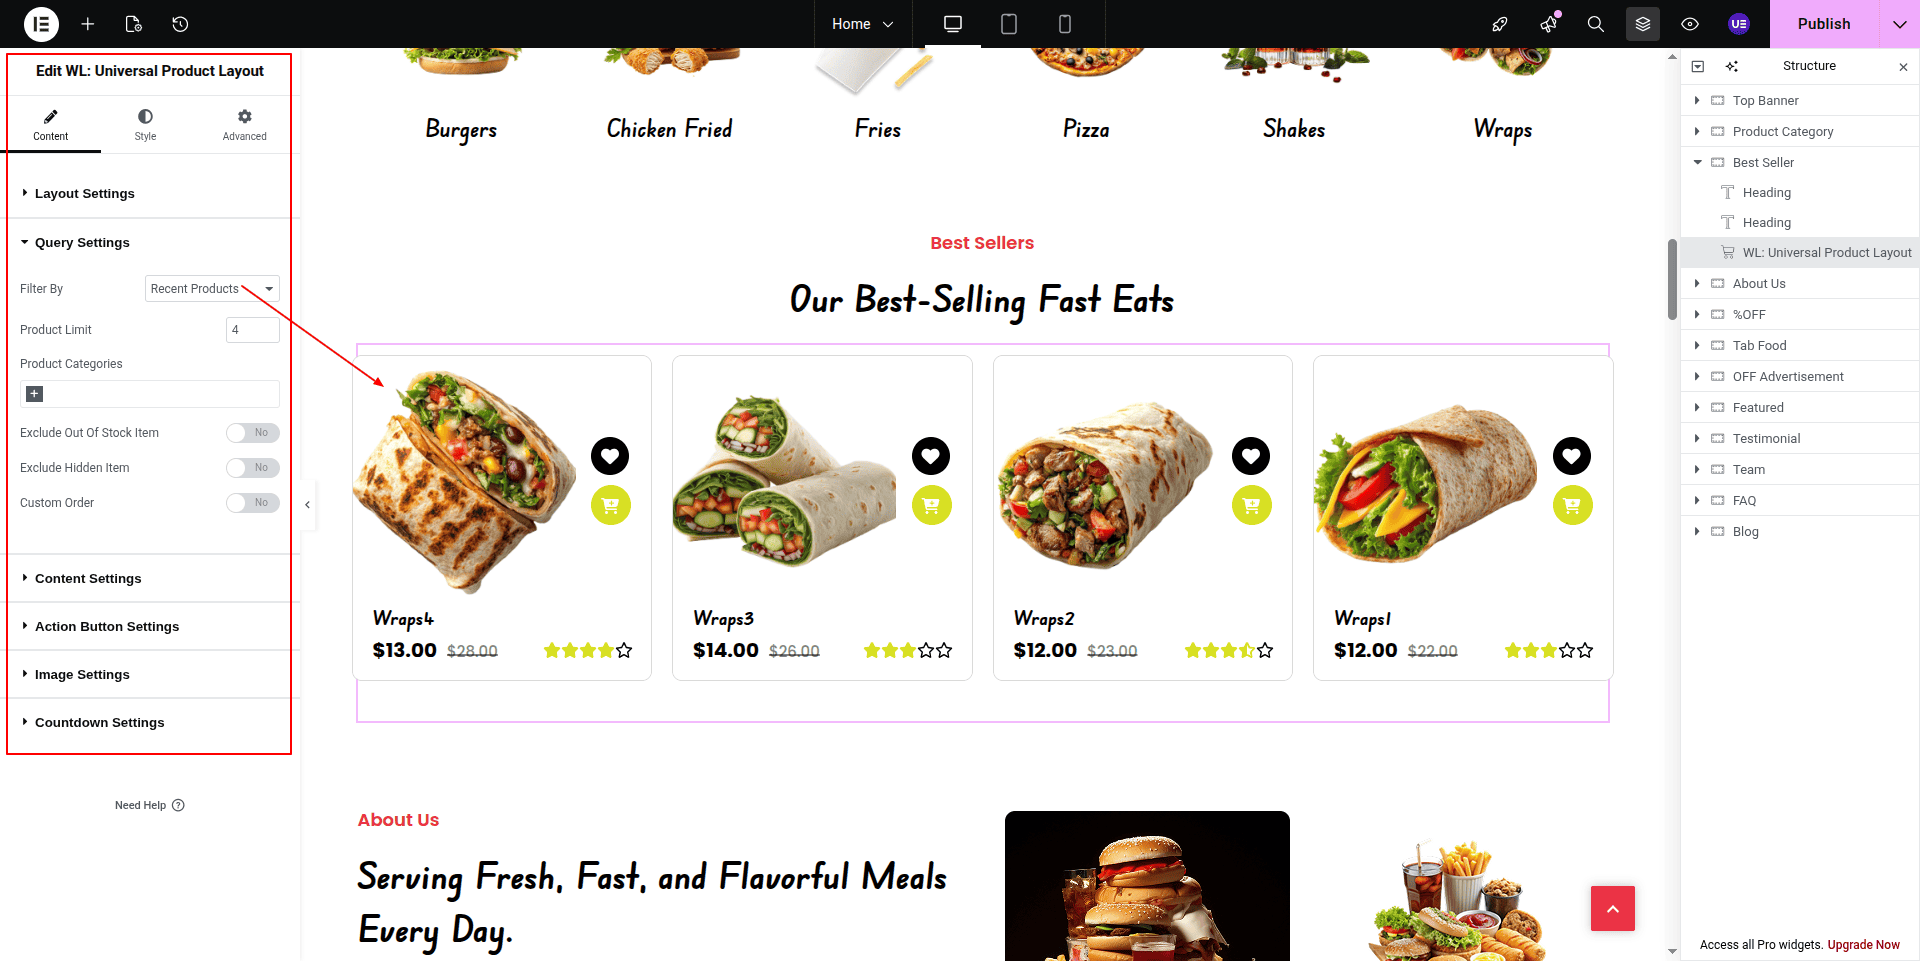
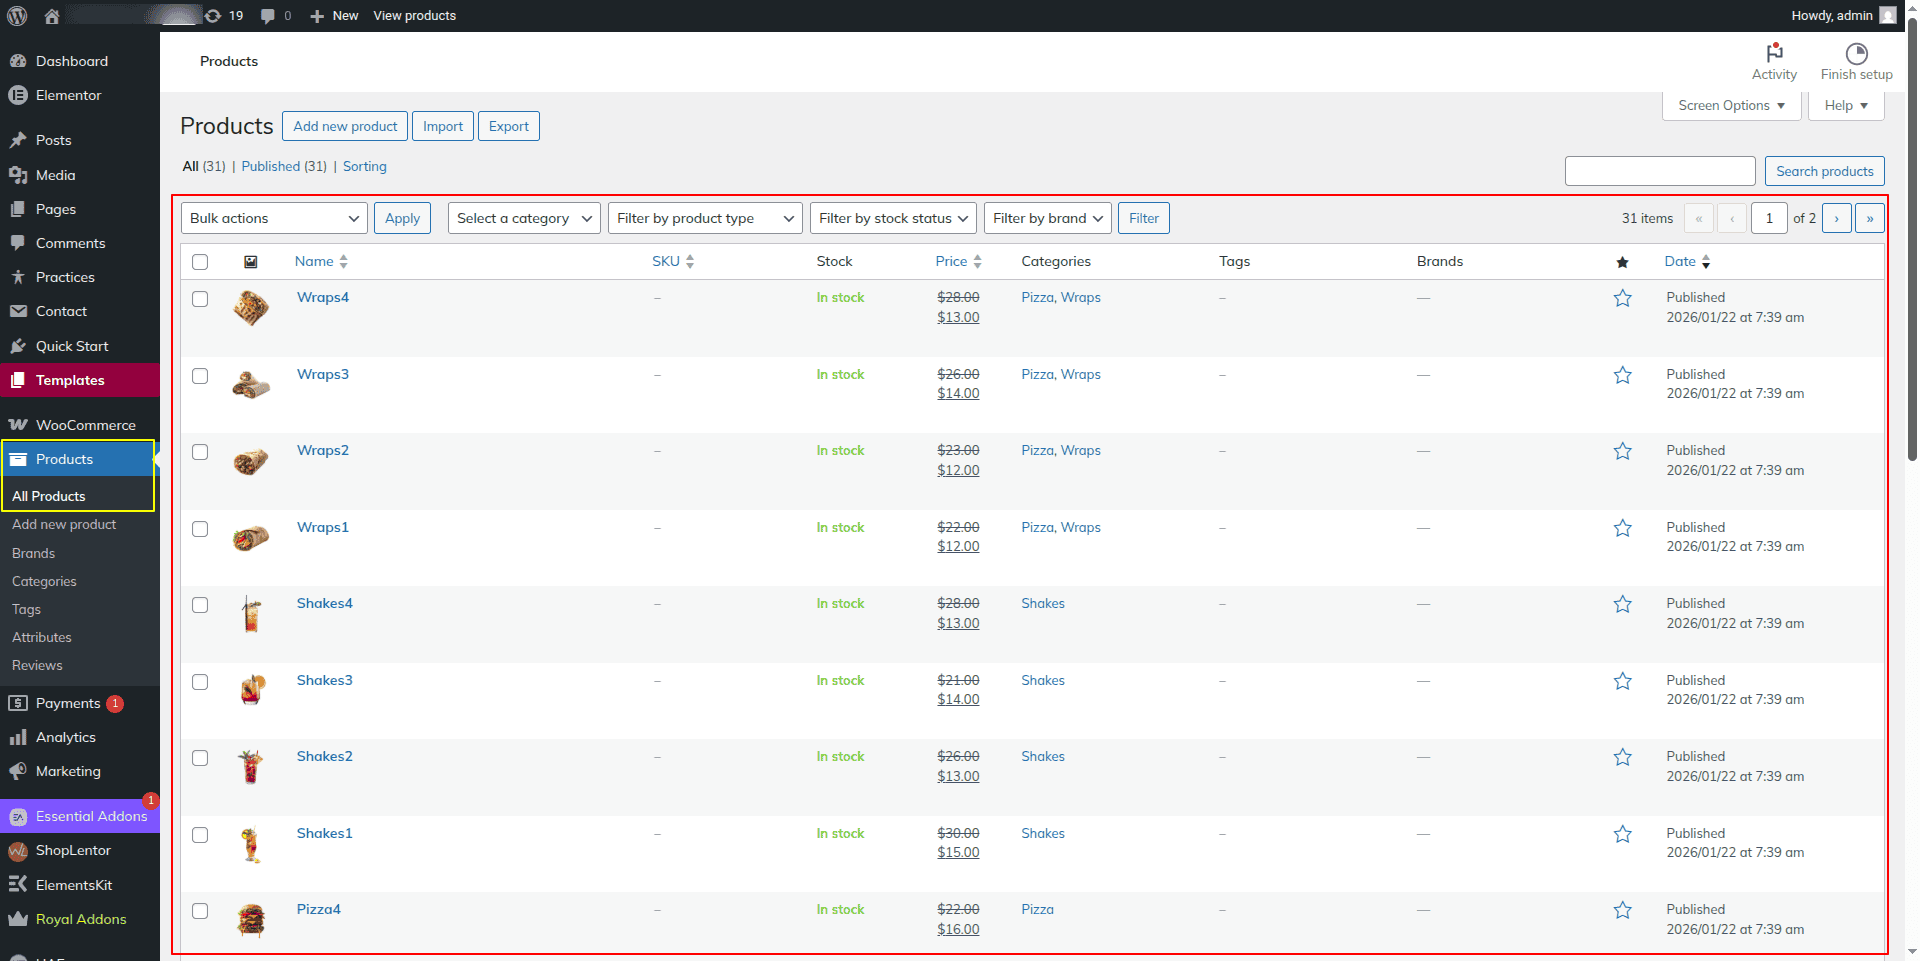
Here Products comes from Dashboard
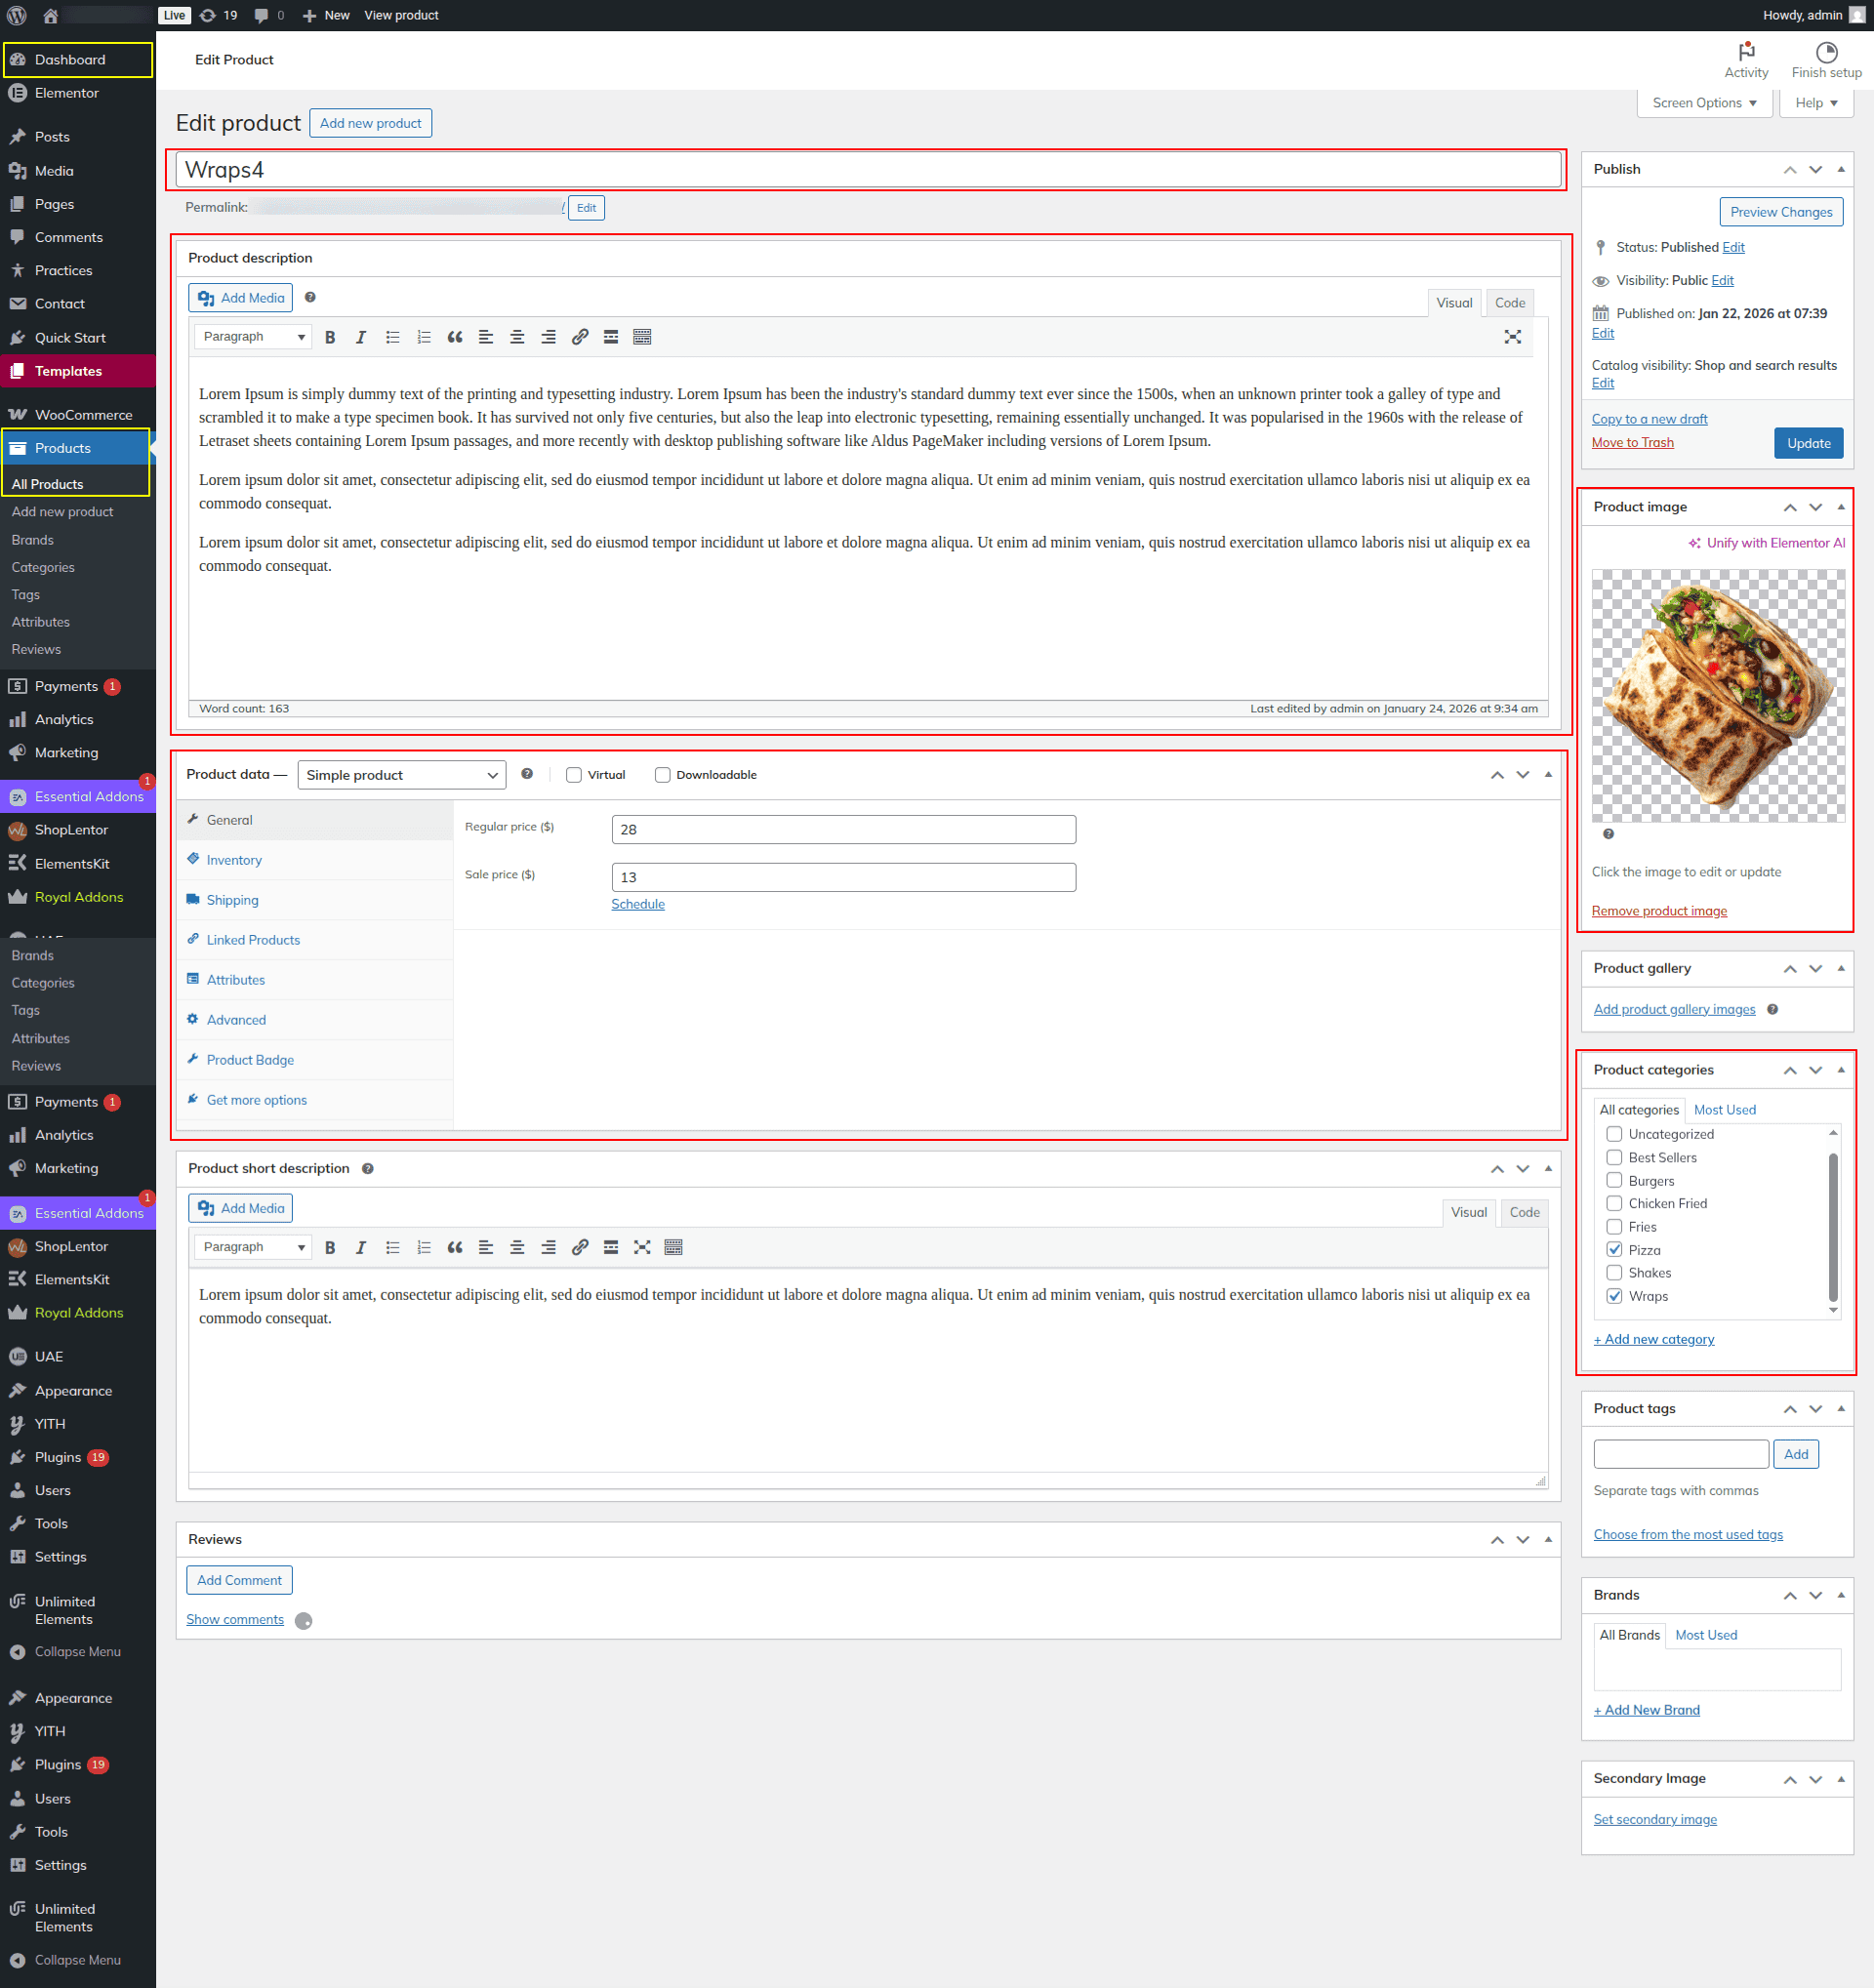
Here we can edit products from Dashboard
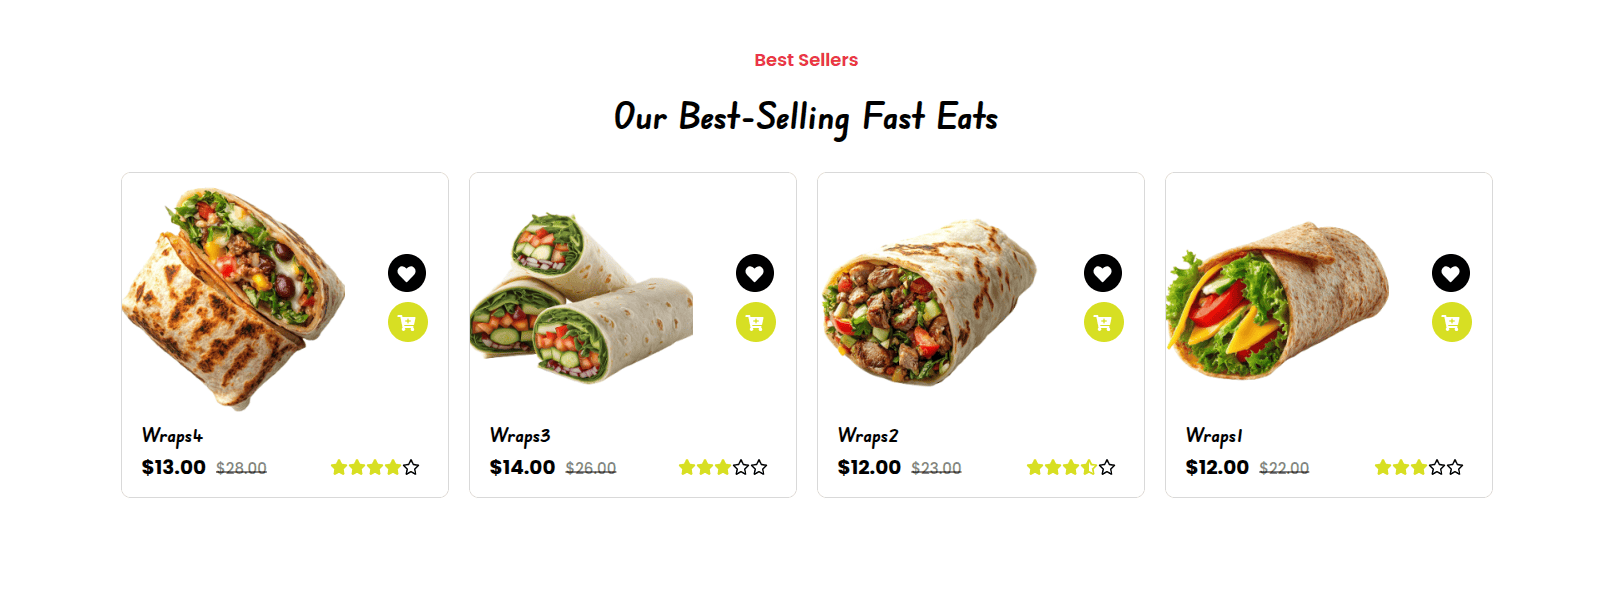
This is the final image of the Best Sellers section.
4.5 About Us
To Edit this Section, Click On the "Edit With Elementor" Button which will open the Elementor Widget editor.
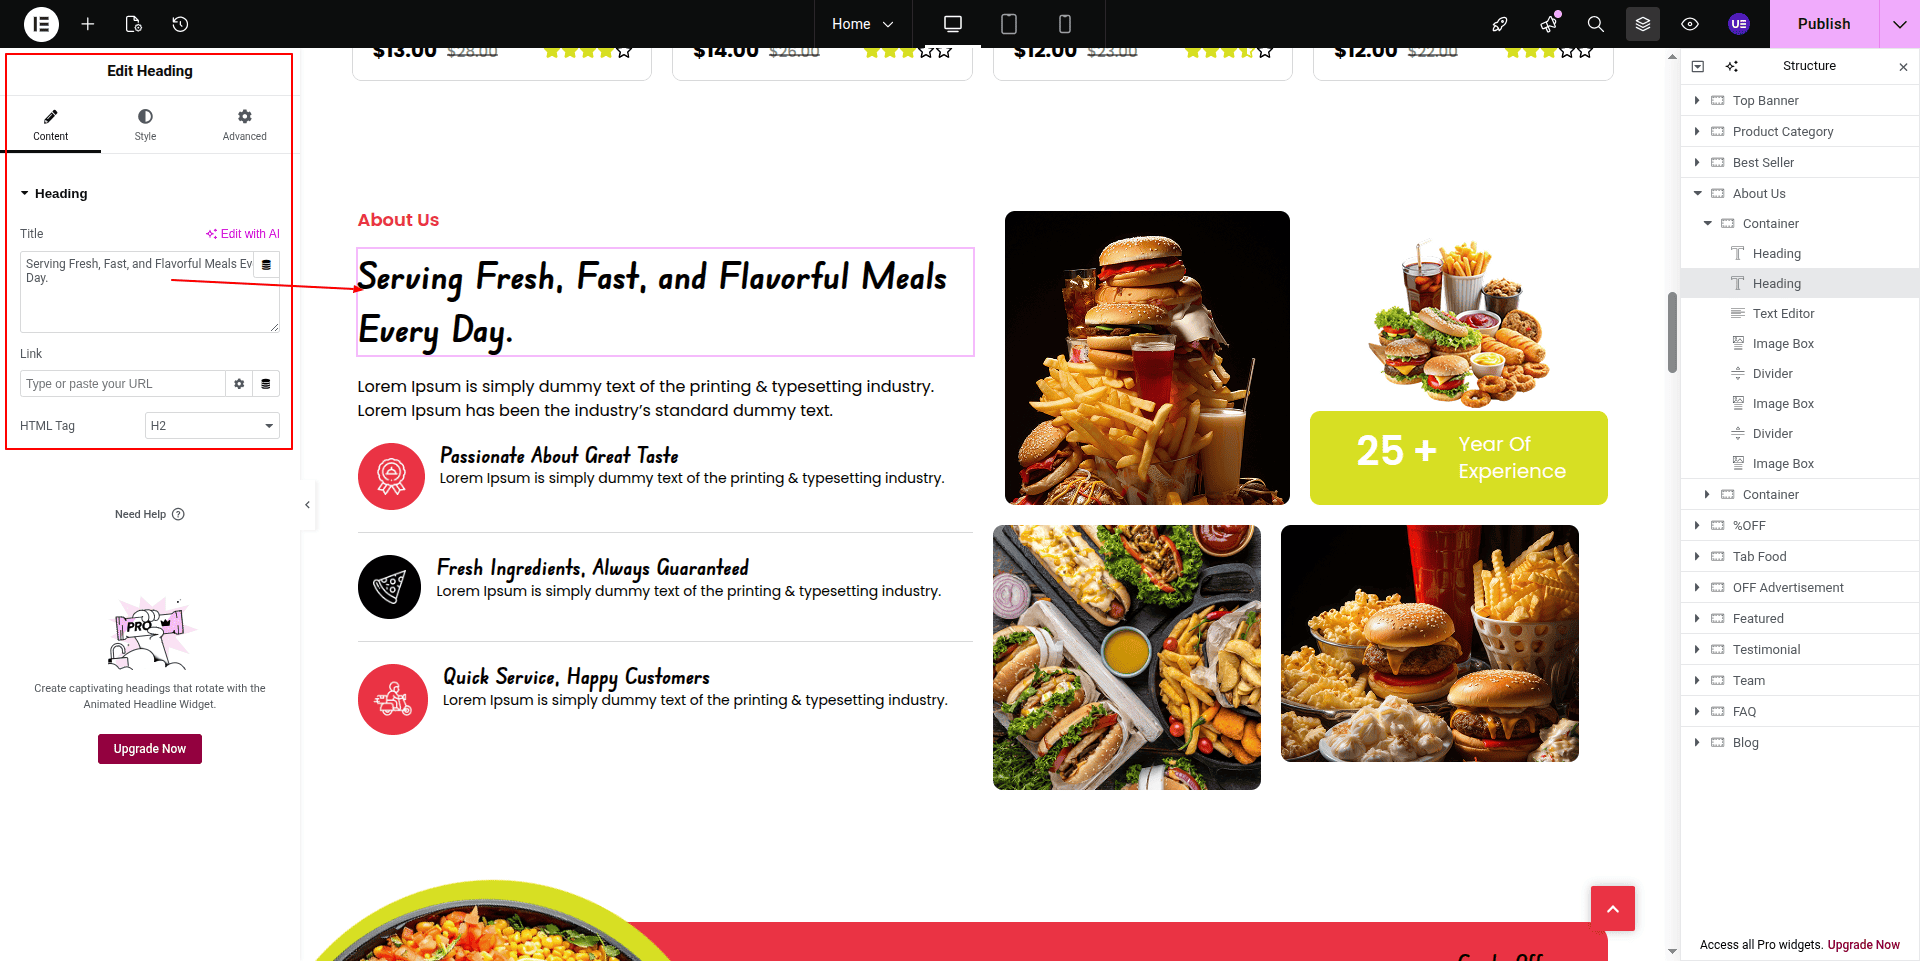
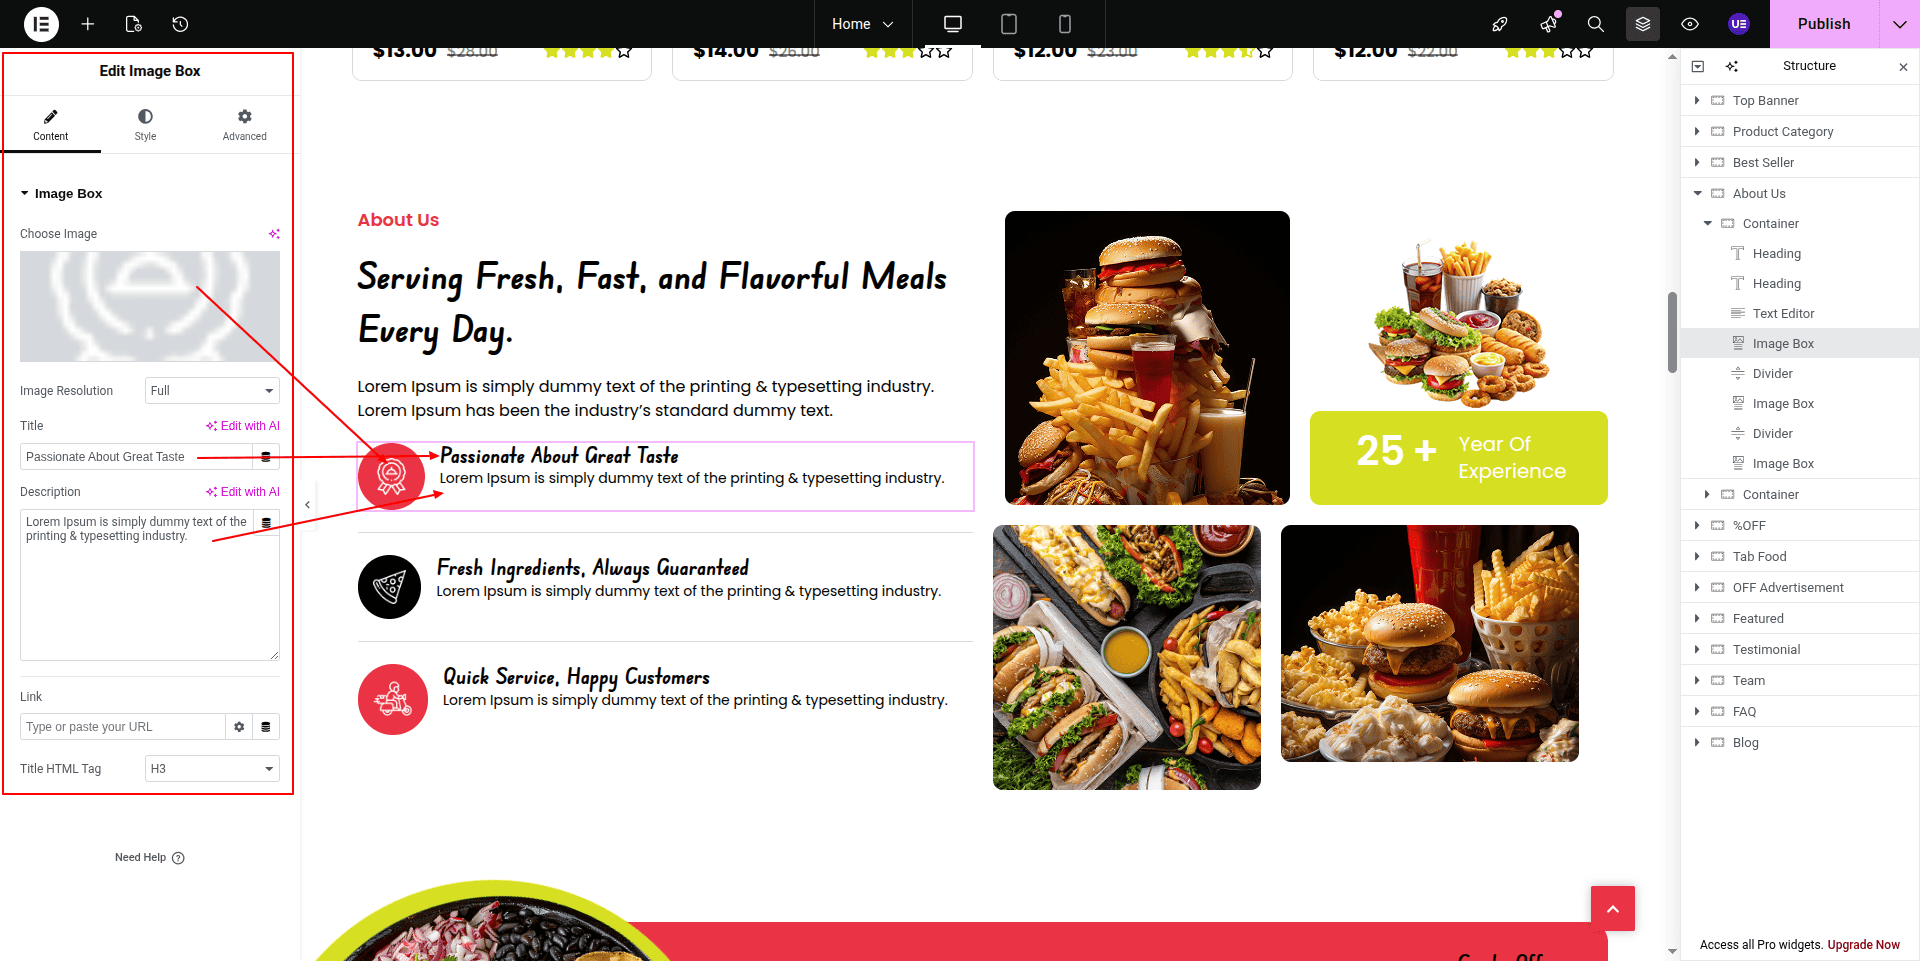
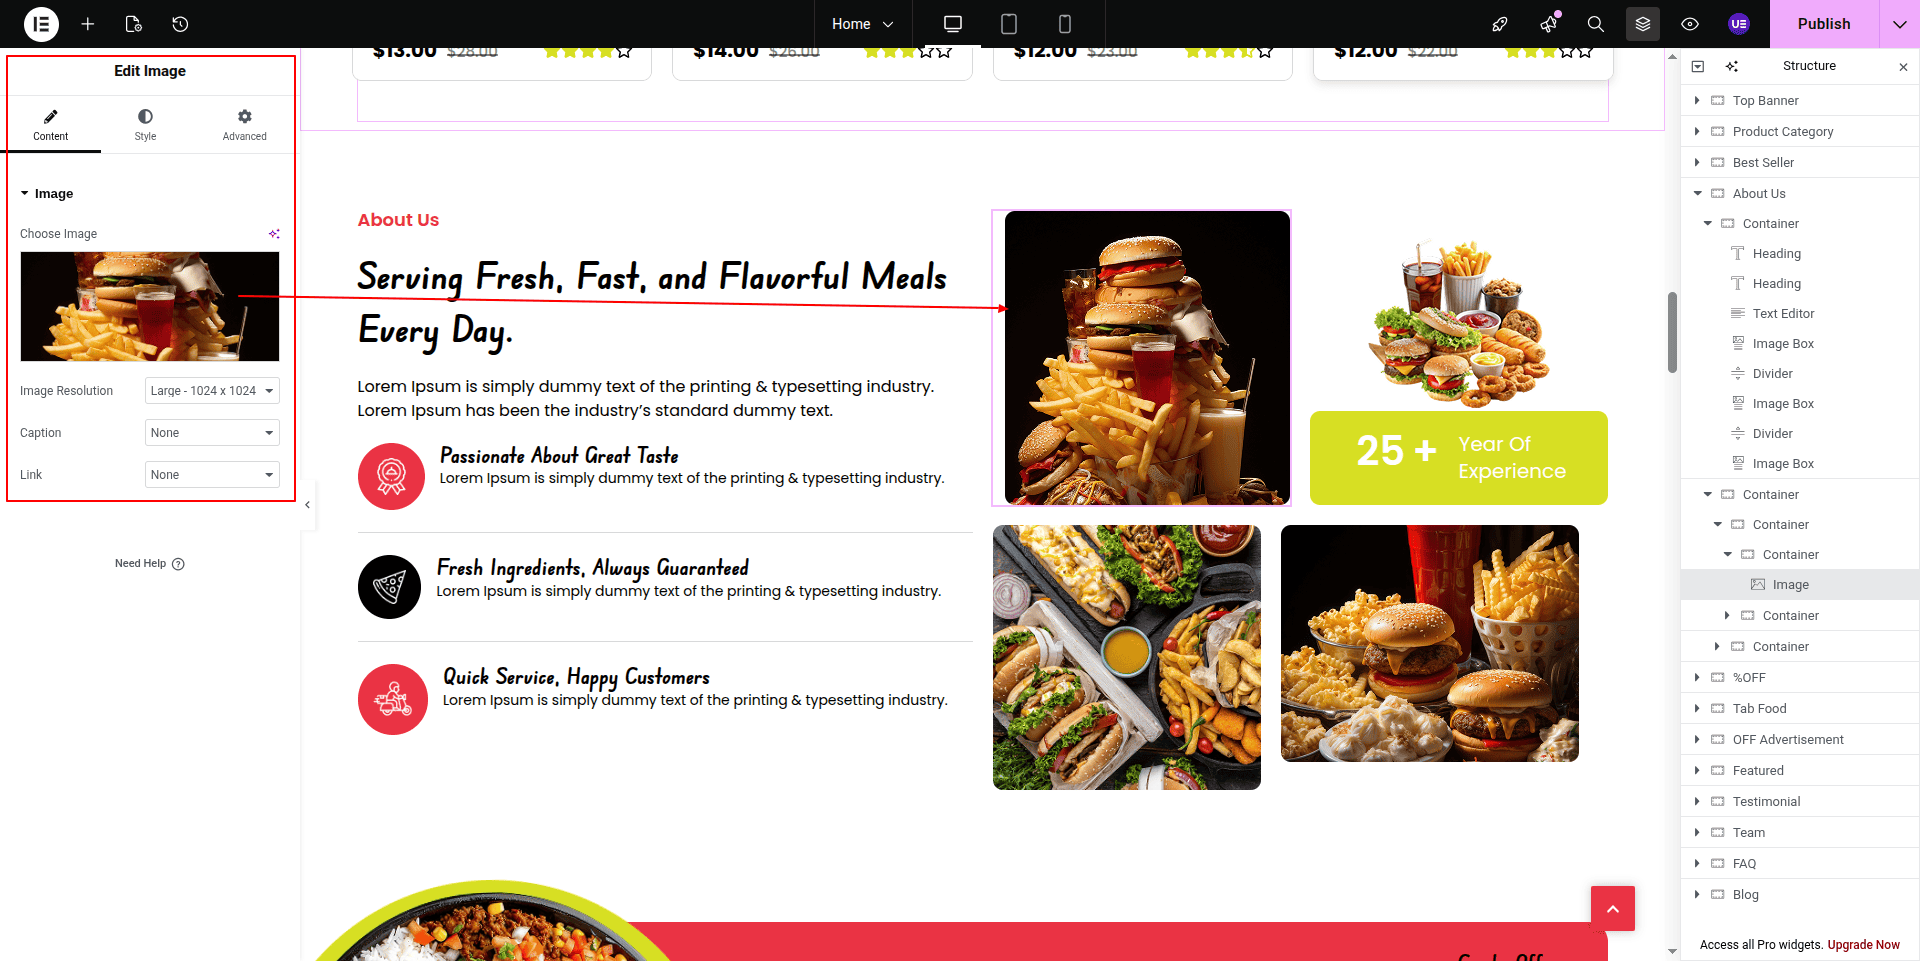
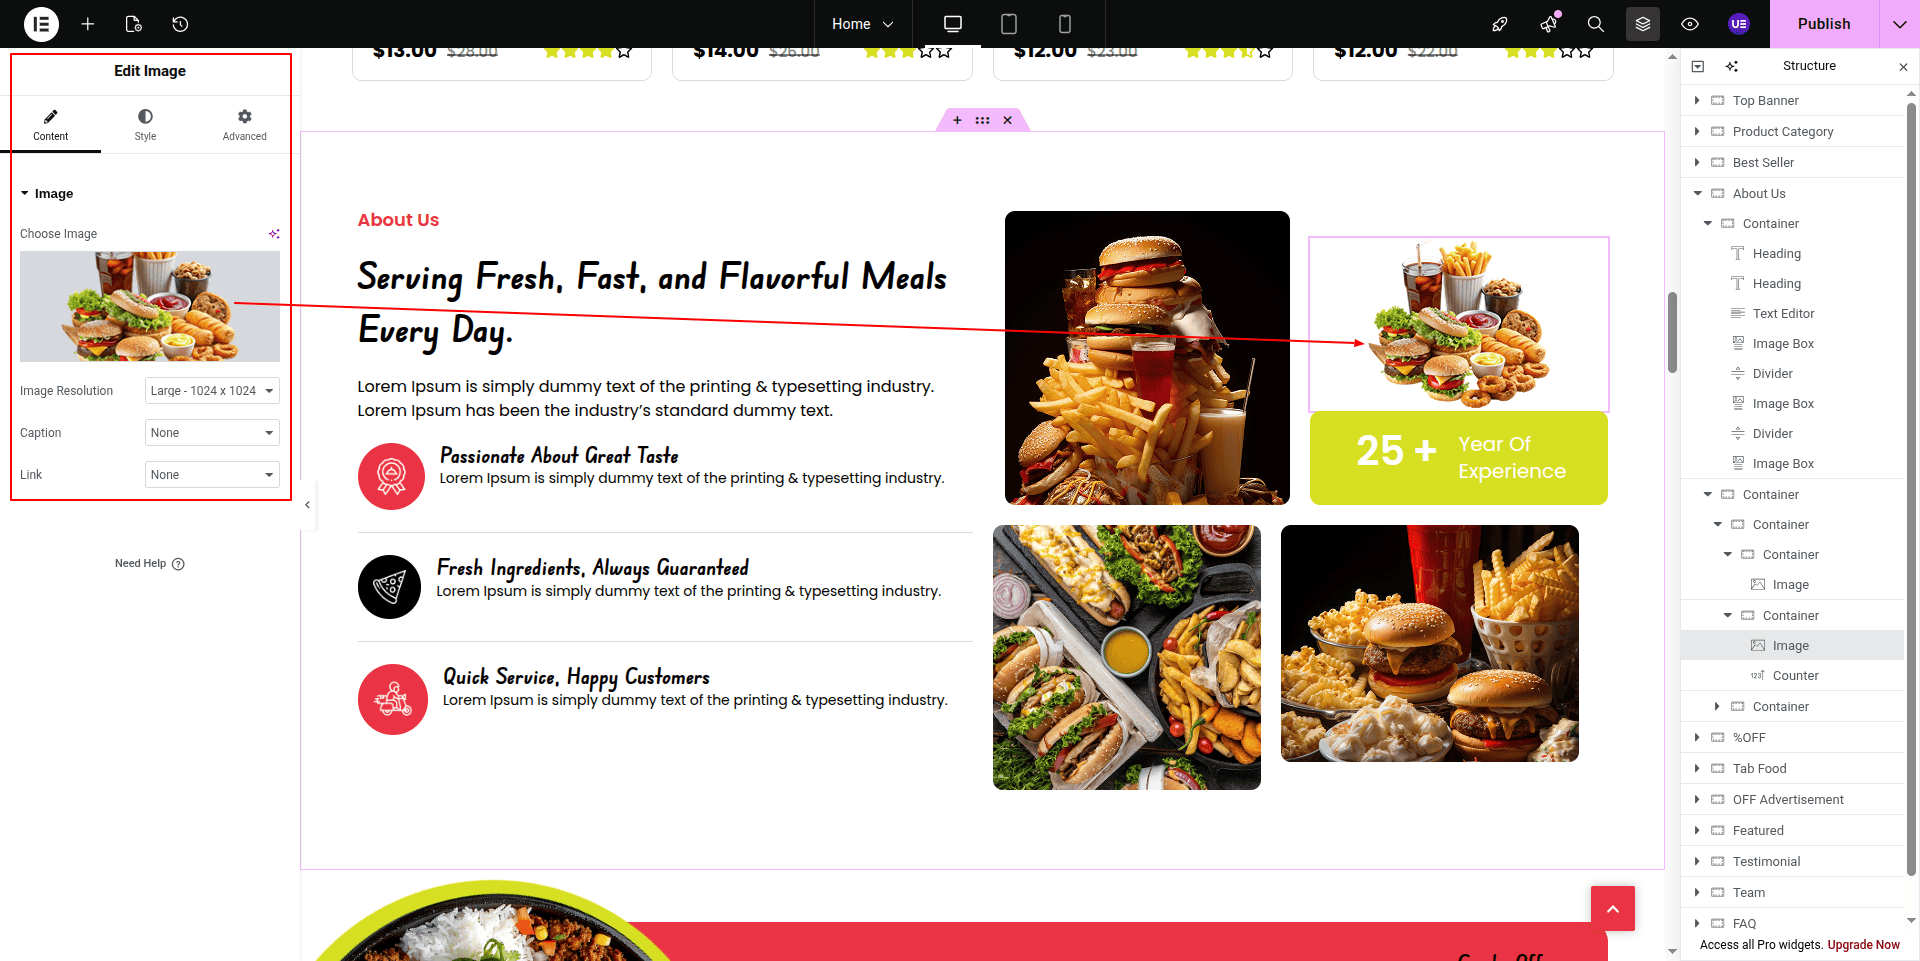
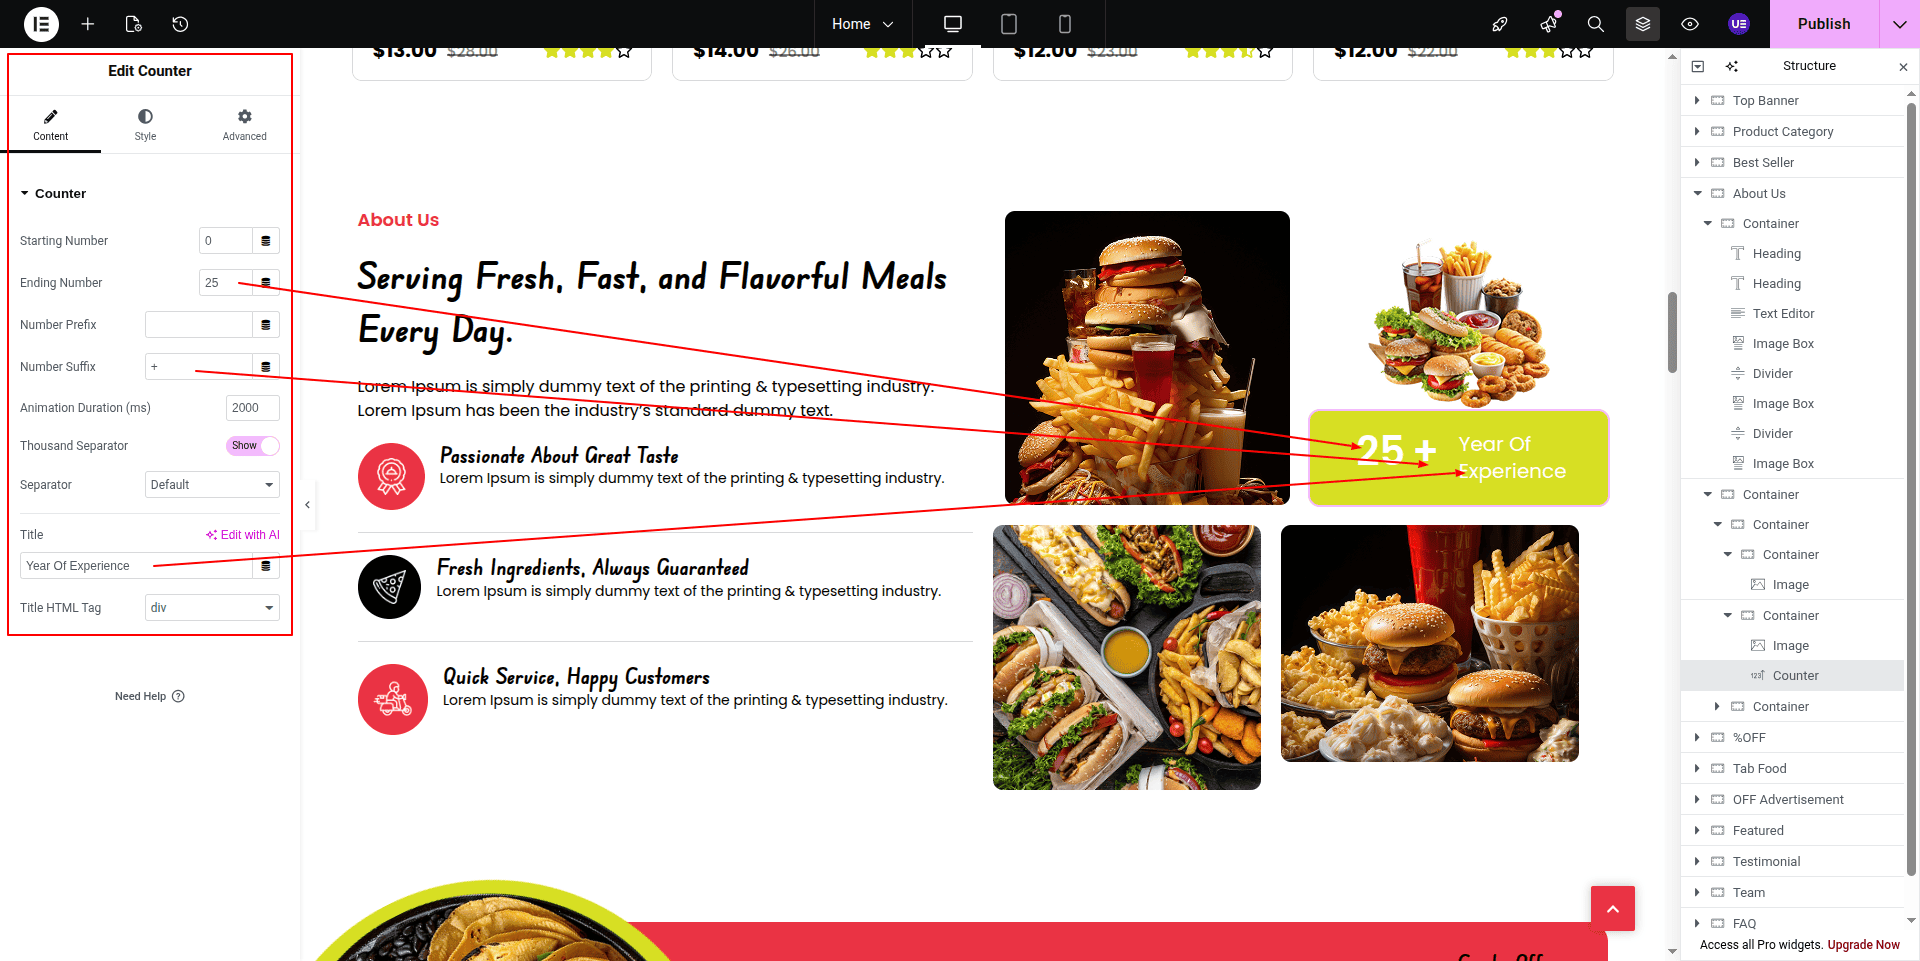
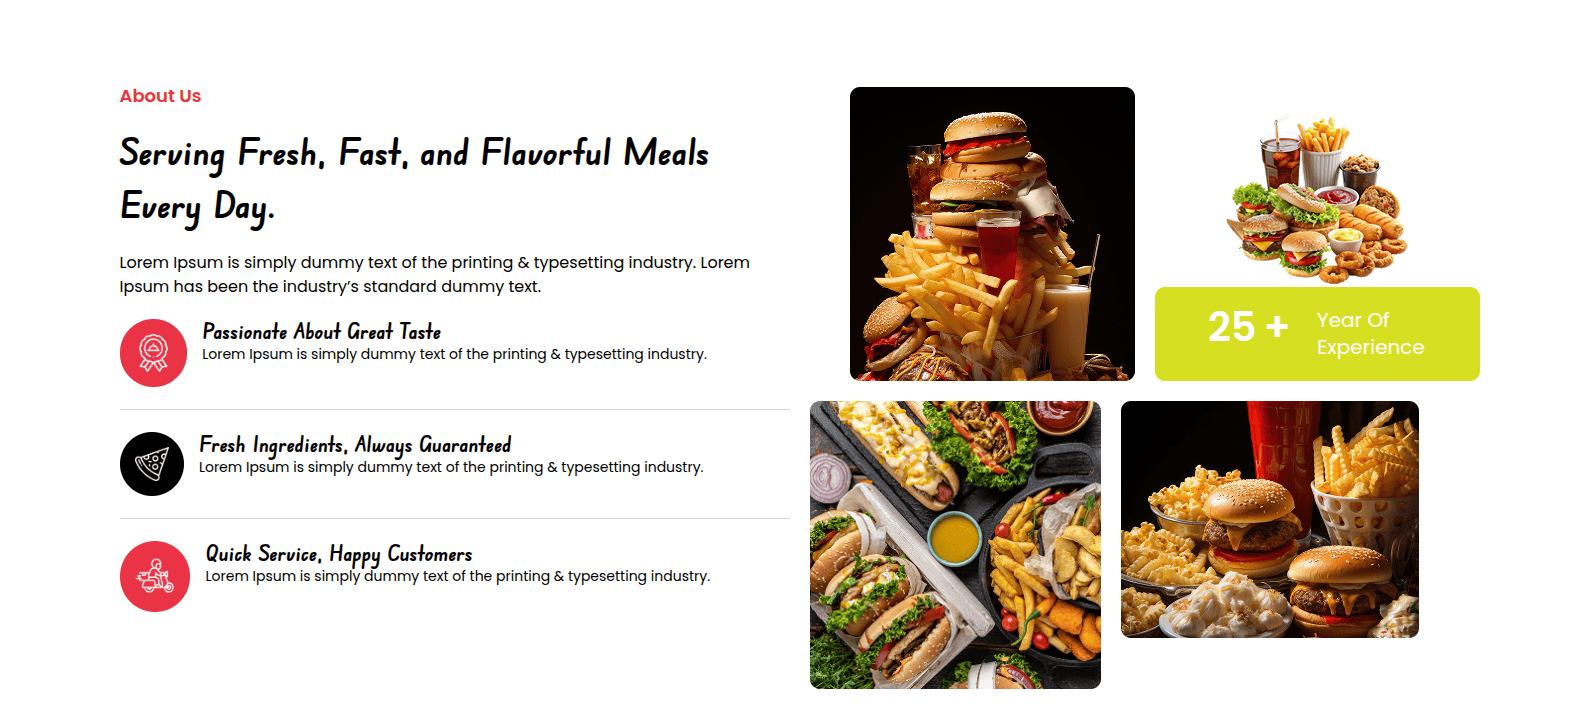
This is the final image of the About Us section.
4.6 Combo Offer
To Edit this Section, Click On the "Edit With Elementor" Button which will open the Elementor Widget editor.
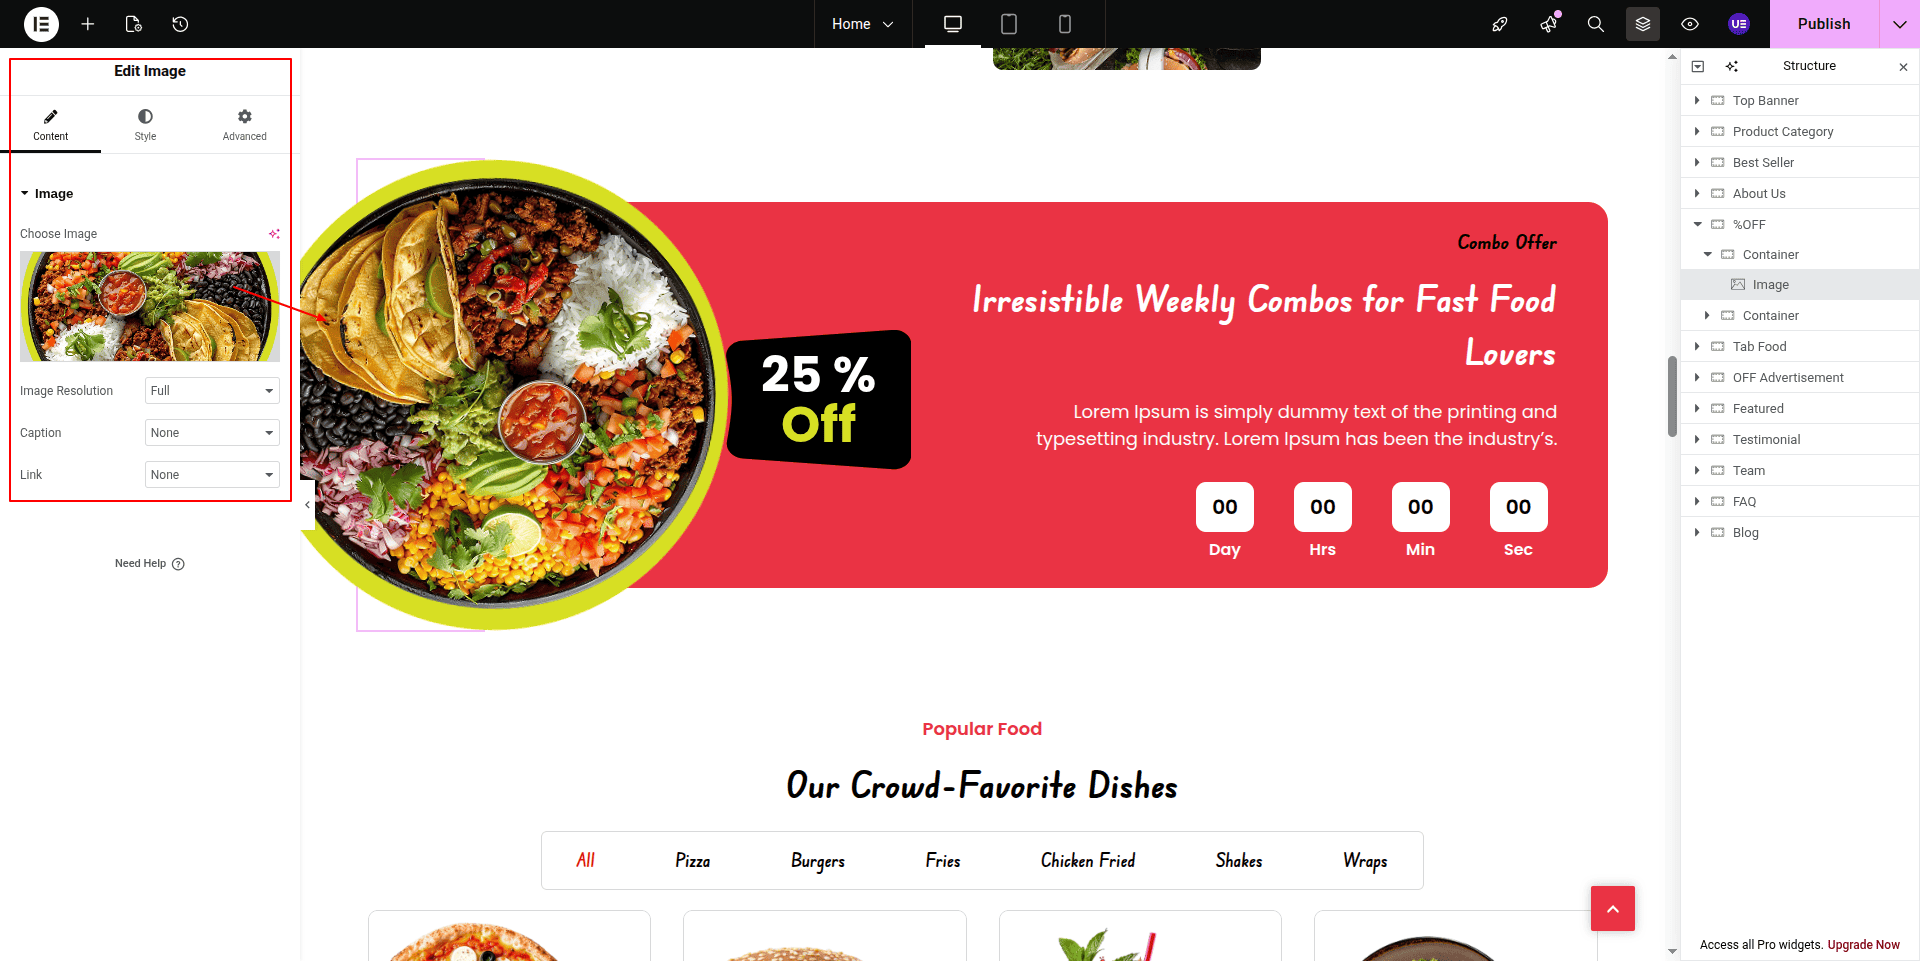
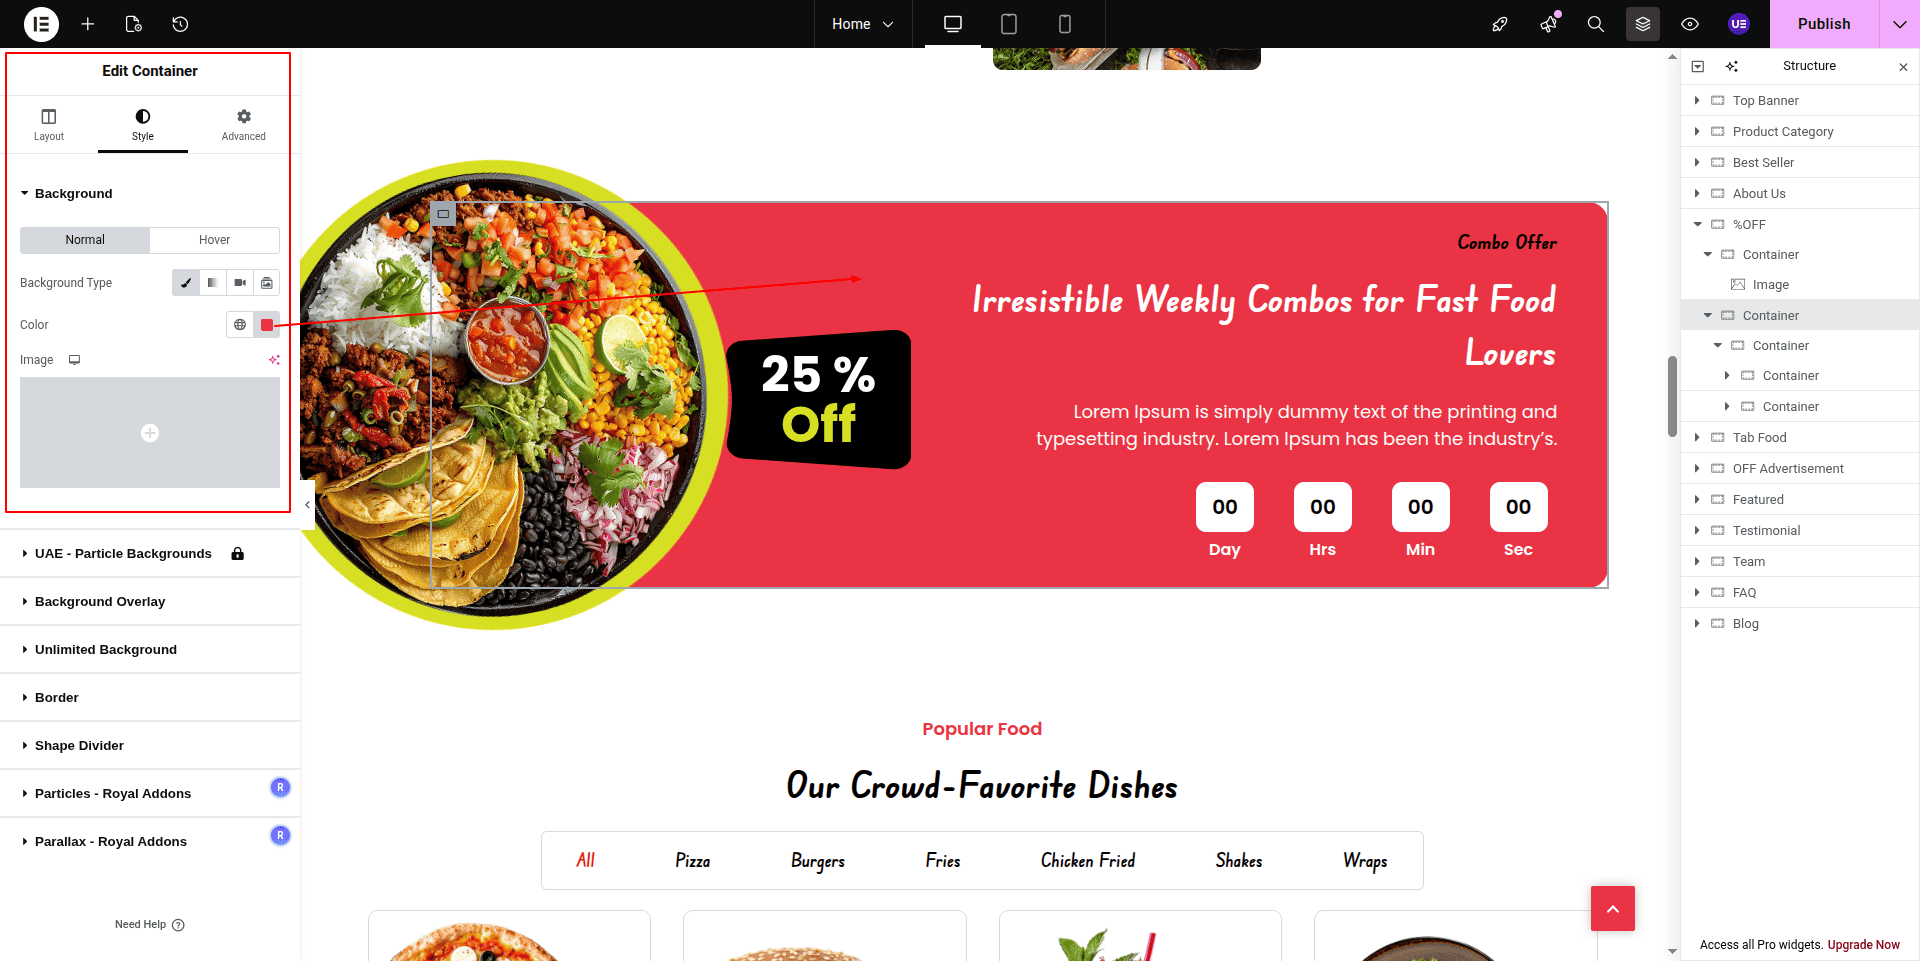
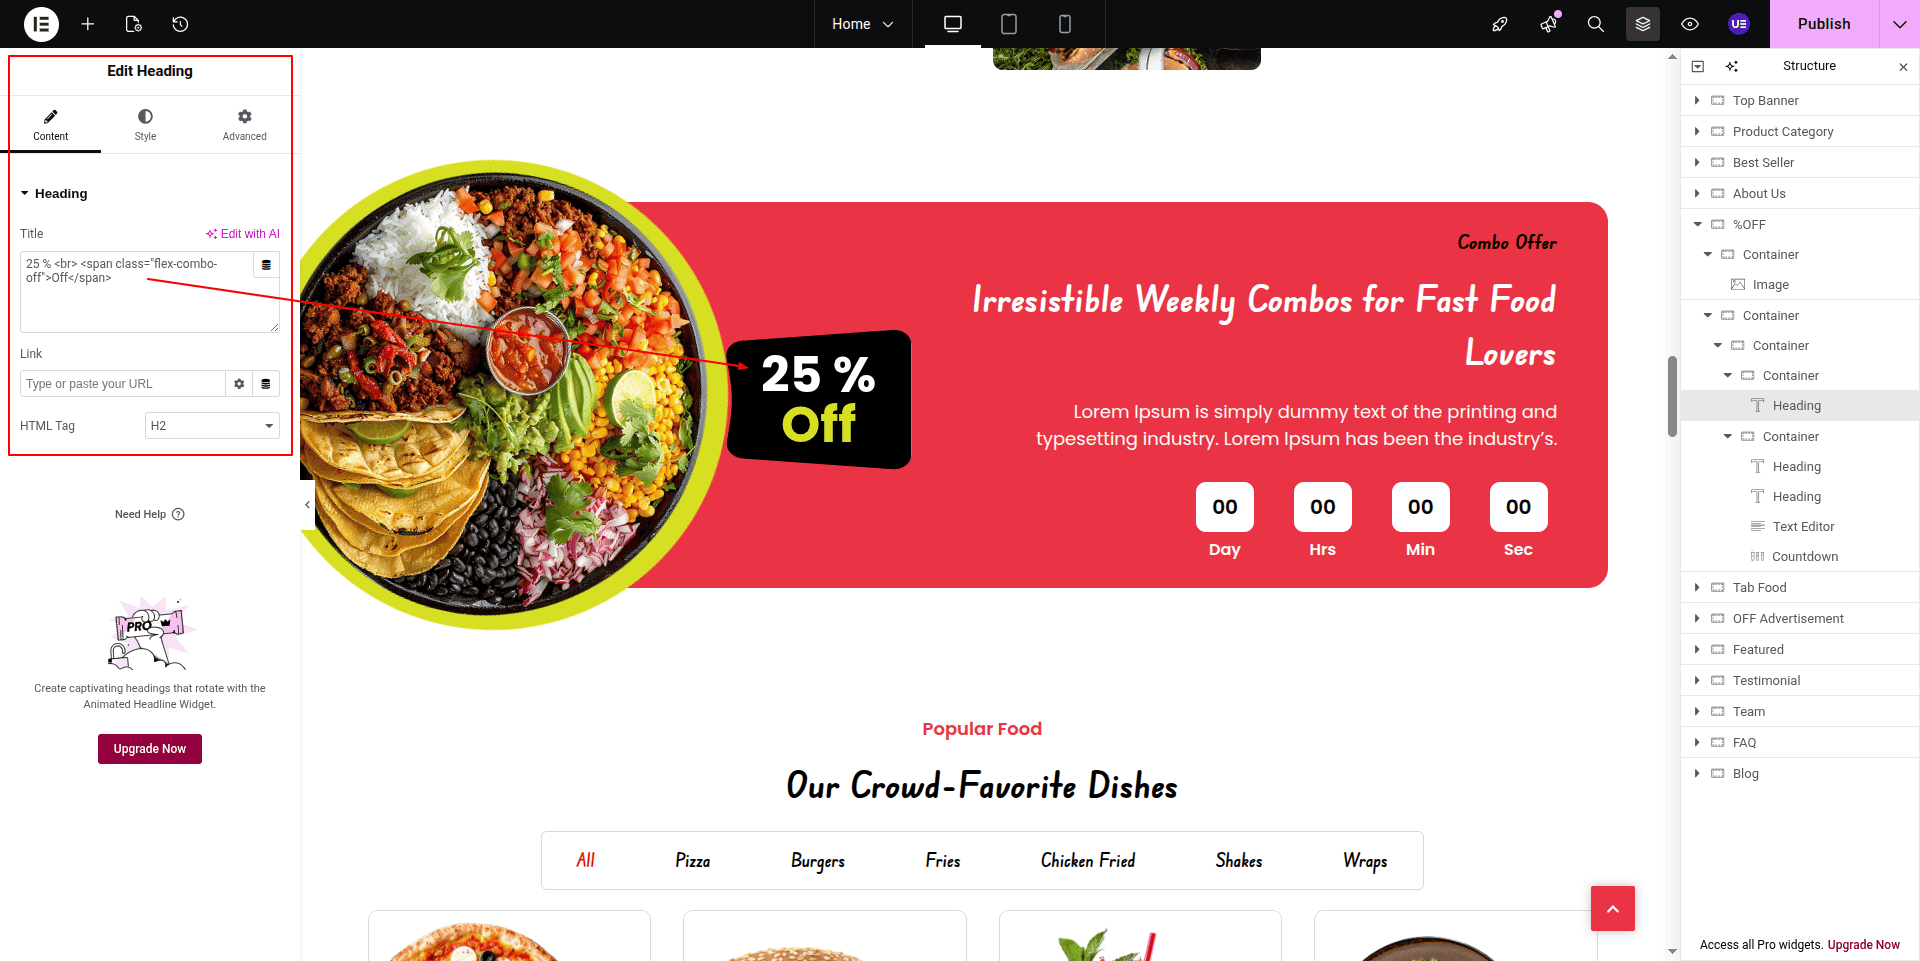
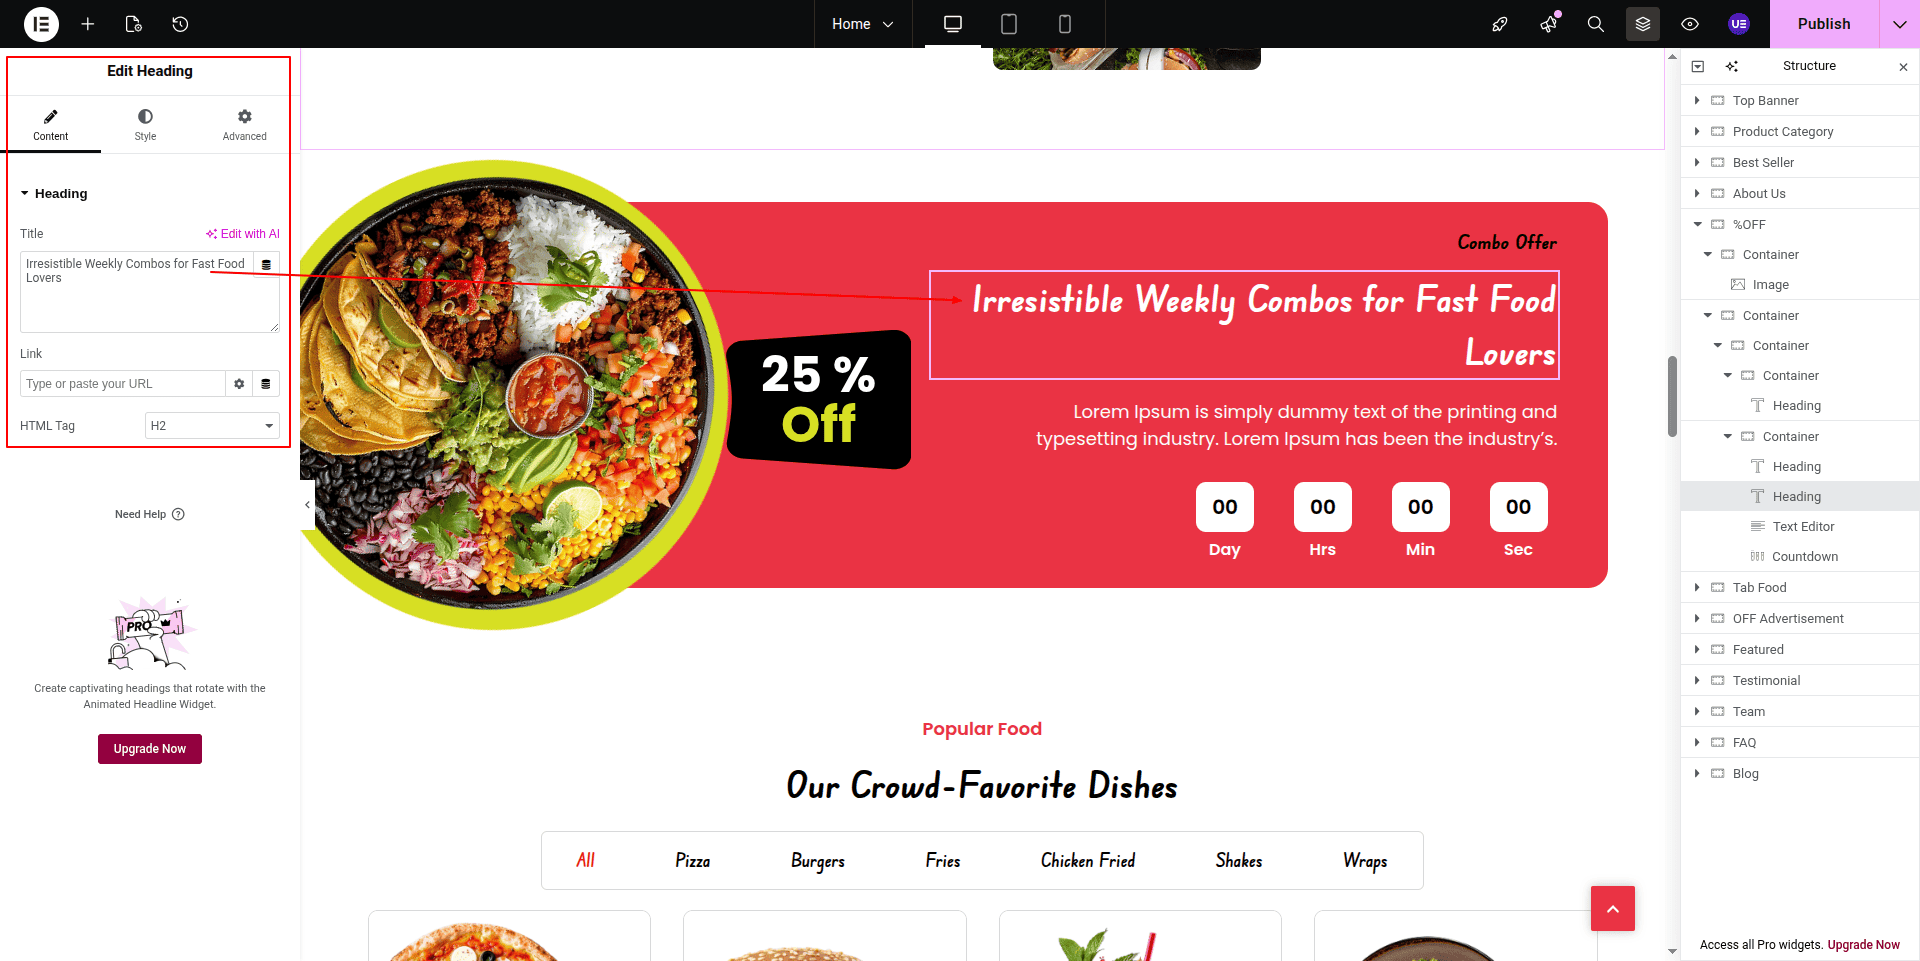
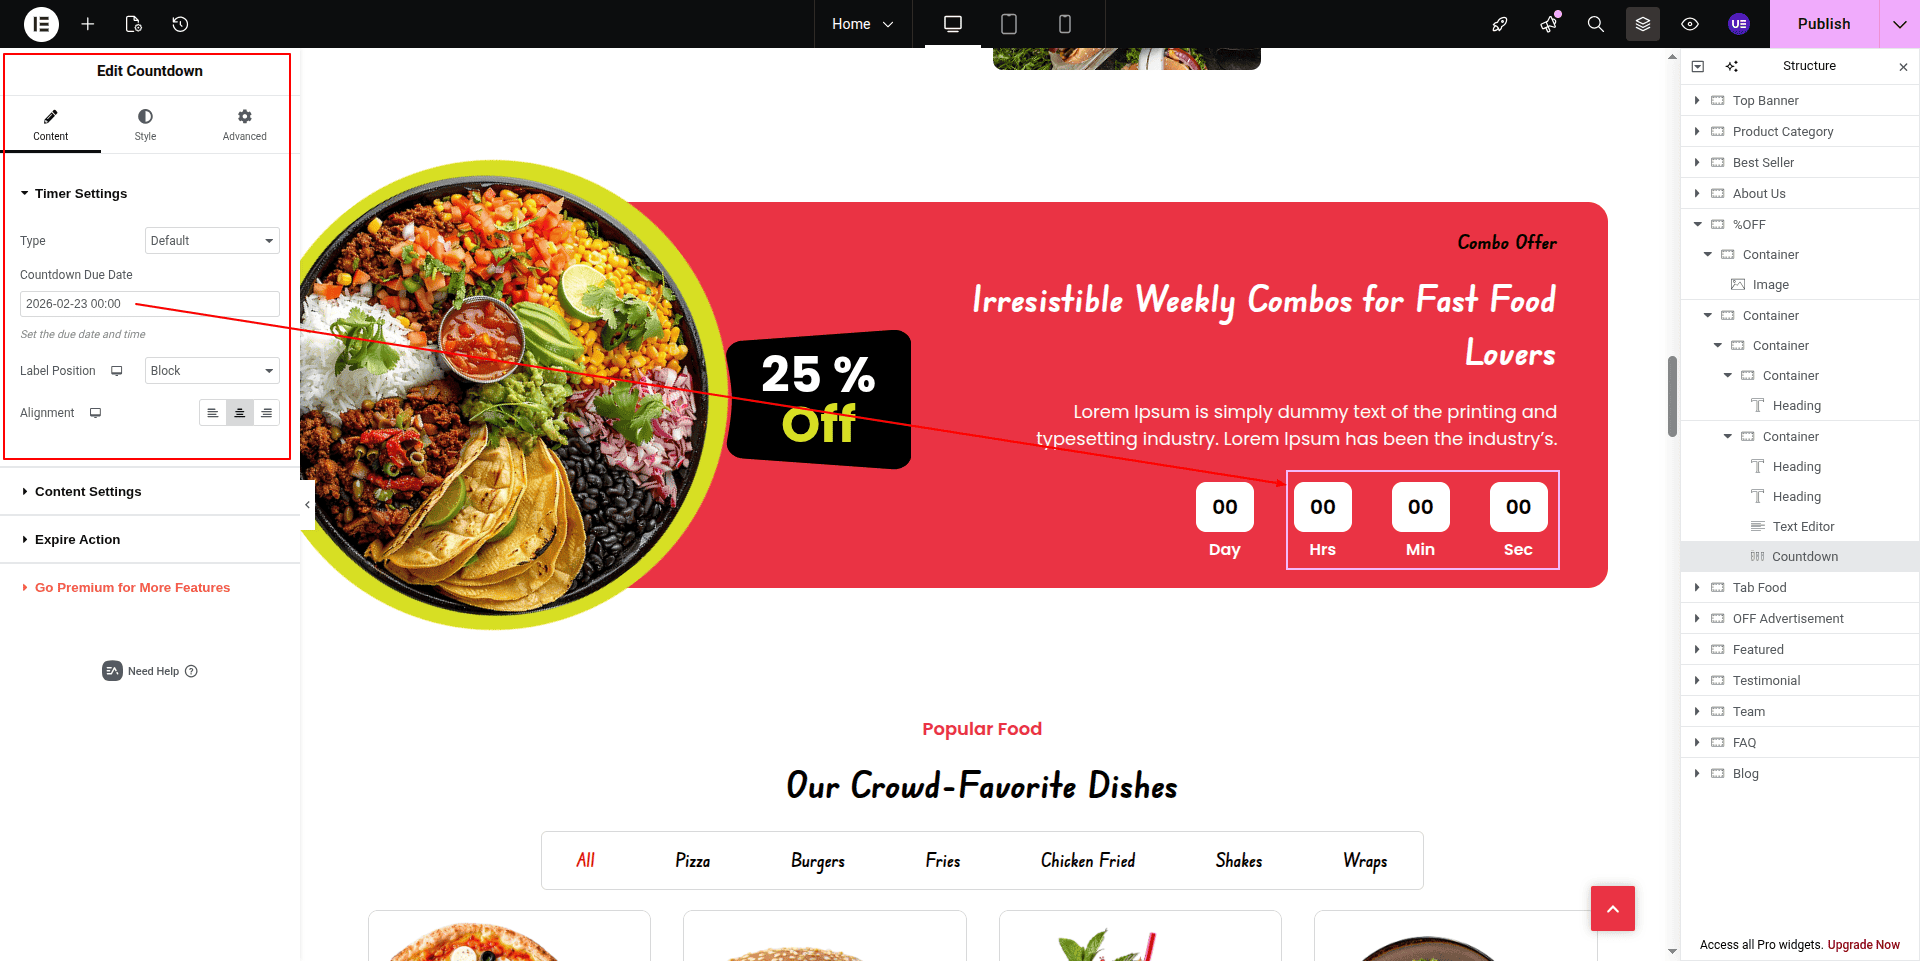
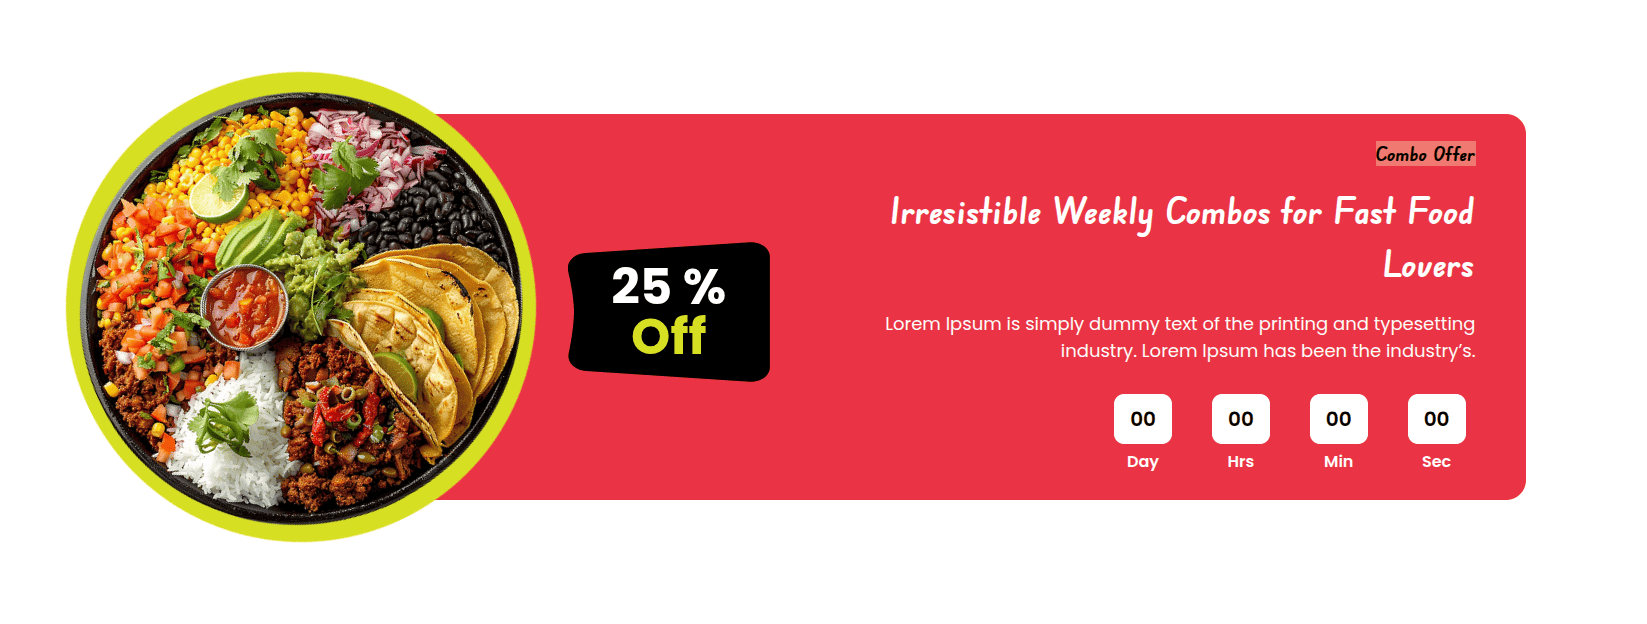
This is the final image of Combo Offer section.
4.7 Popular Food
To proceed Popular Food
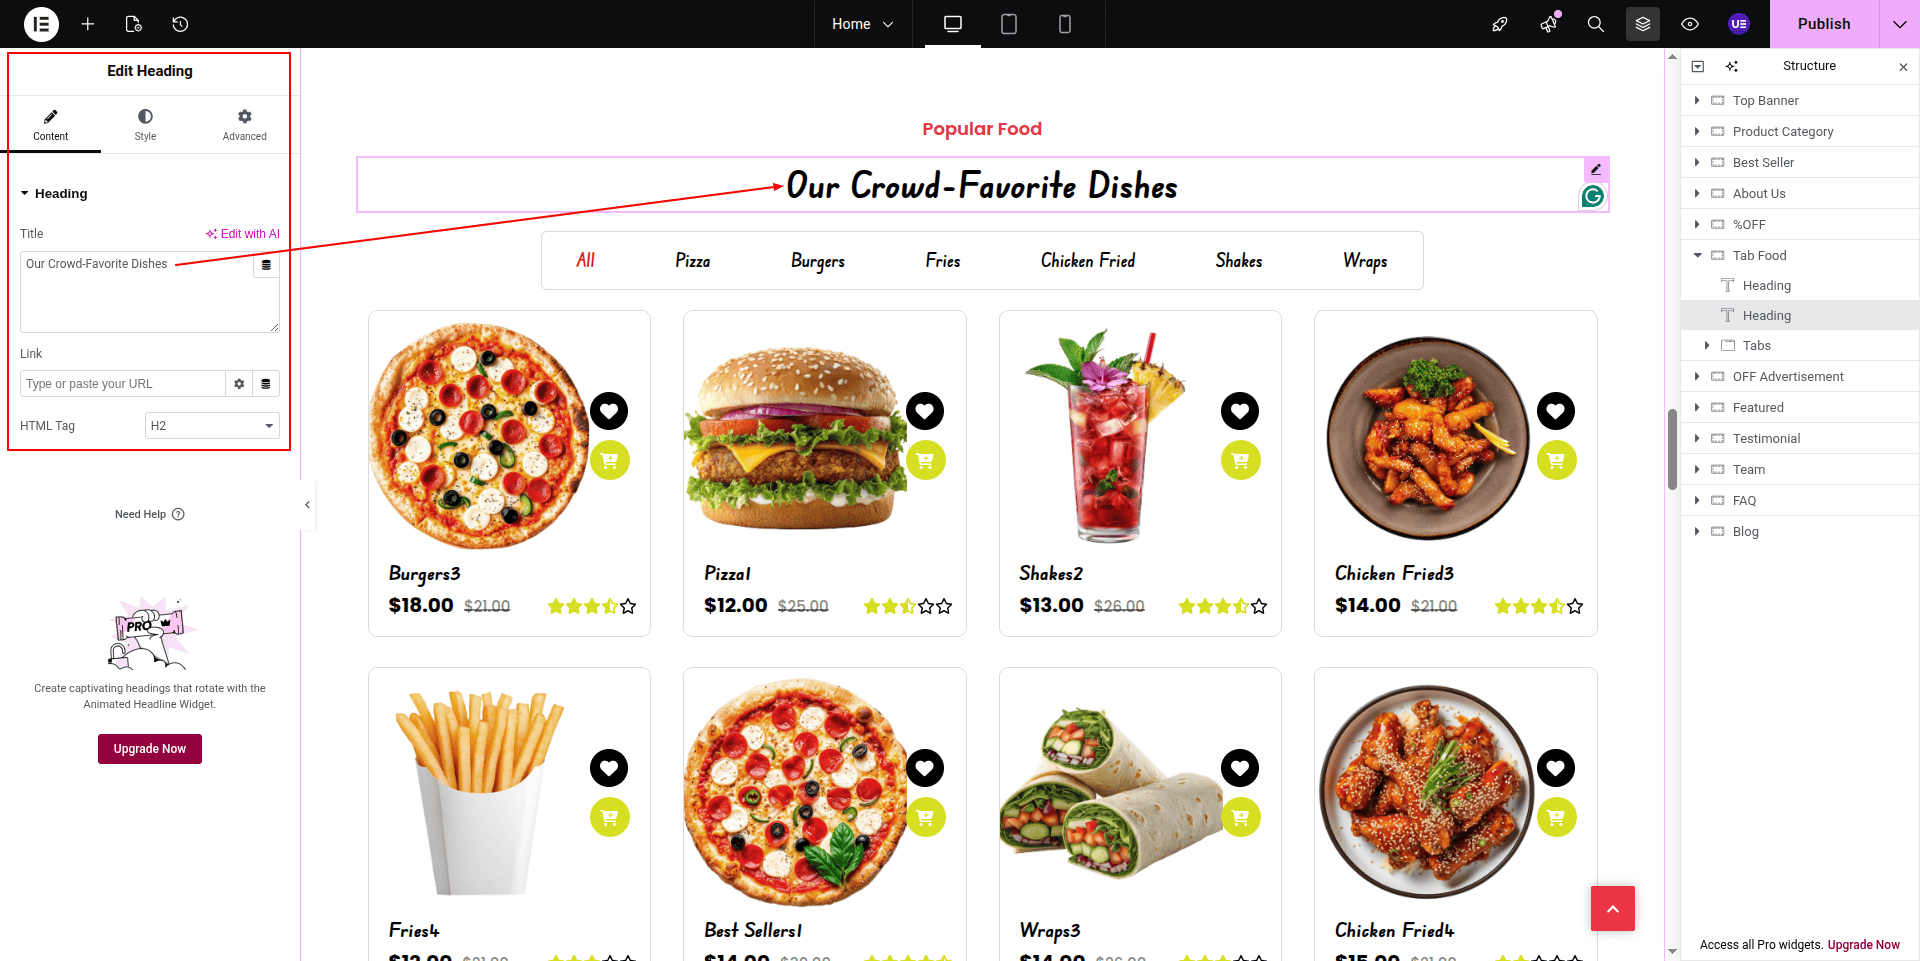
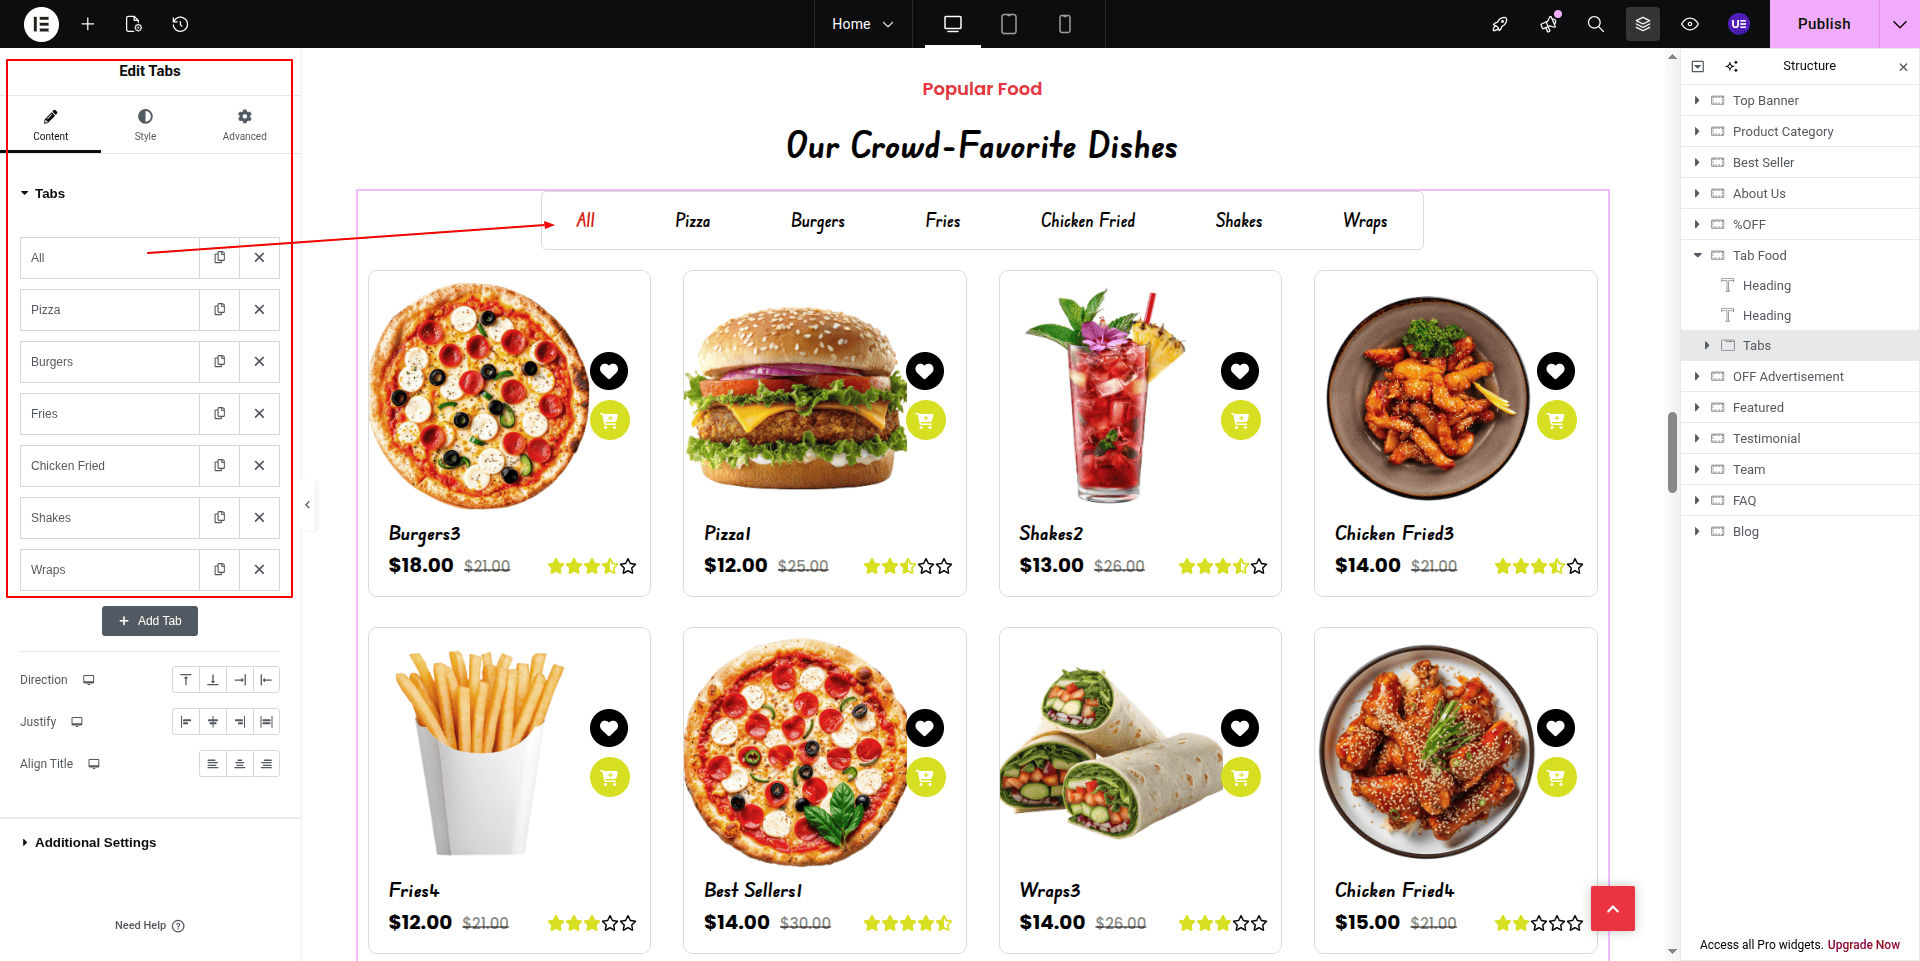
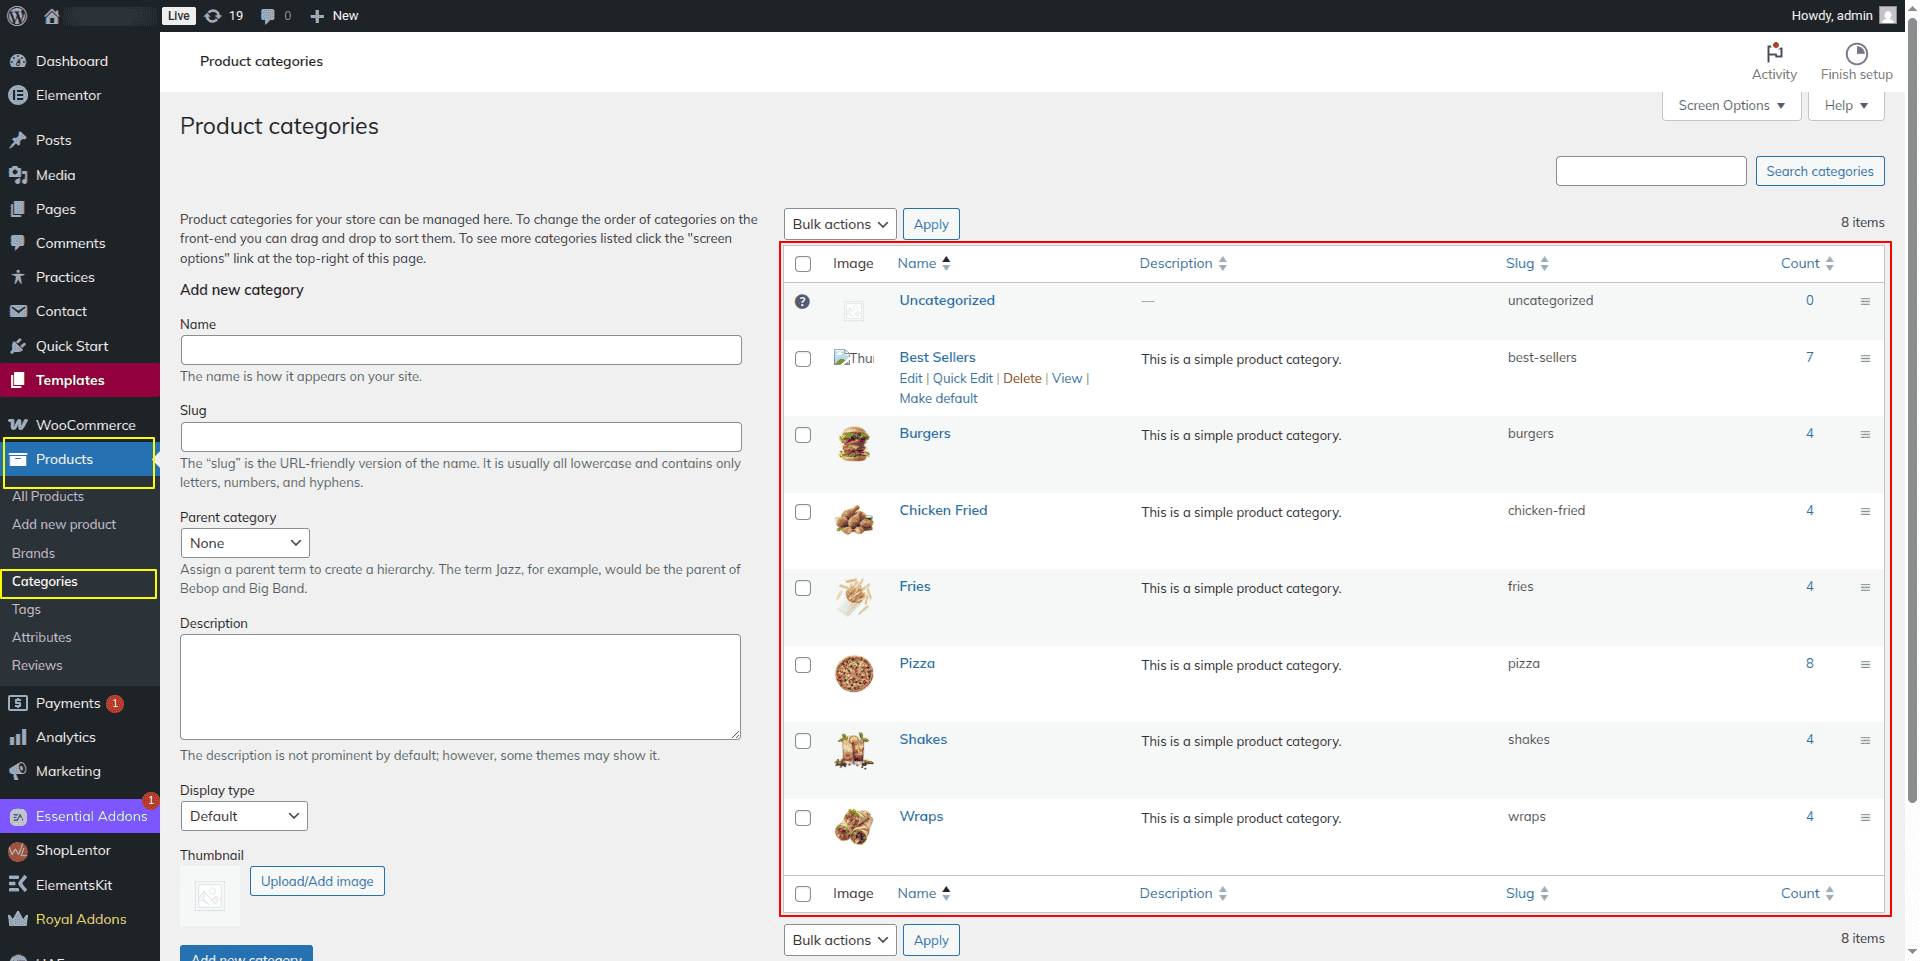
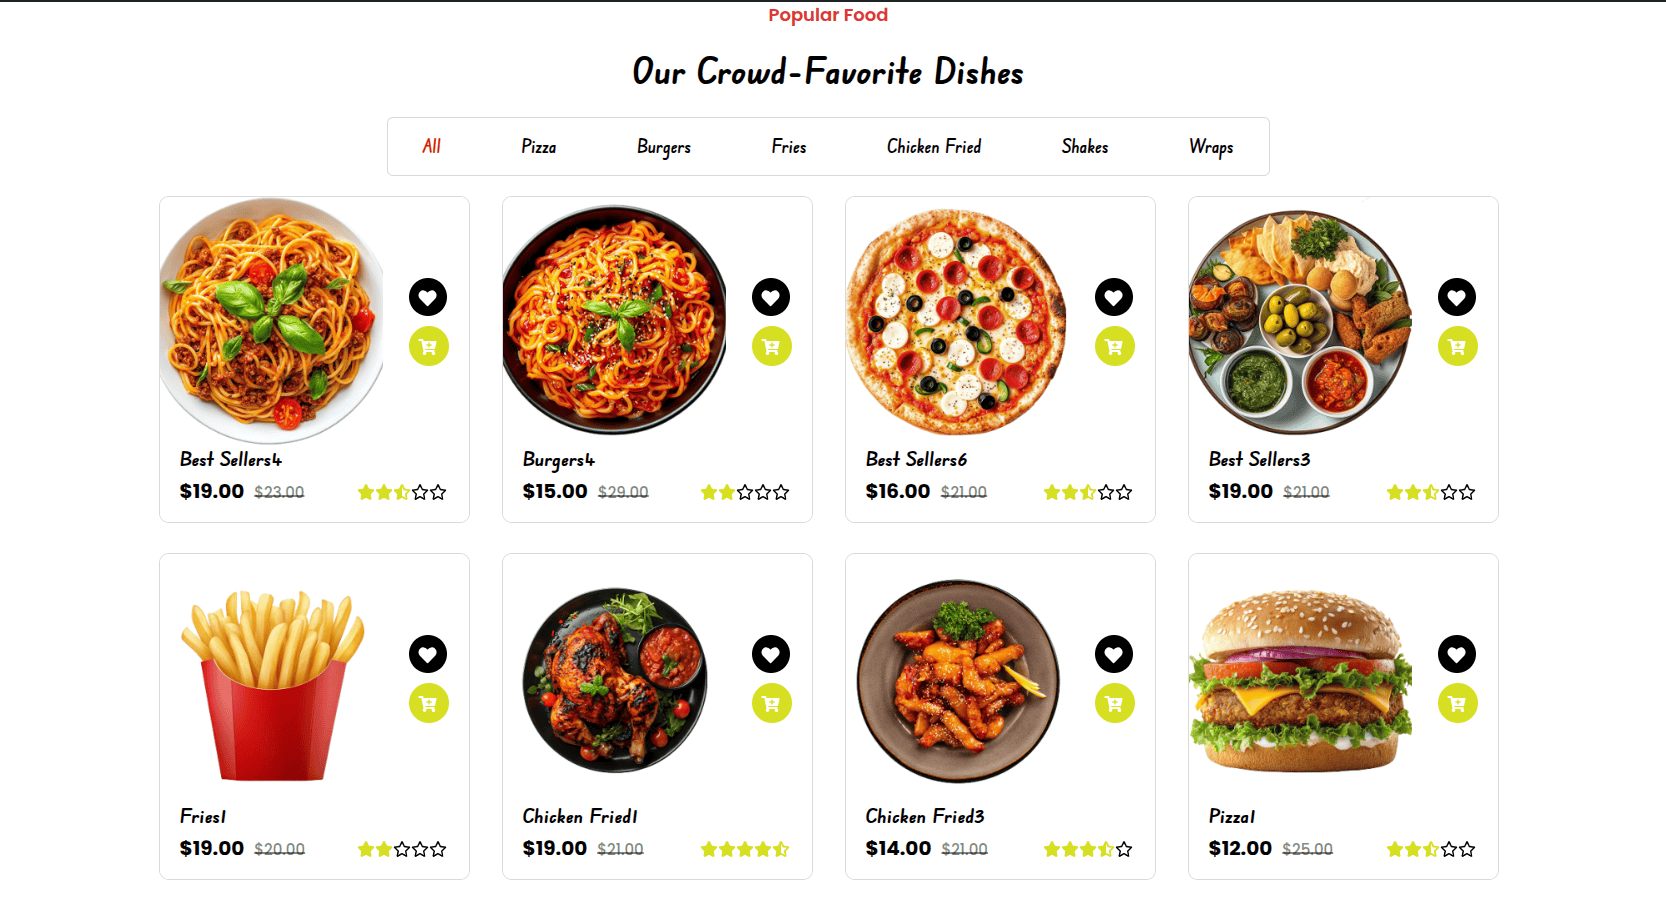
This is the final image of the Popular Food section.
4.8 Off Section
To Edit this Section, Click On the "Edit With Elementor" Button which will open the Elementor Widget editor.
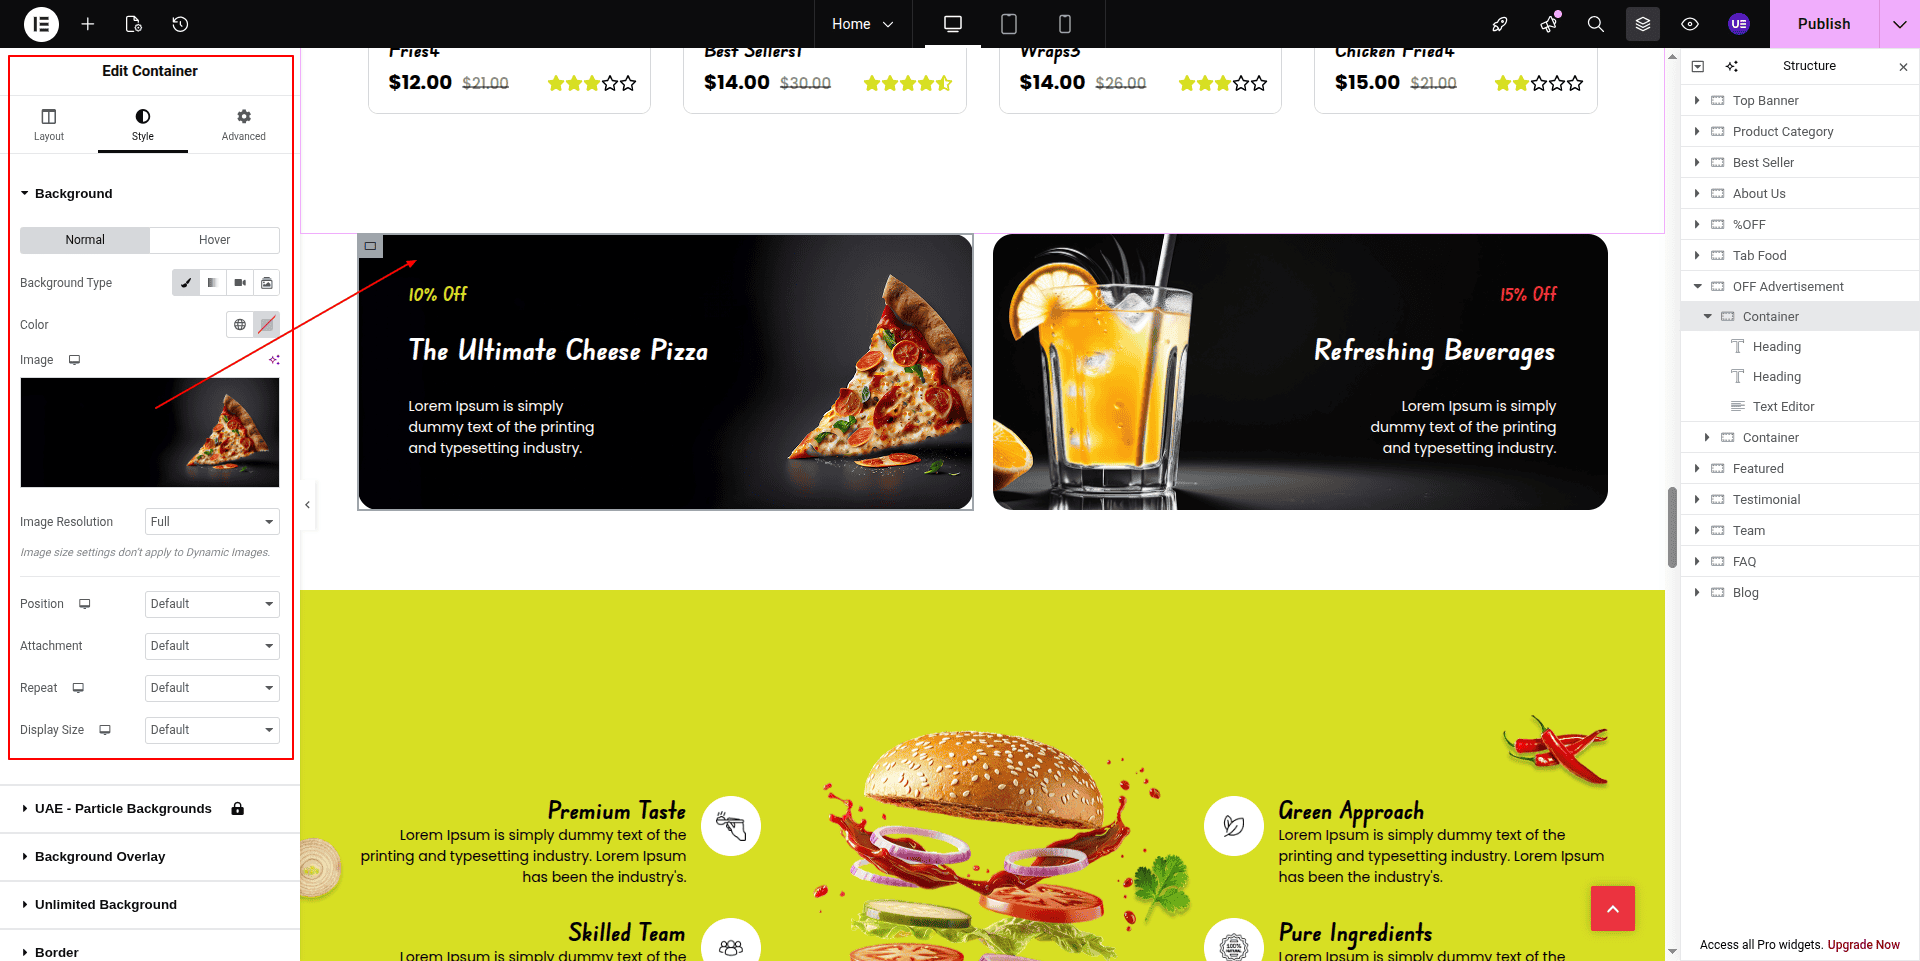
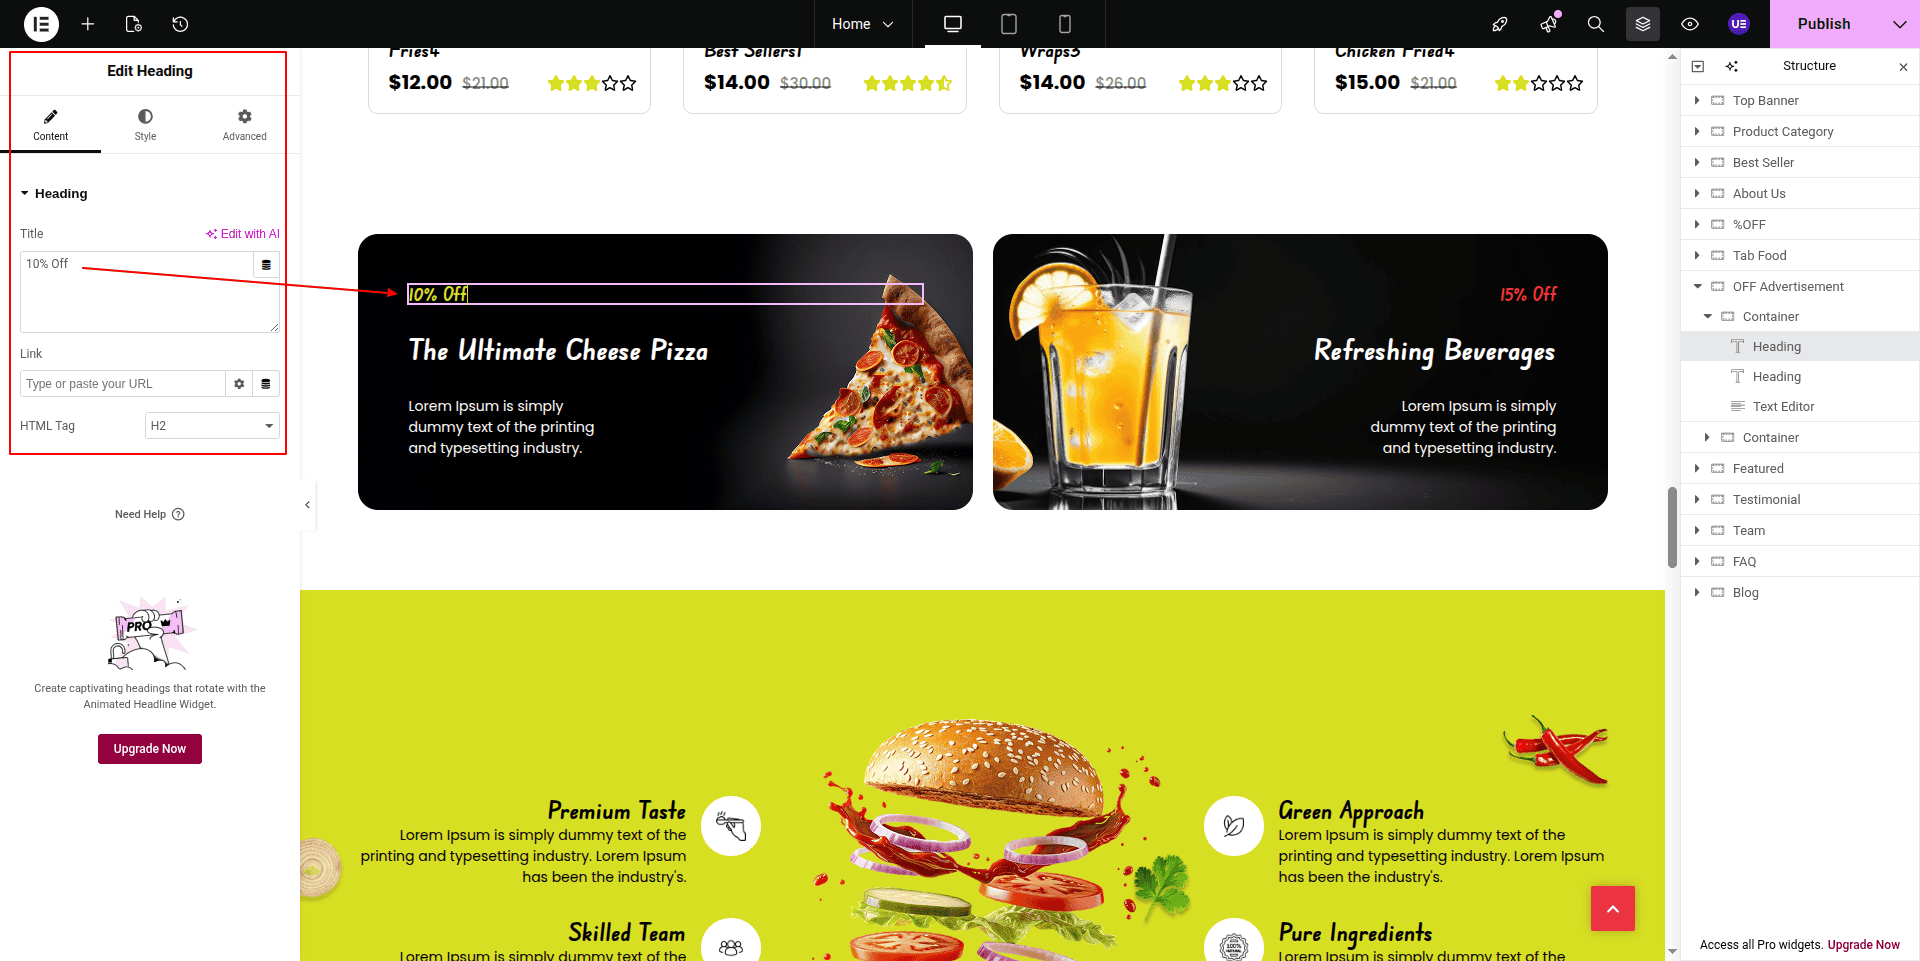
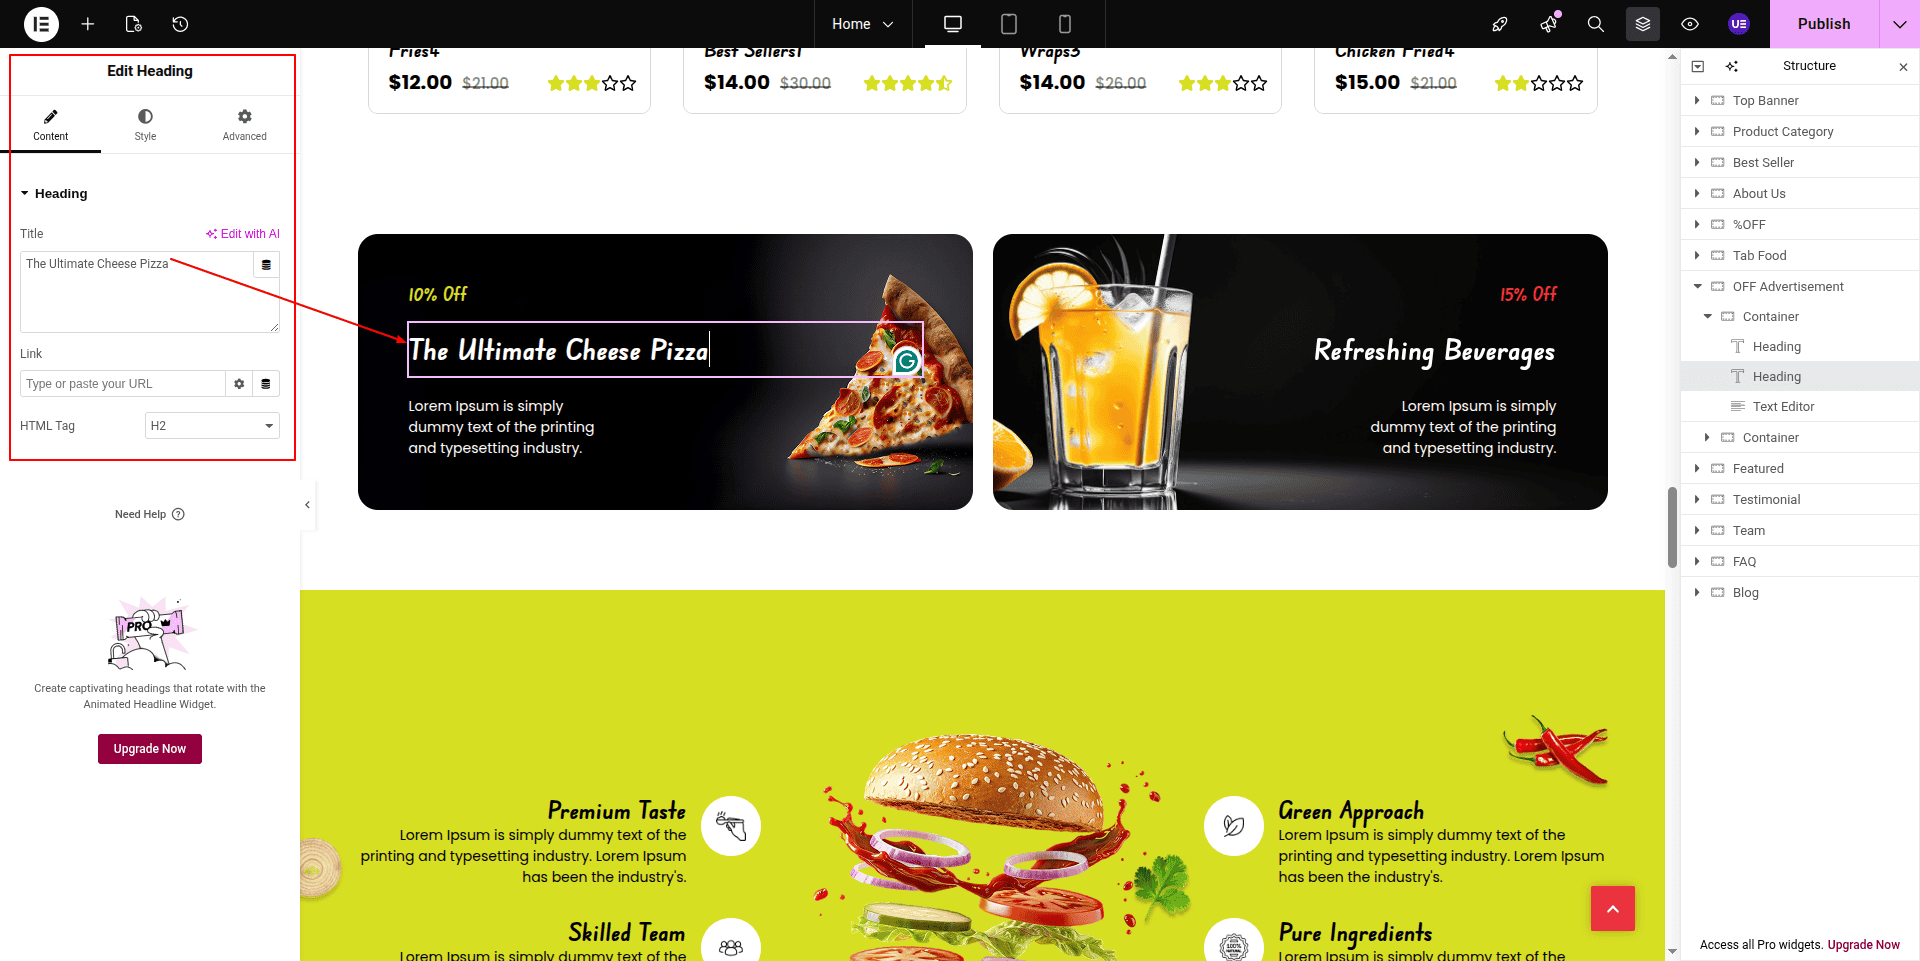
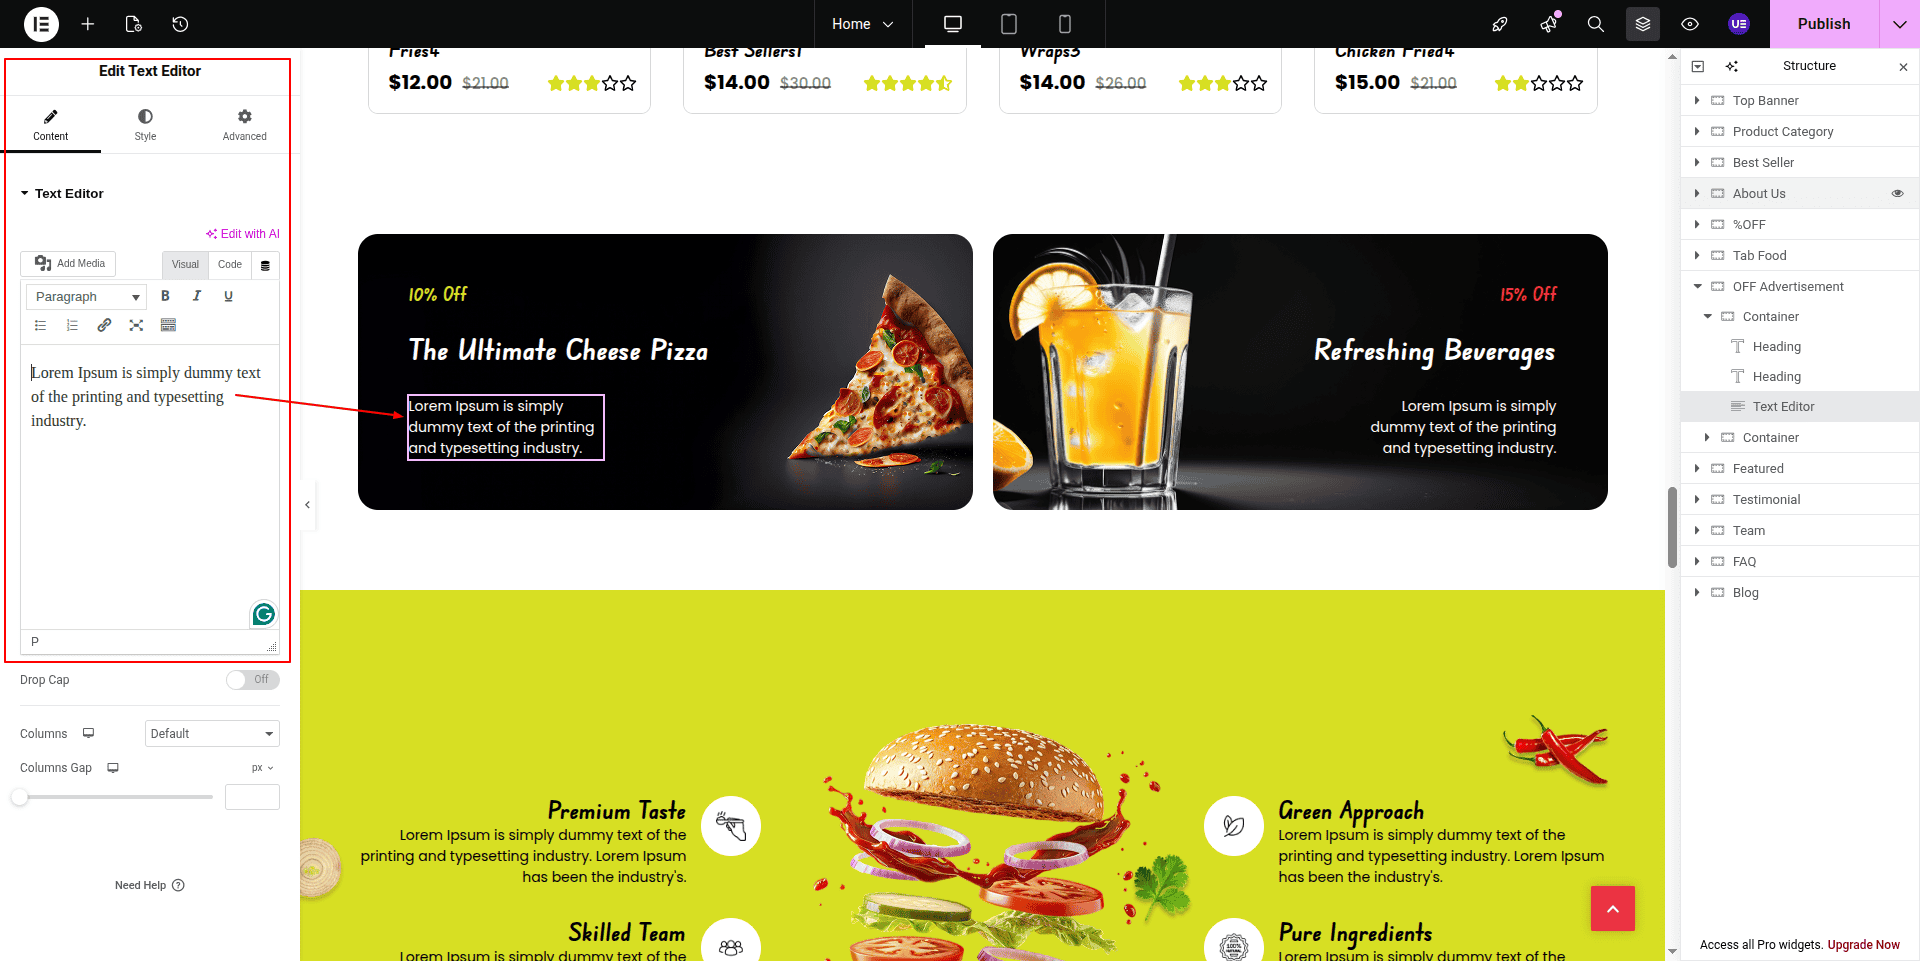
This is the final image of the Off Section
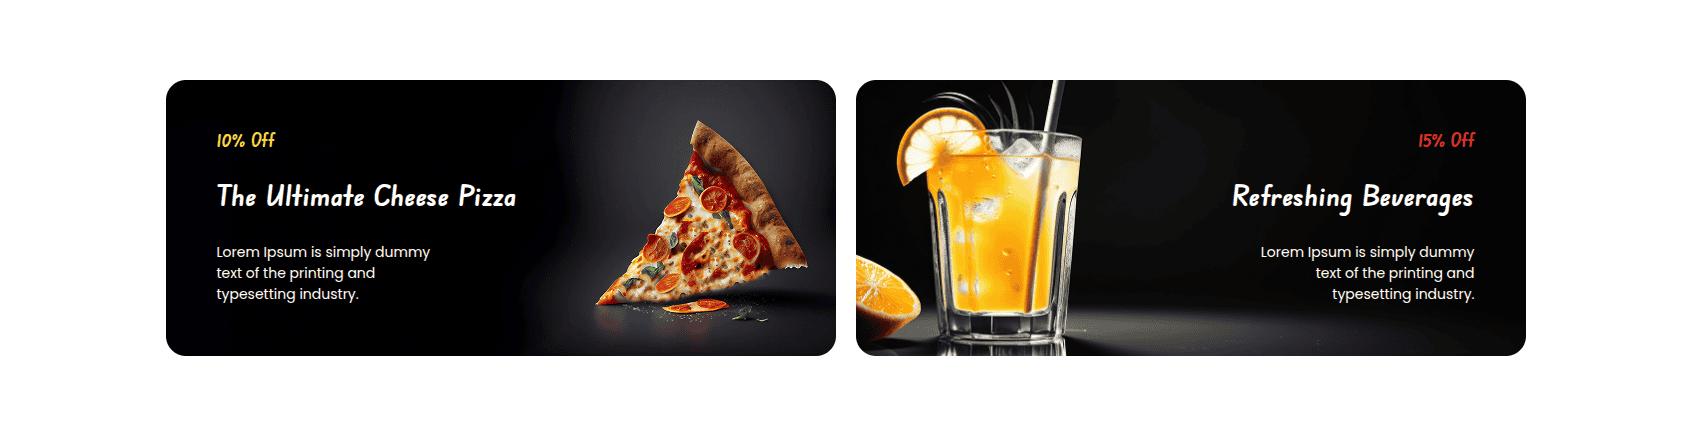
4.9 Featured & Counter
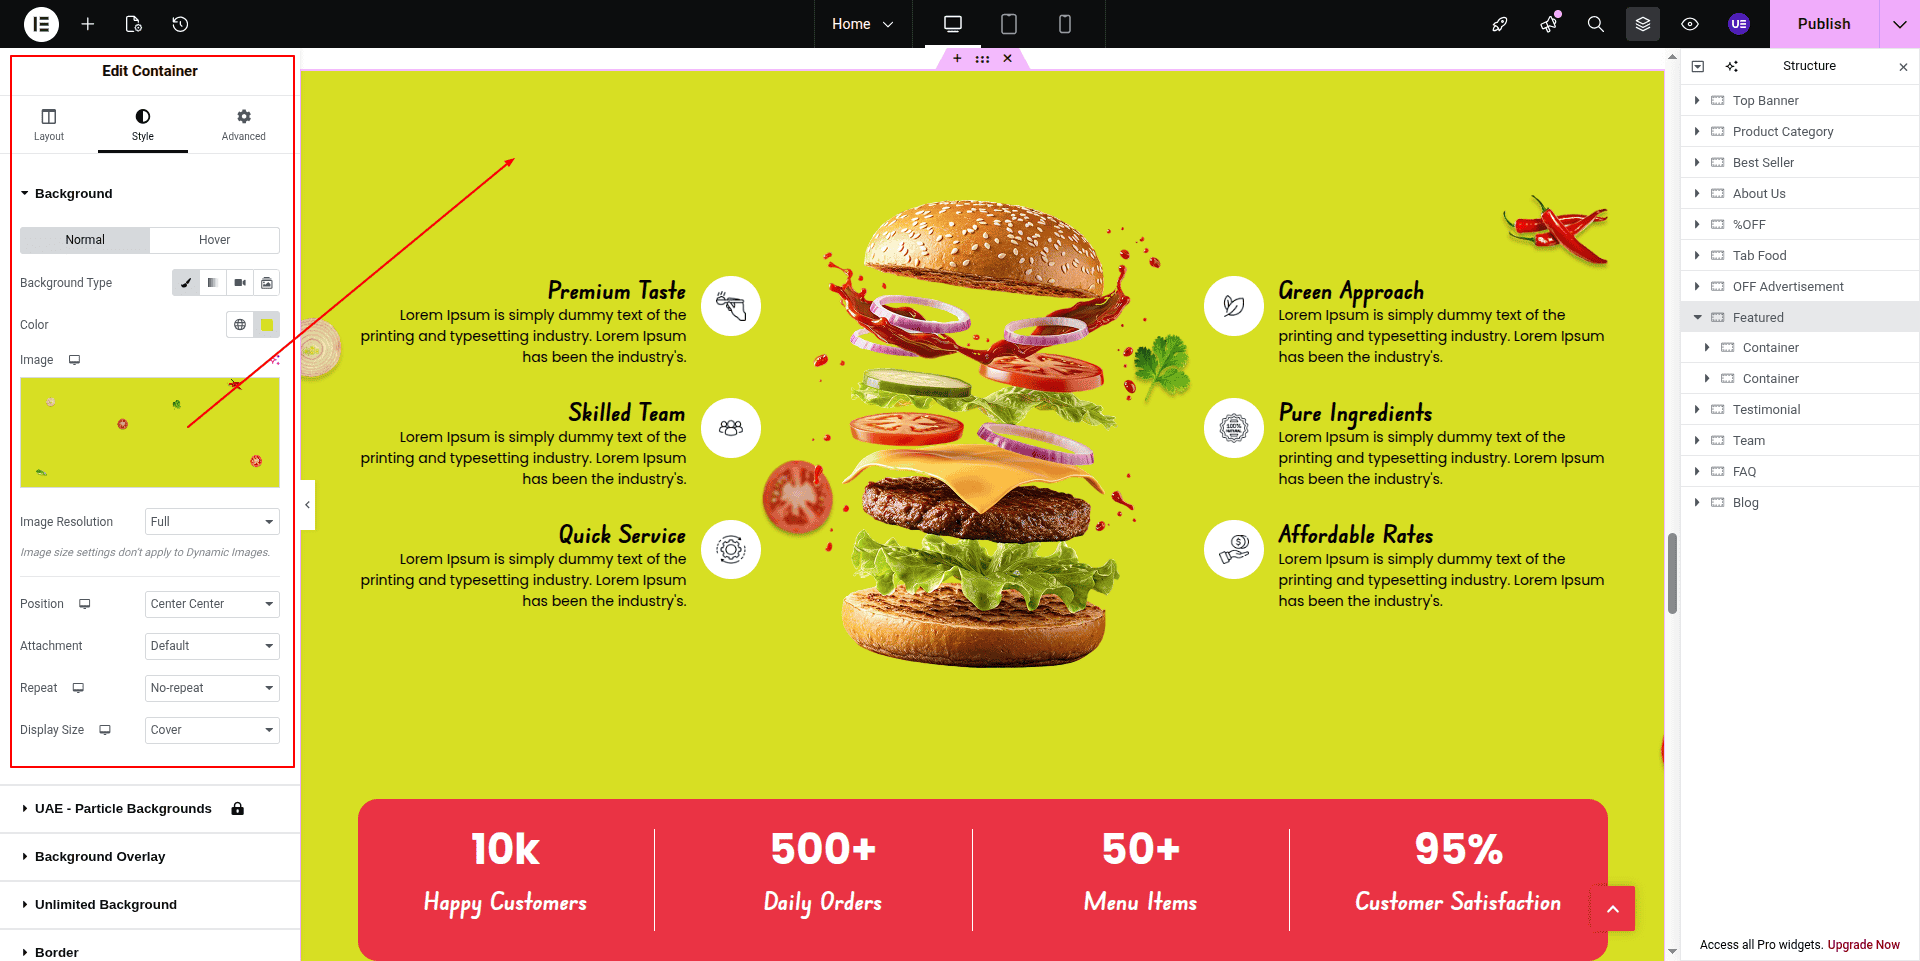
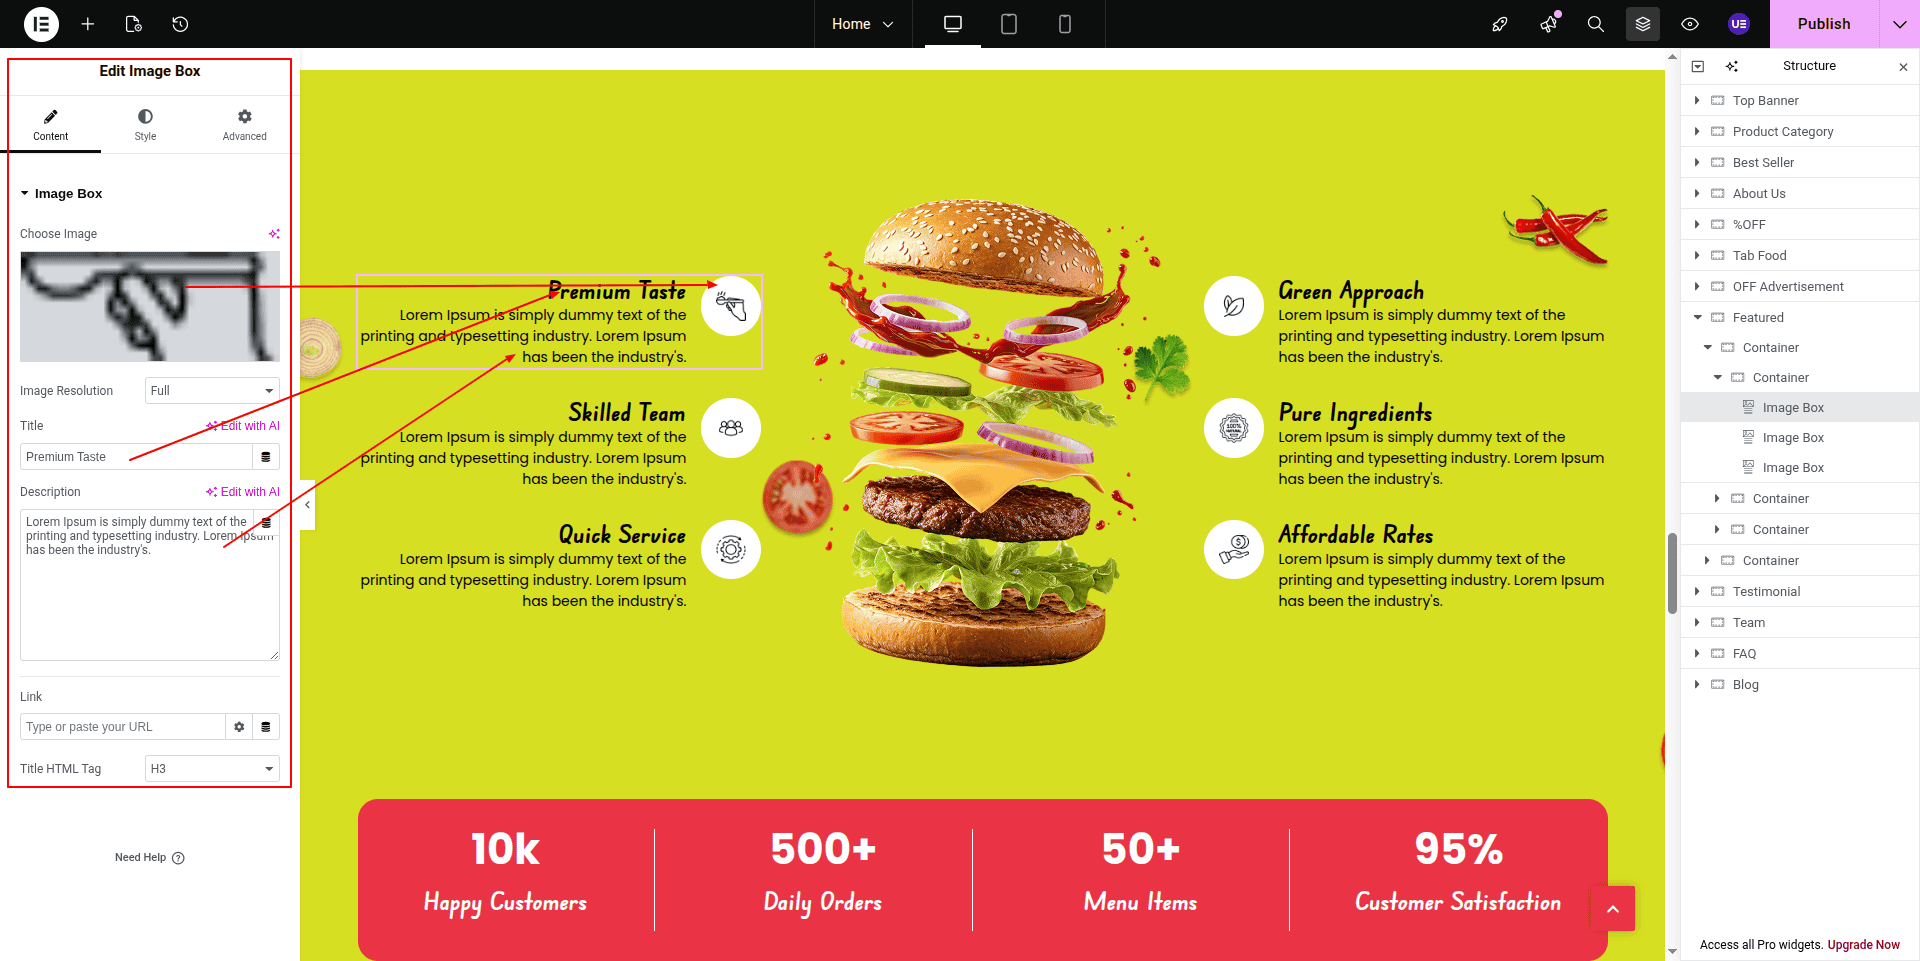
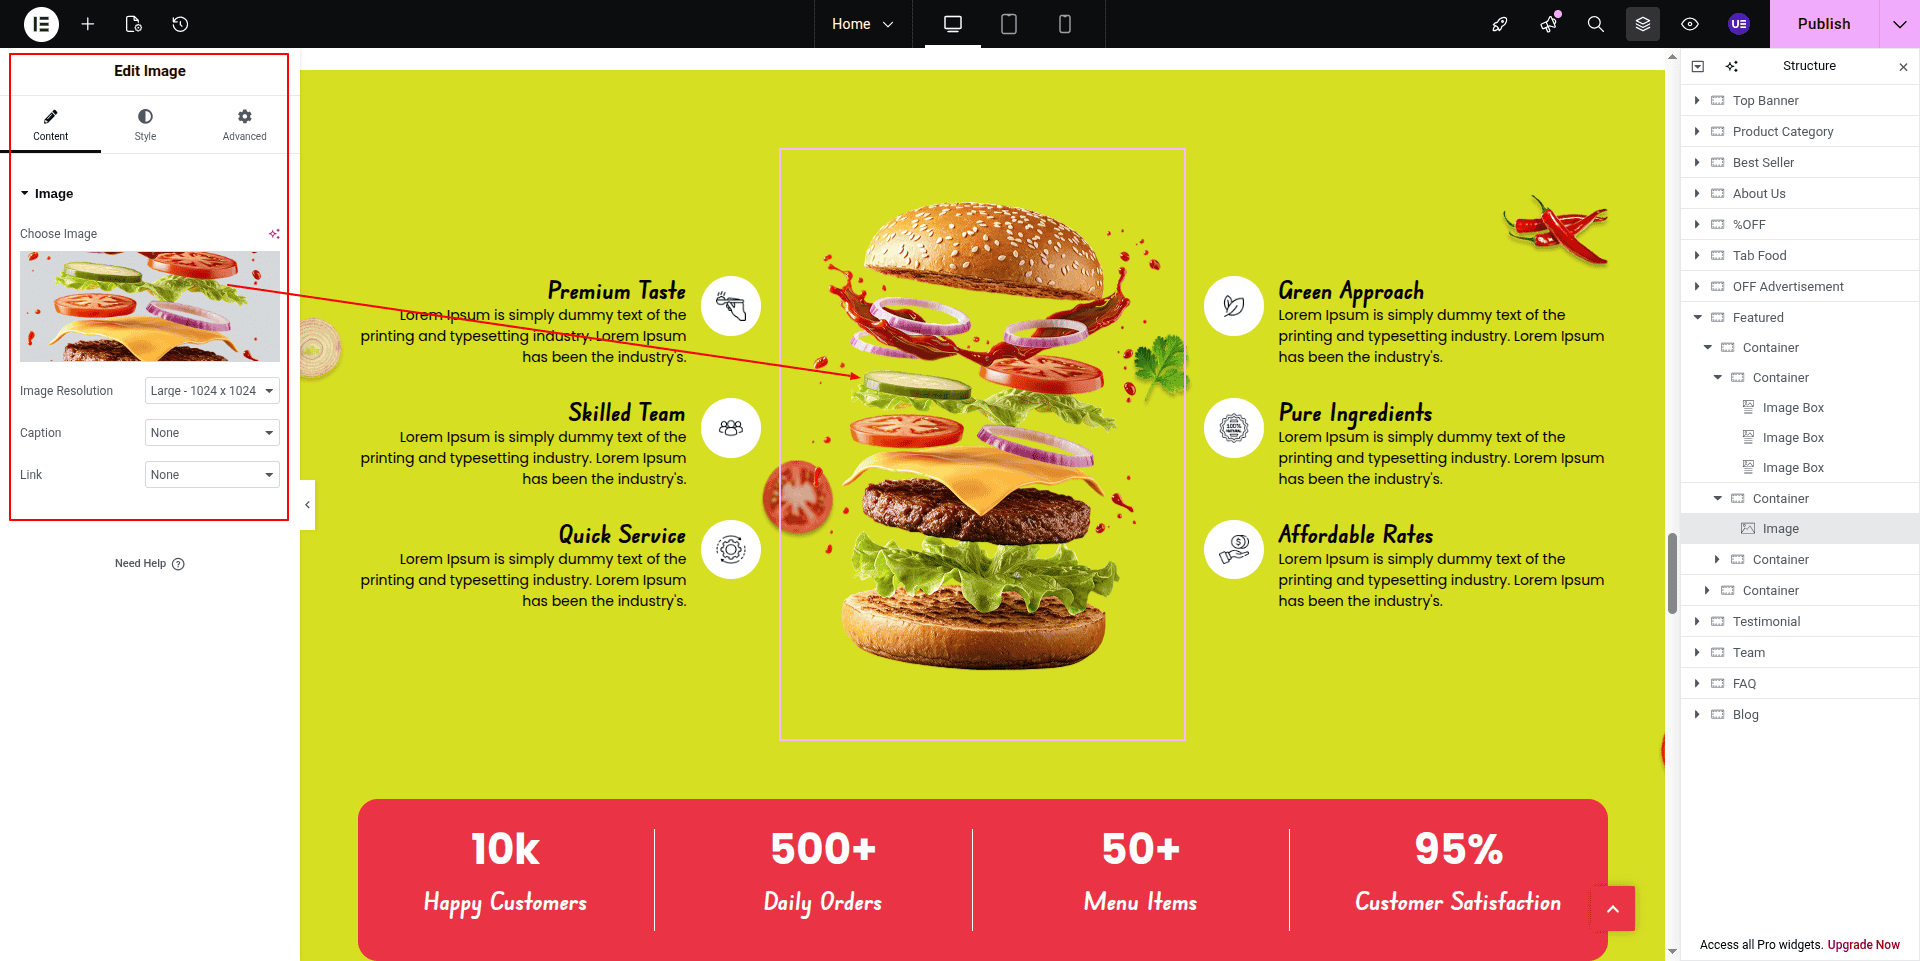
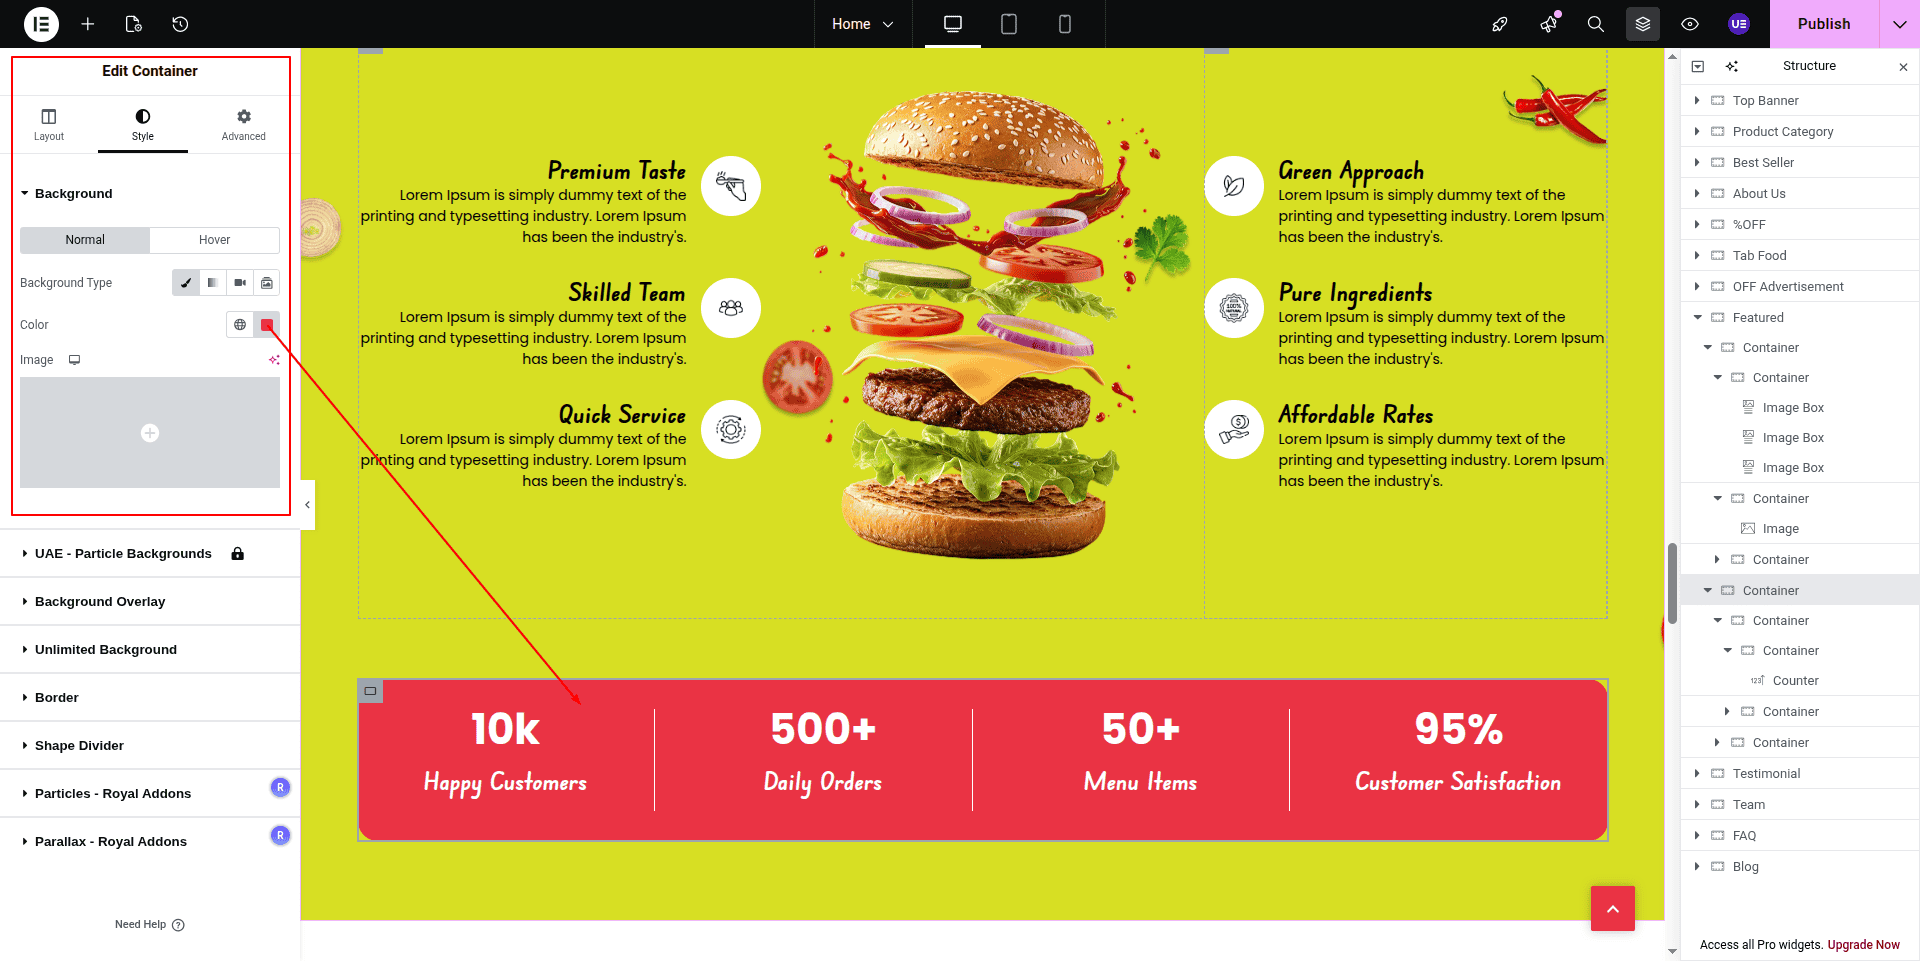
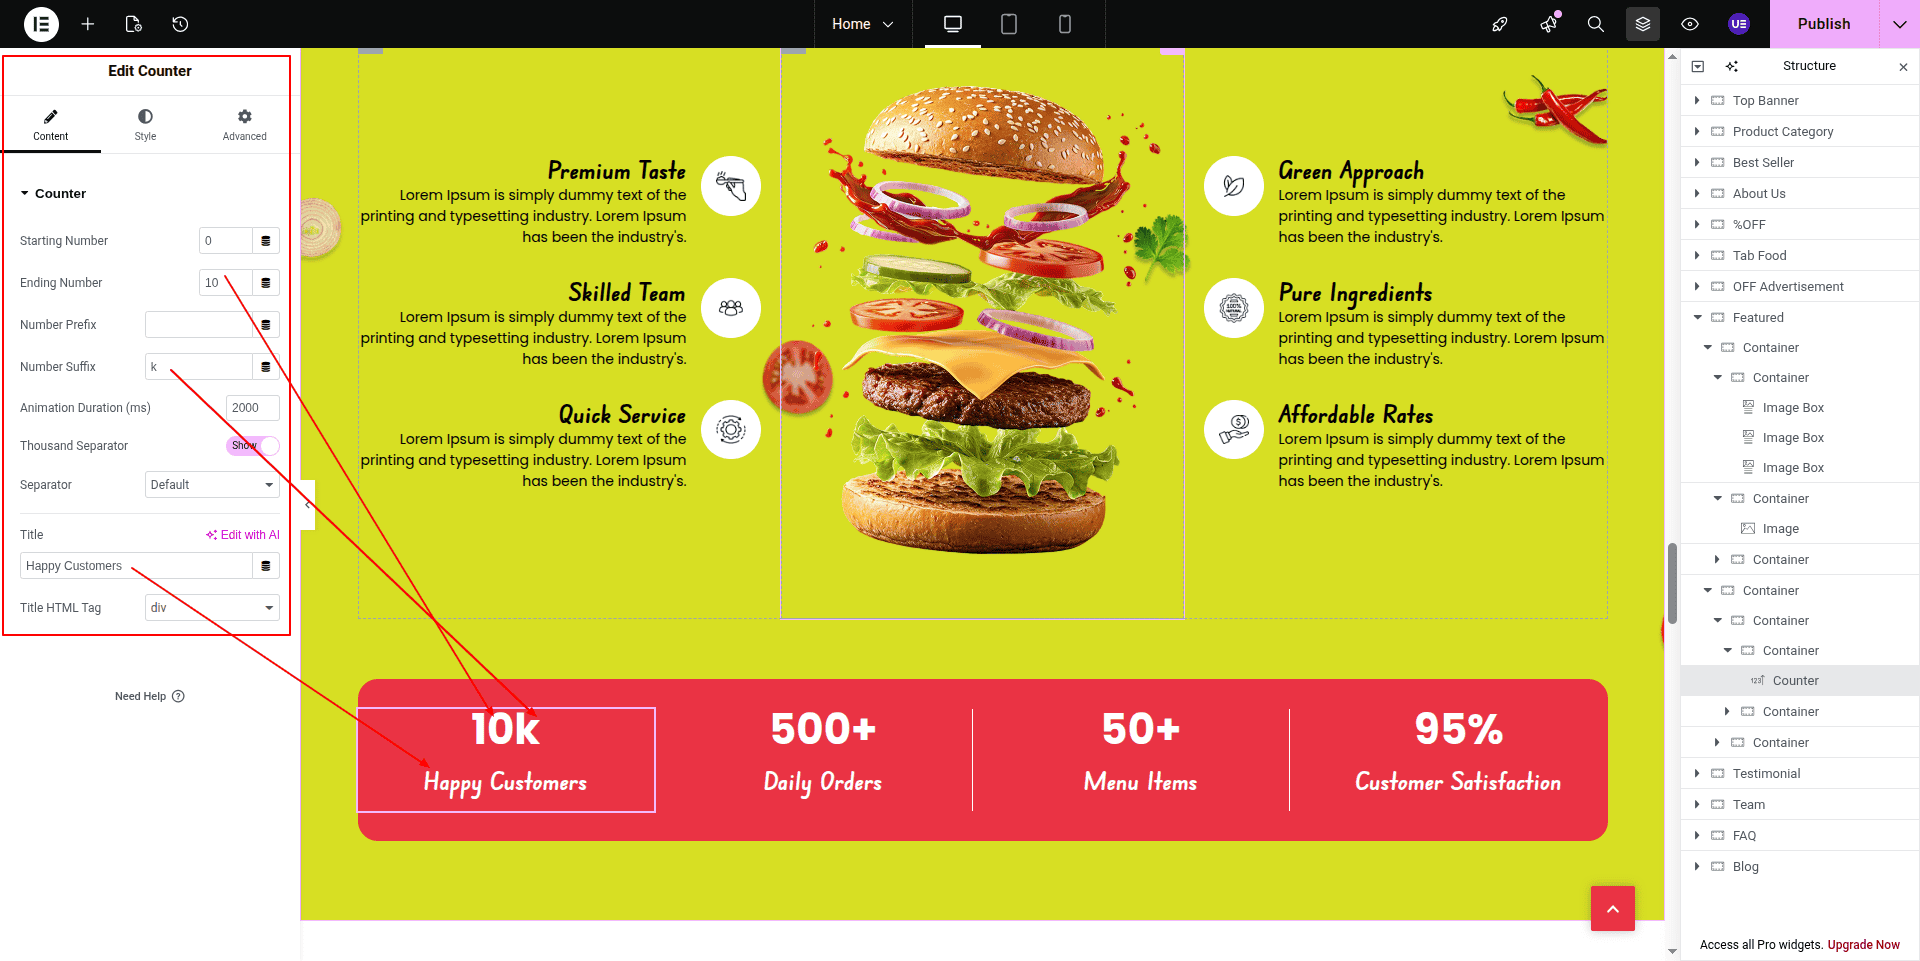
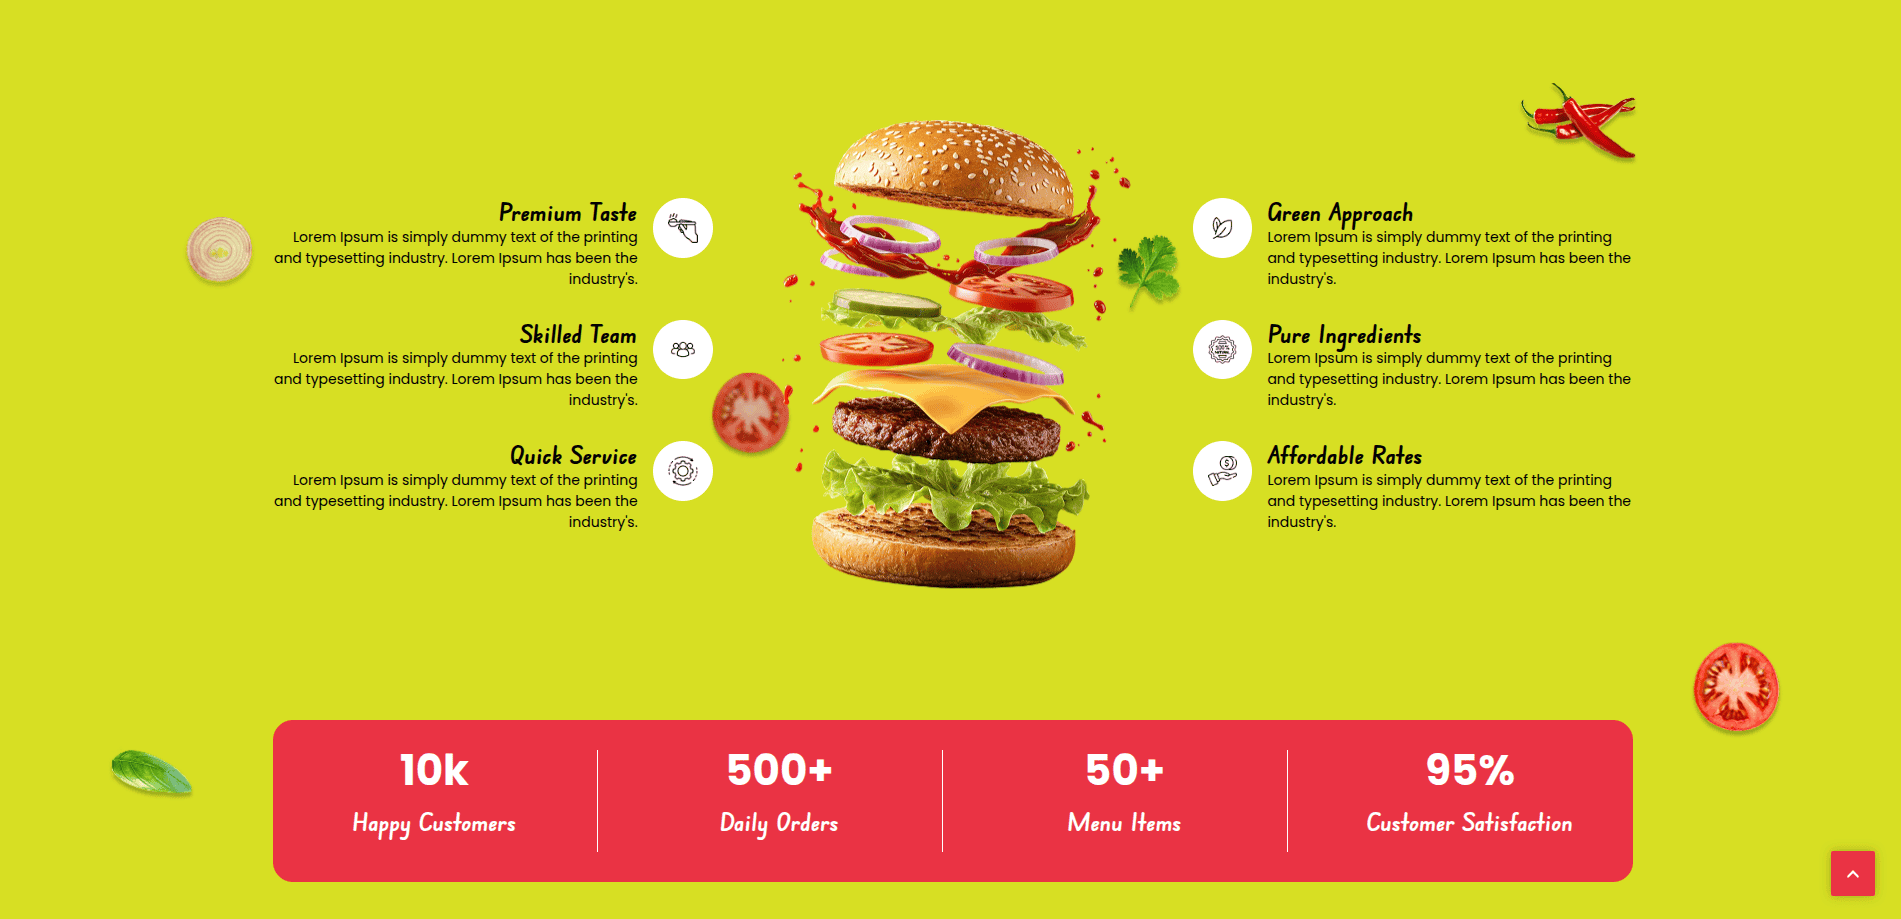
This is the final image of the Featured & Counter section
4.10 Customer Testimonials
To Edit this Section, Click On the "Edit With Elementor" Button which will open the Elementor Widget editor.
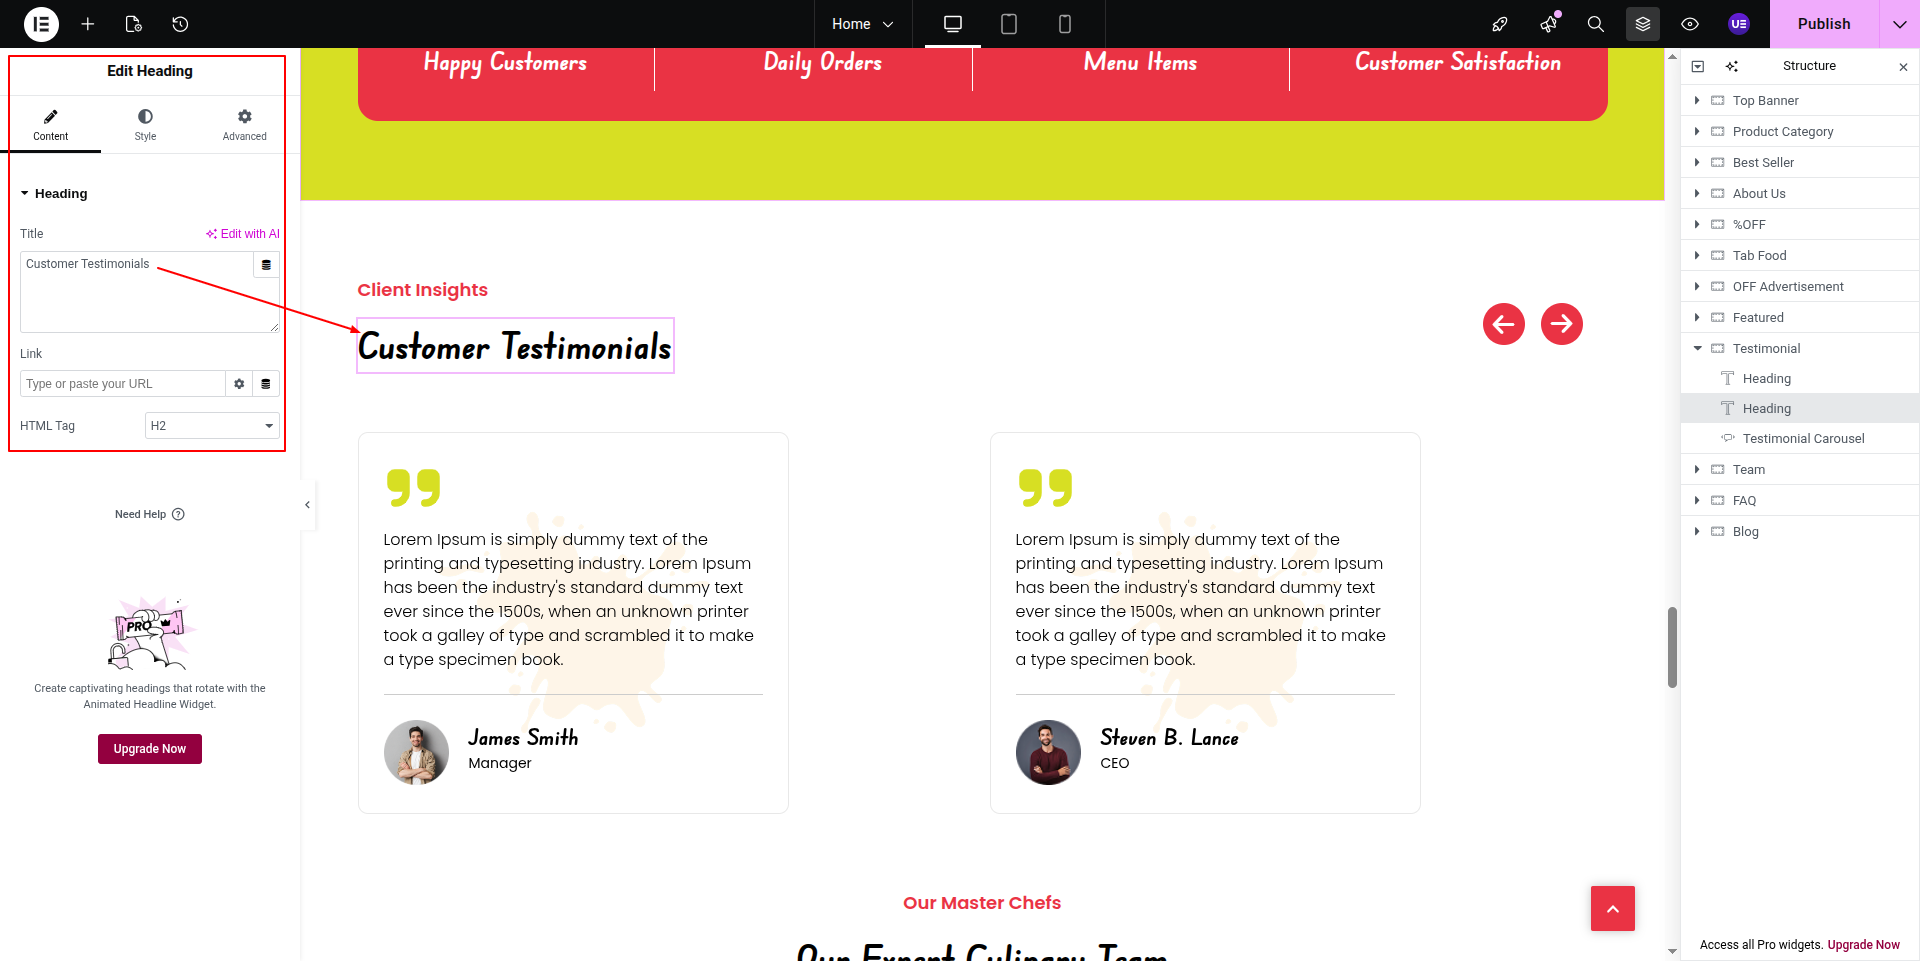
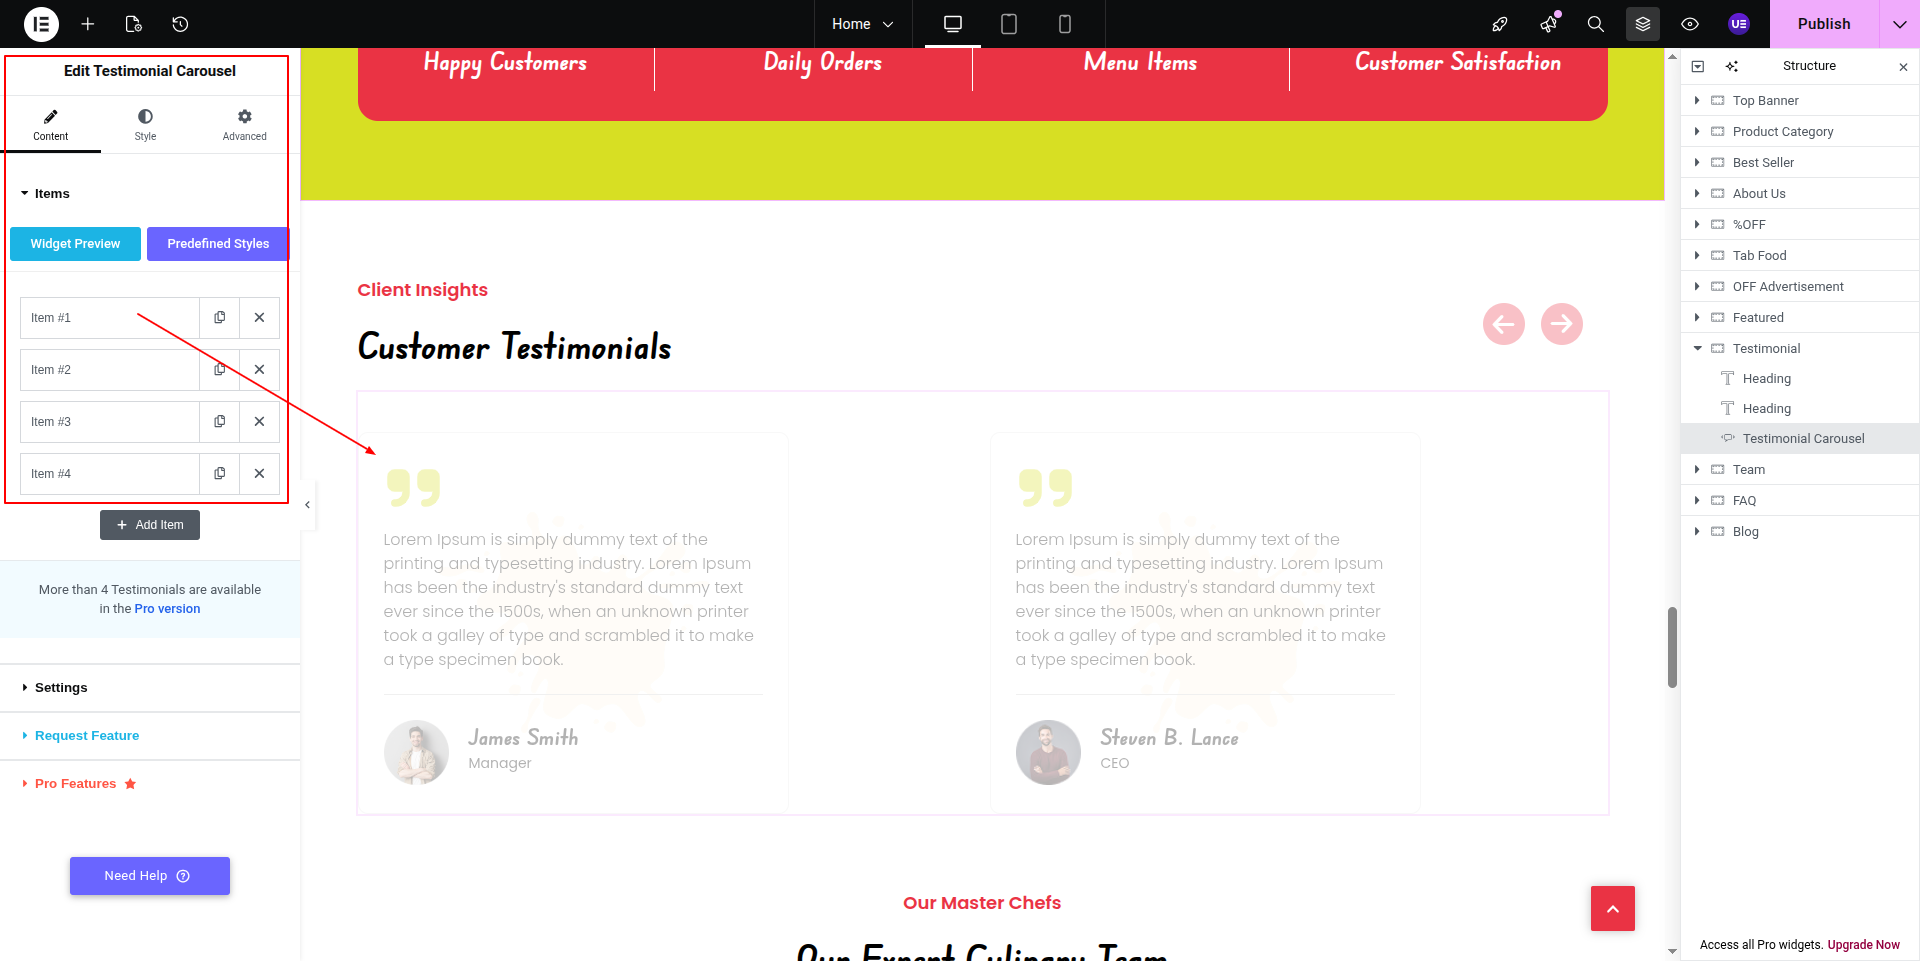
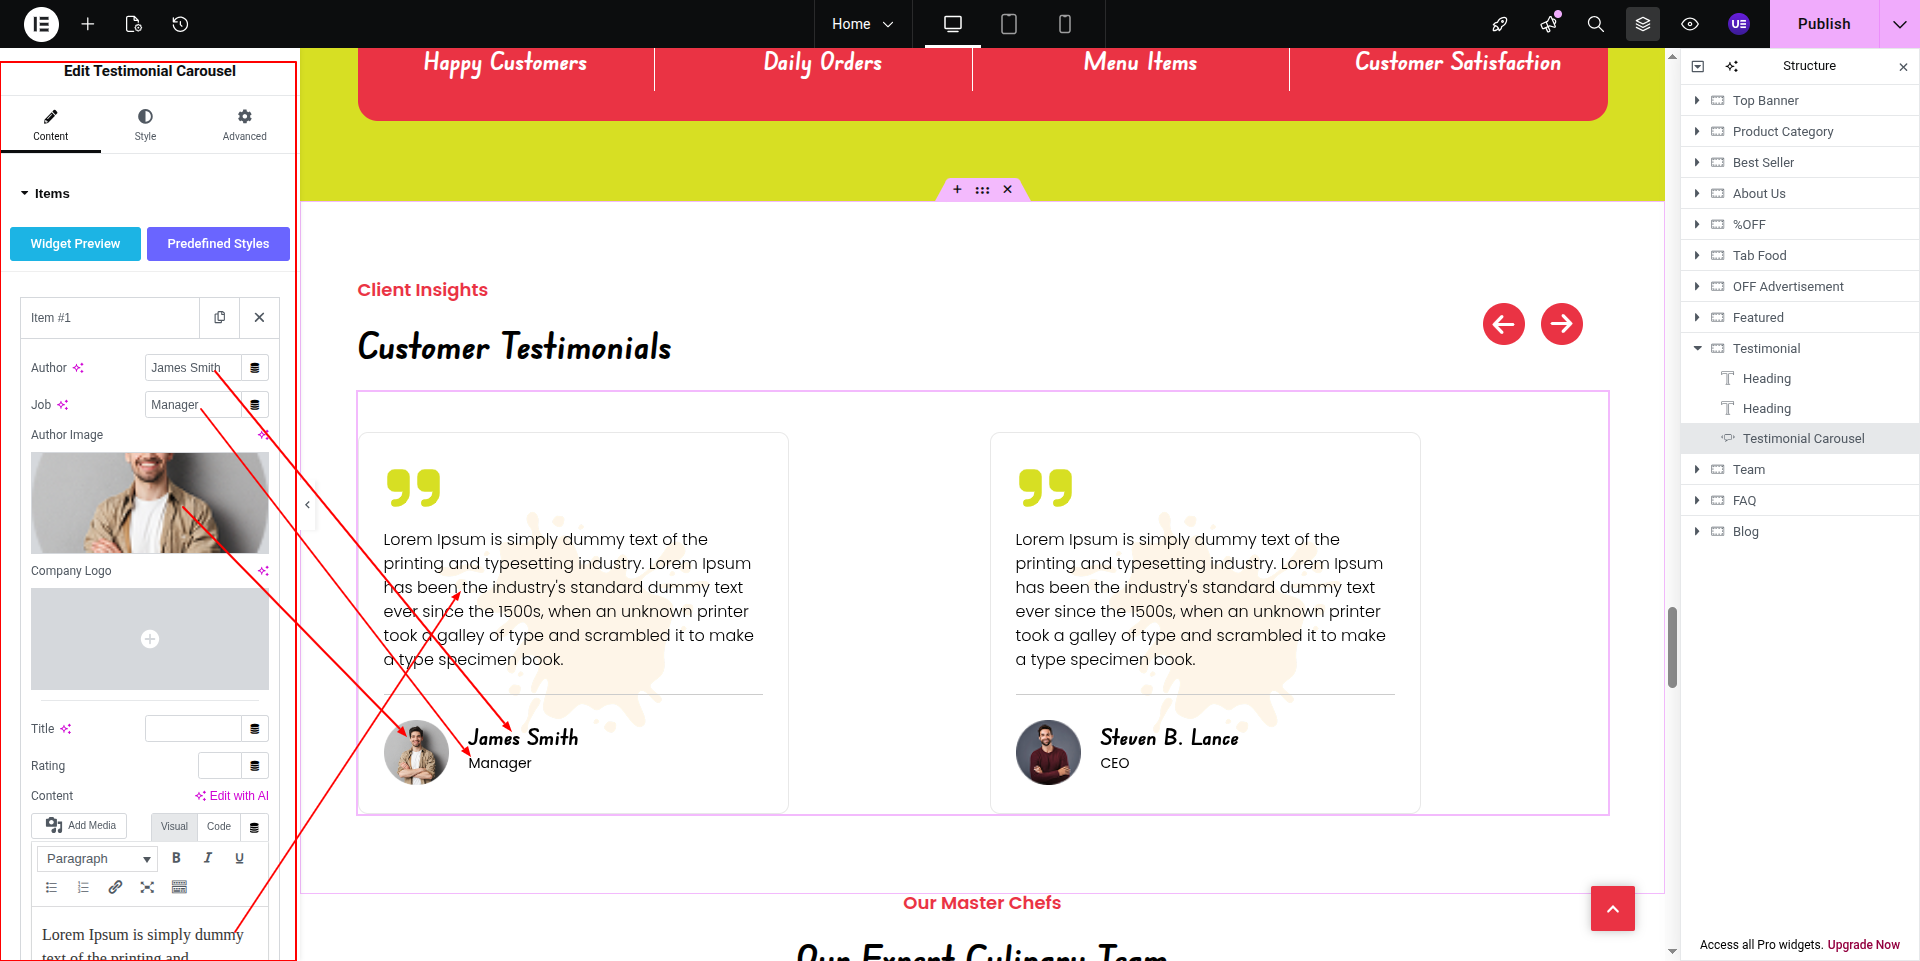
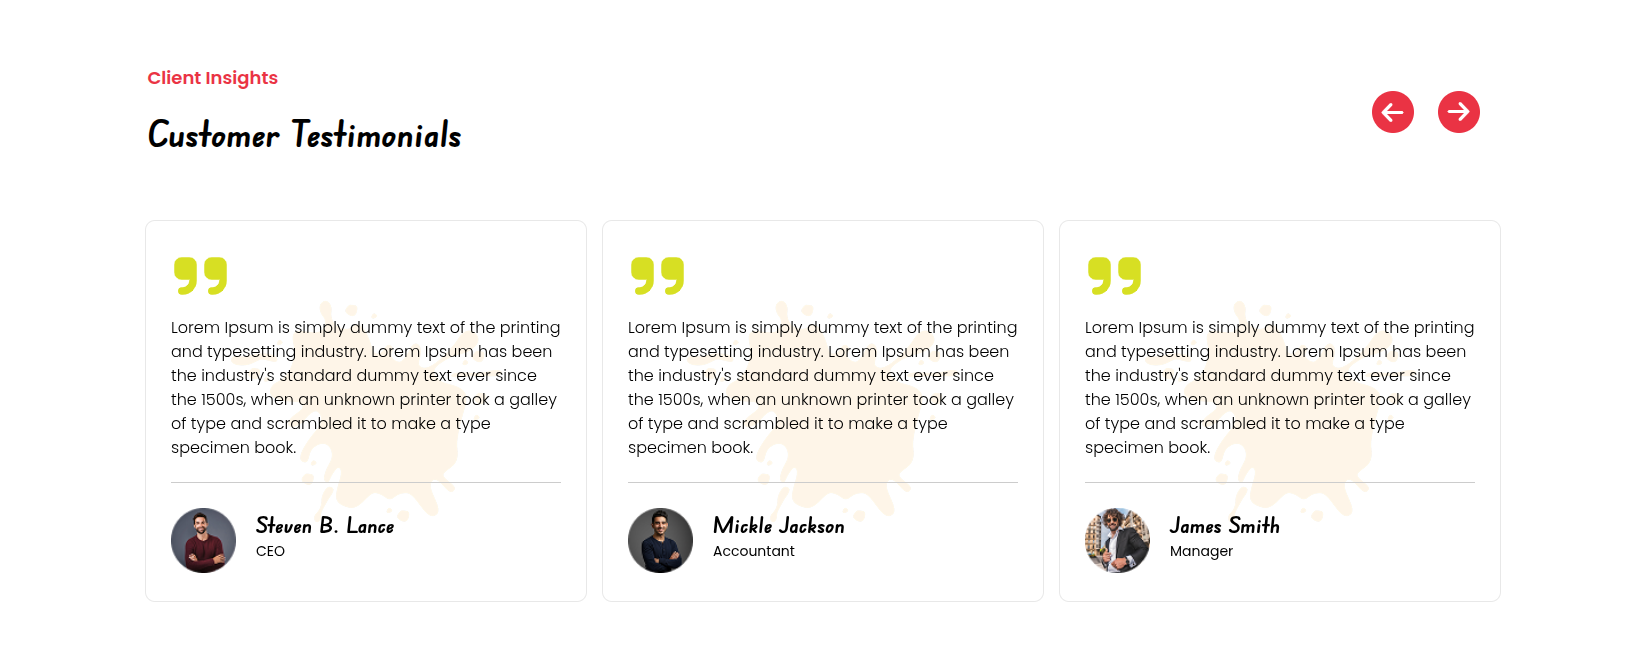
This is the final image of the Customer Testimonials section
4.11 Our Expert
To proceed Our Expert Section
To Edit this Section, Click On the "Edit With Elementor" Button which will open the Elementor Widget editor.
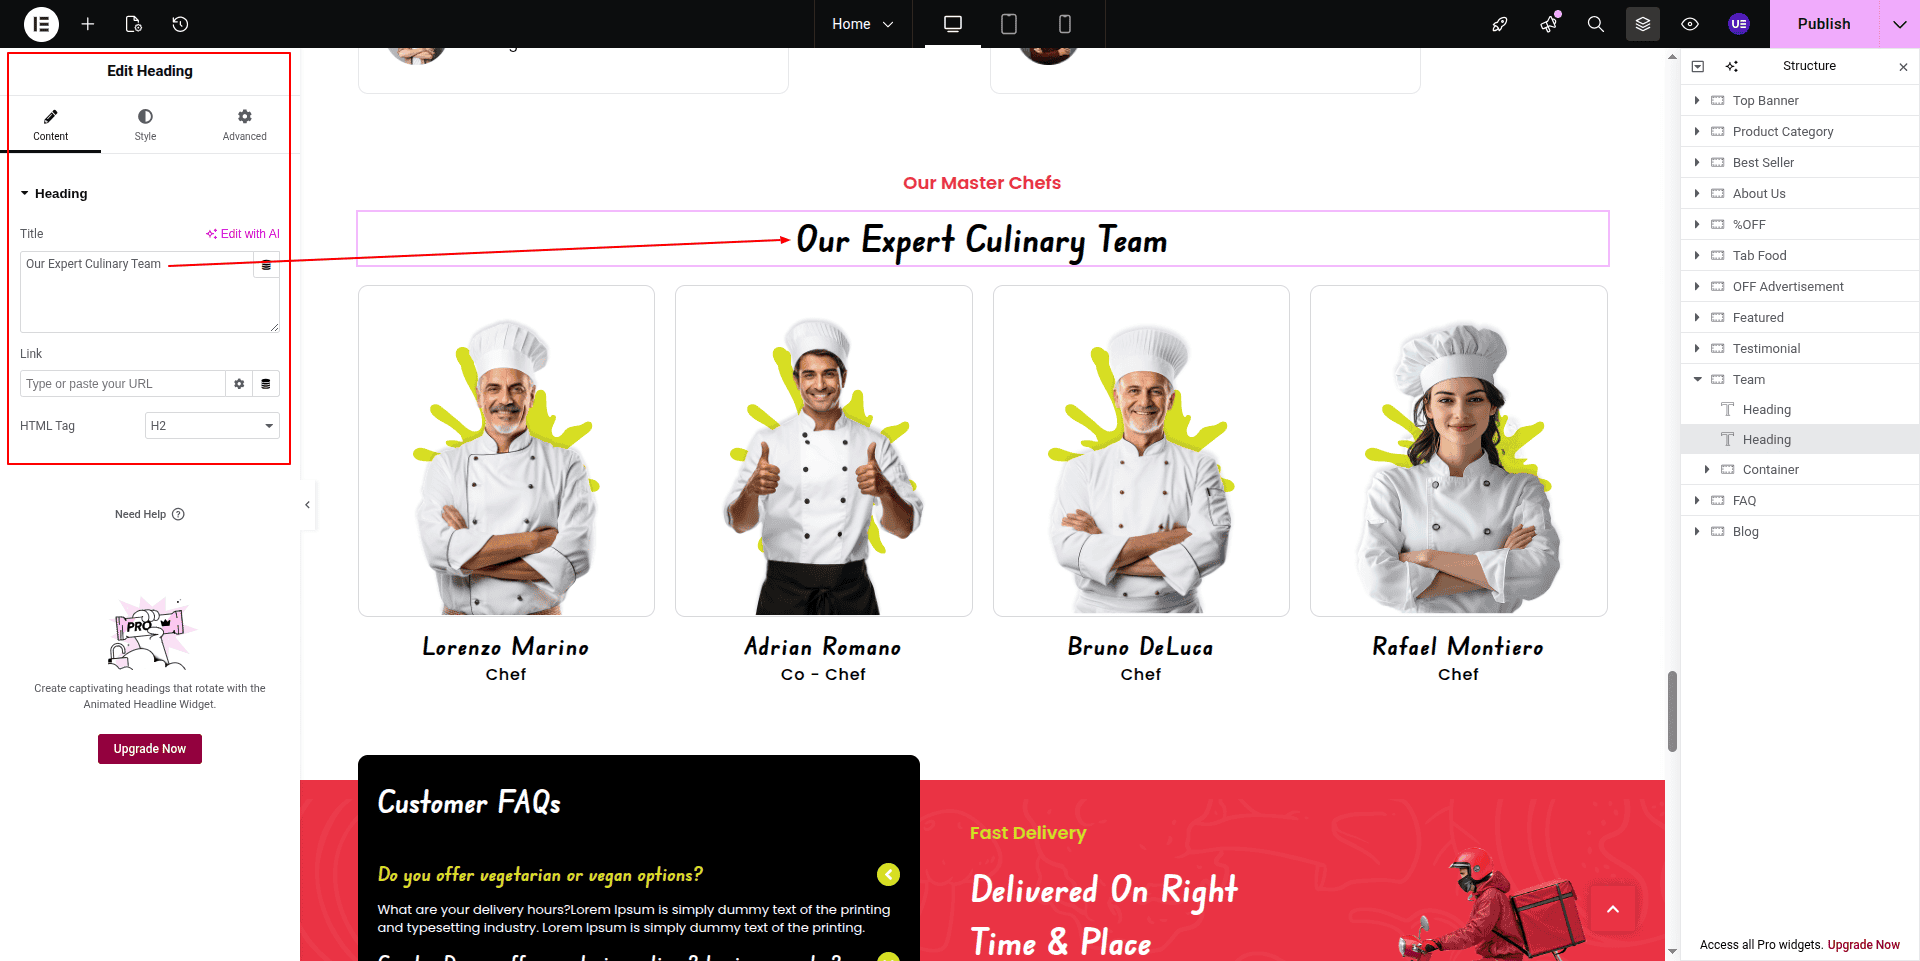
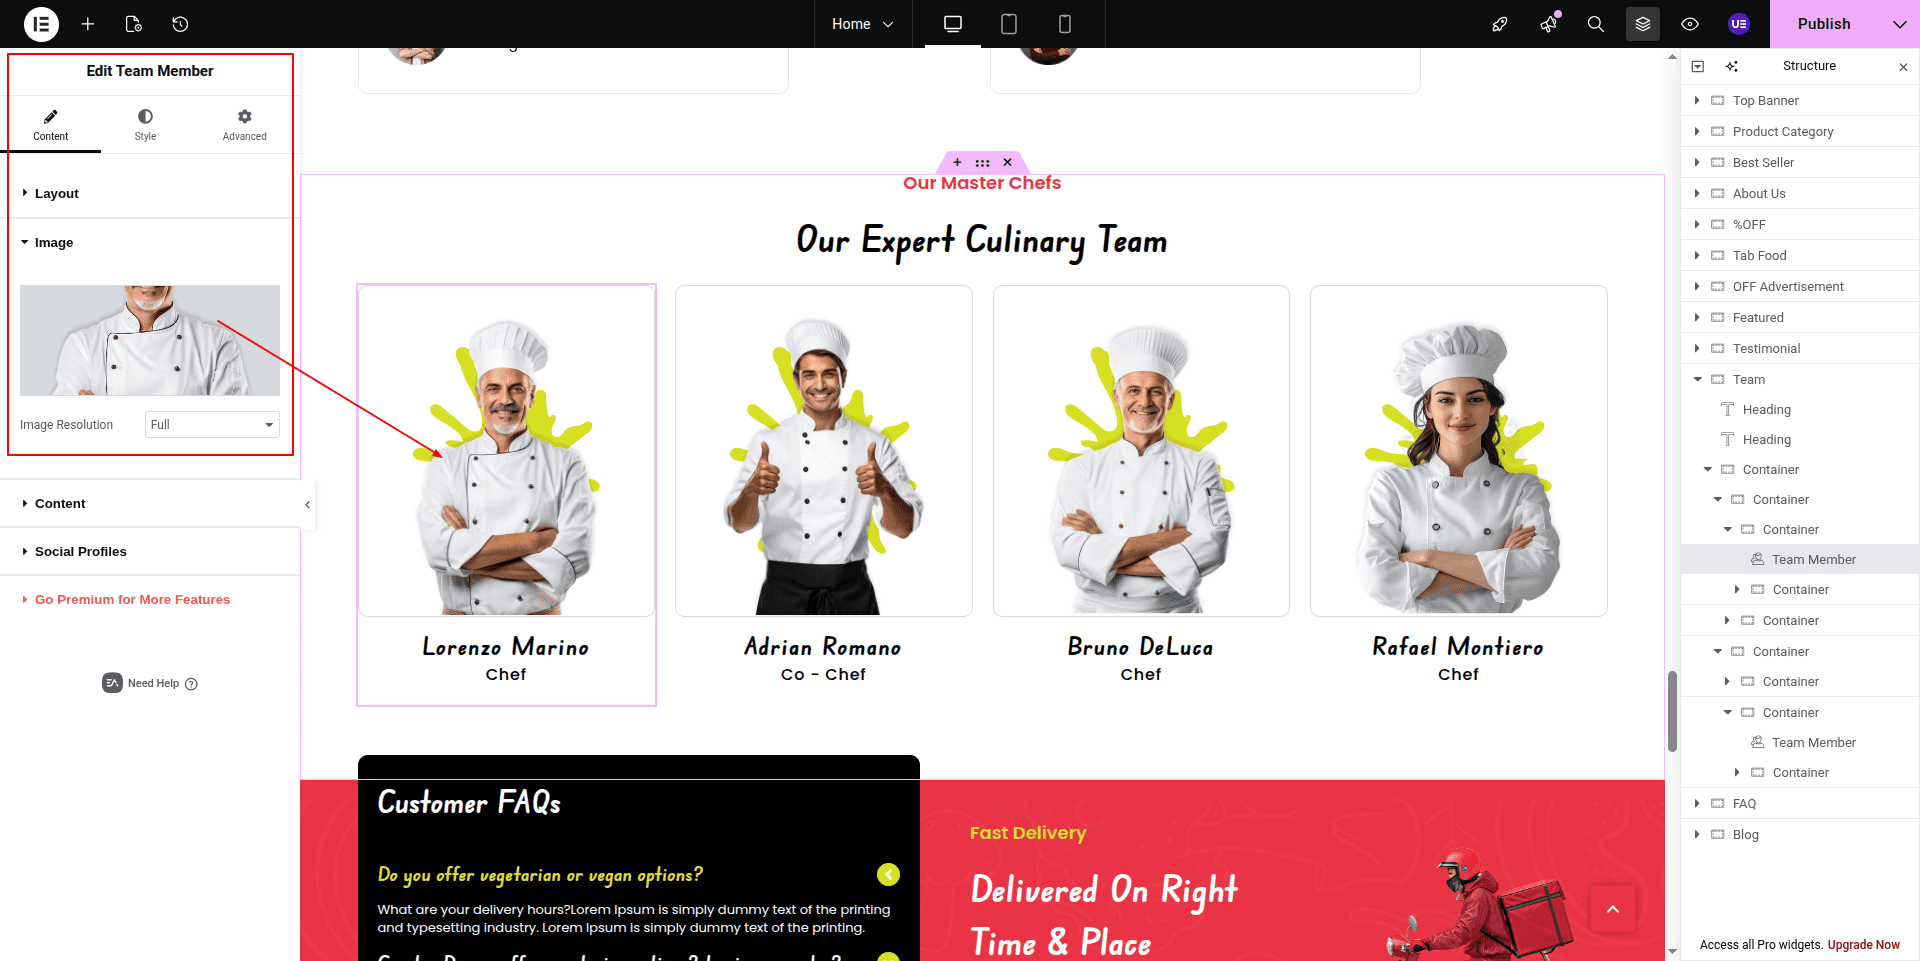
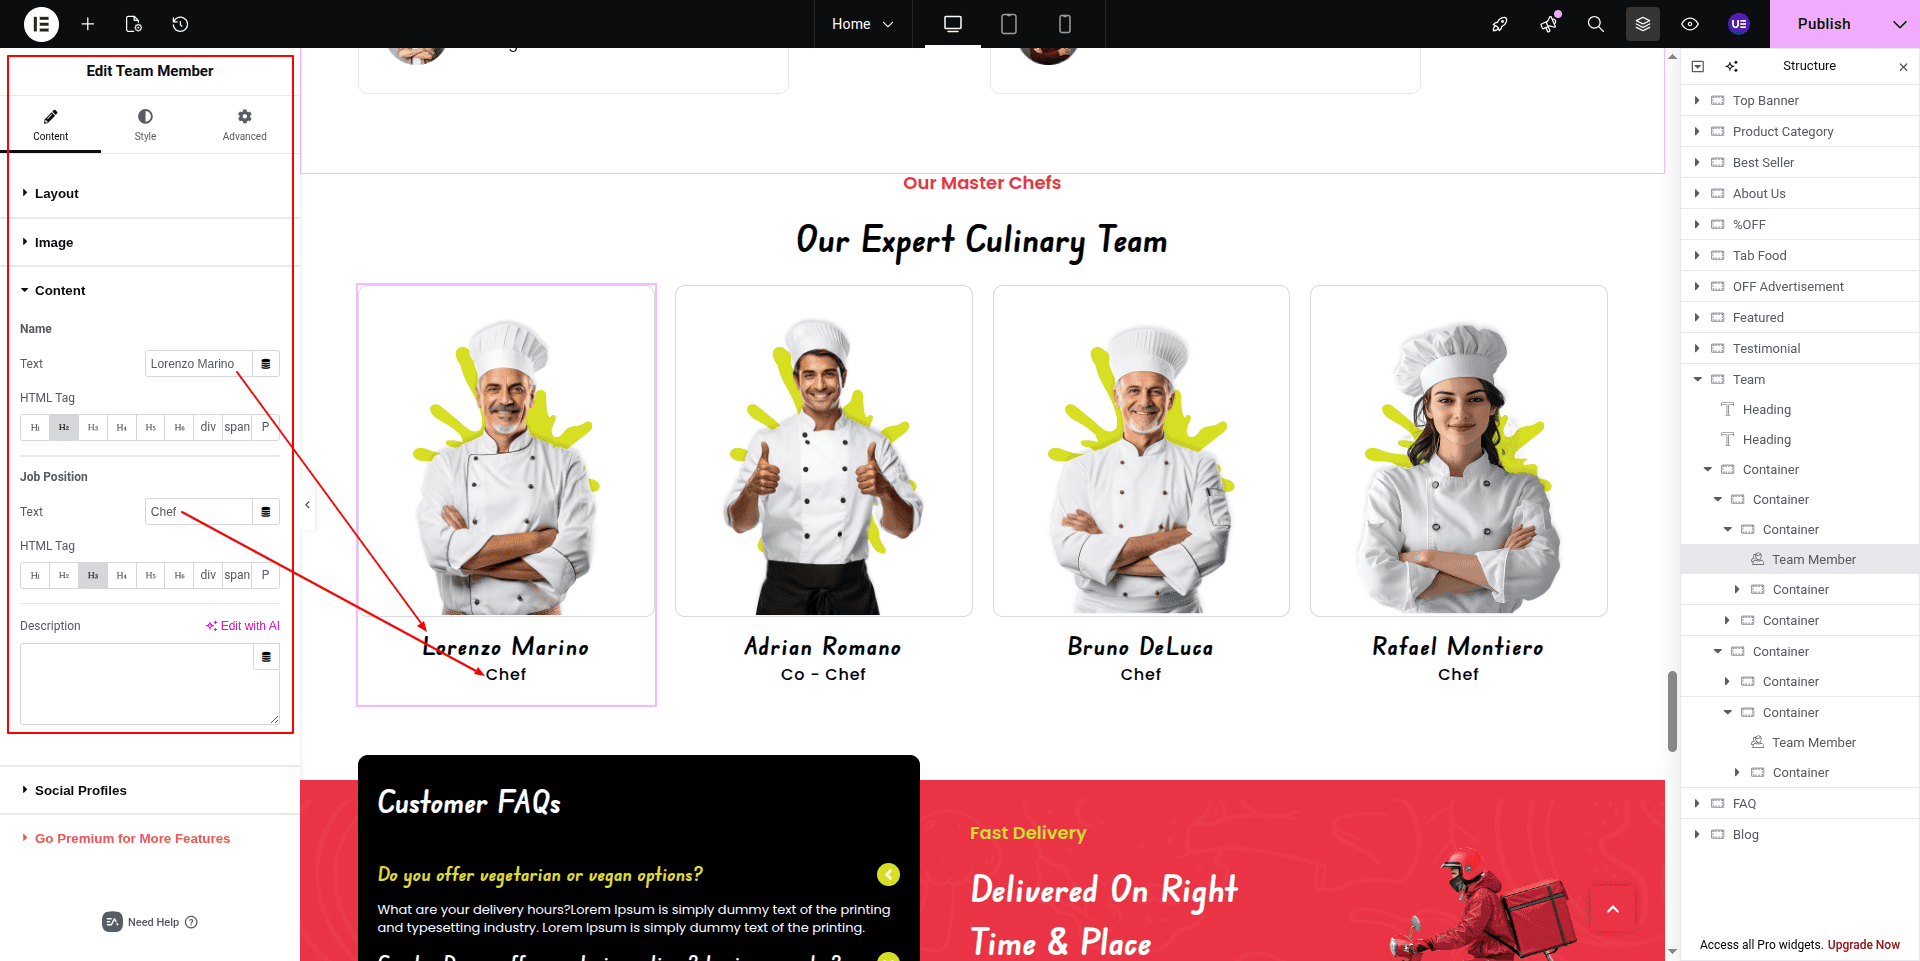
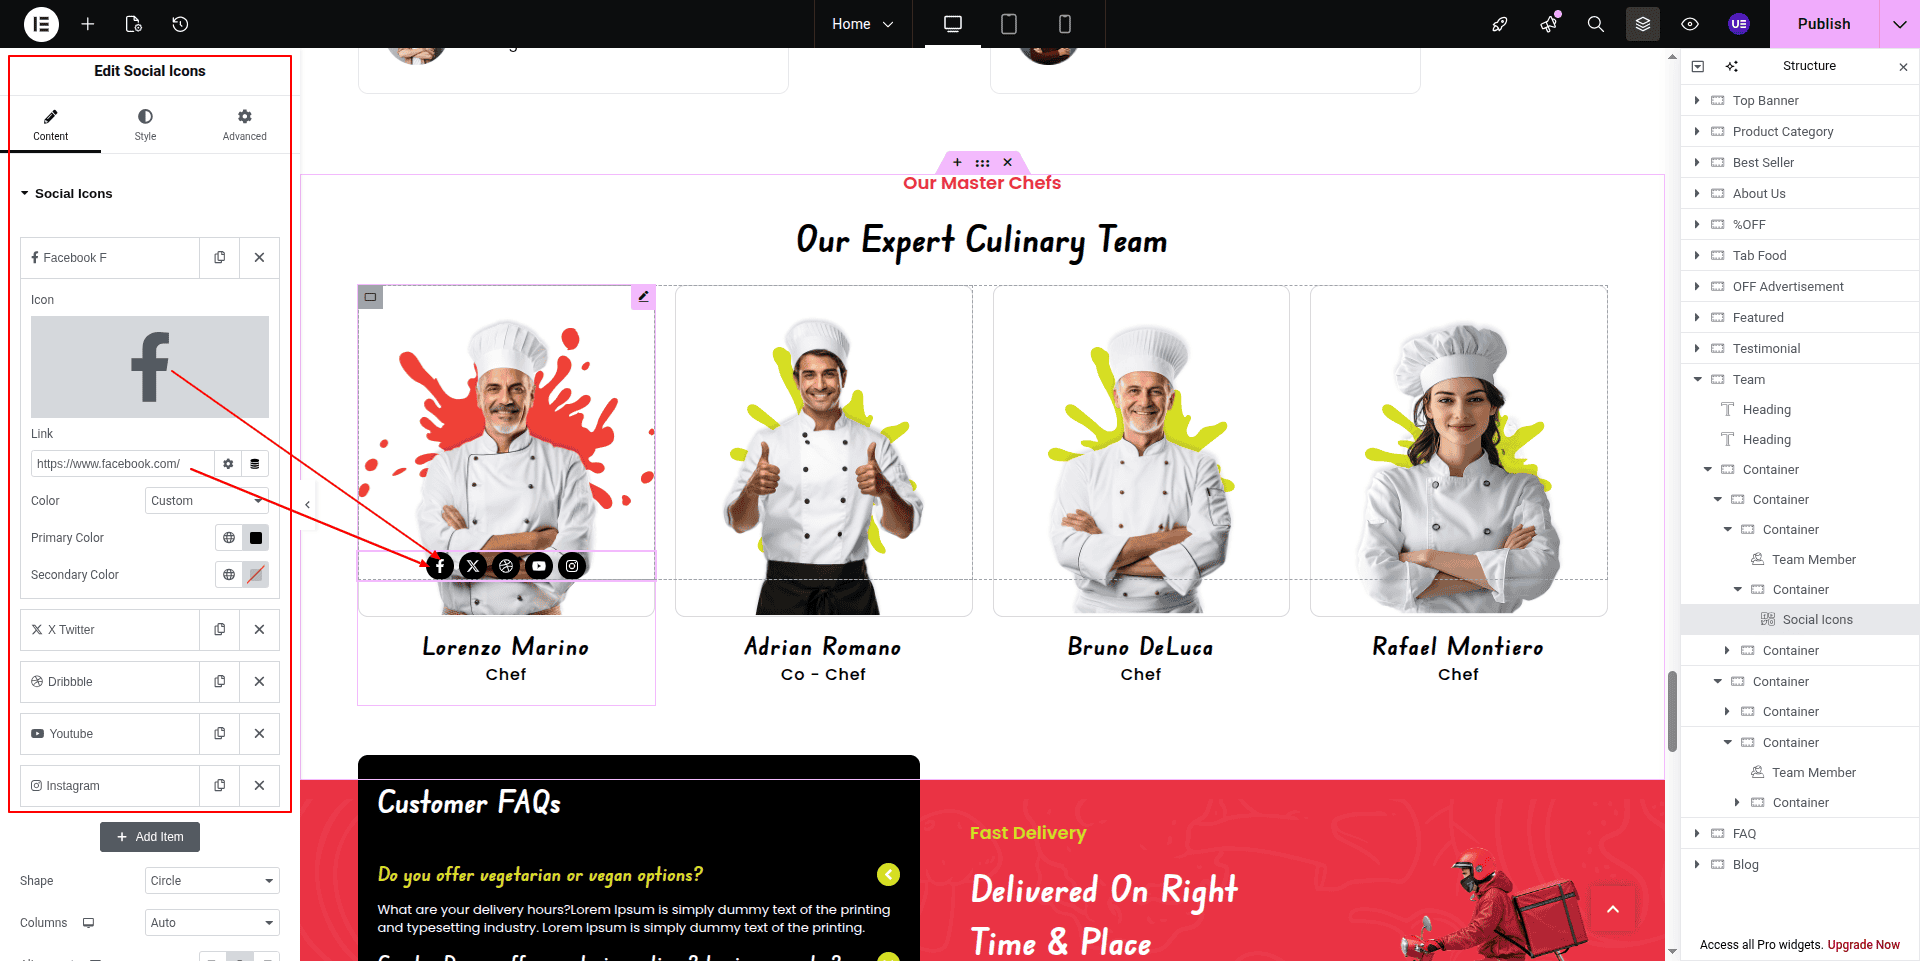
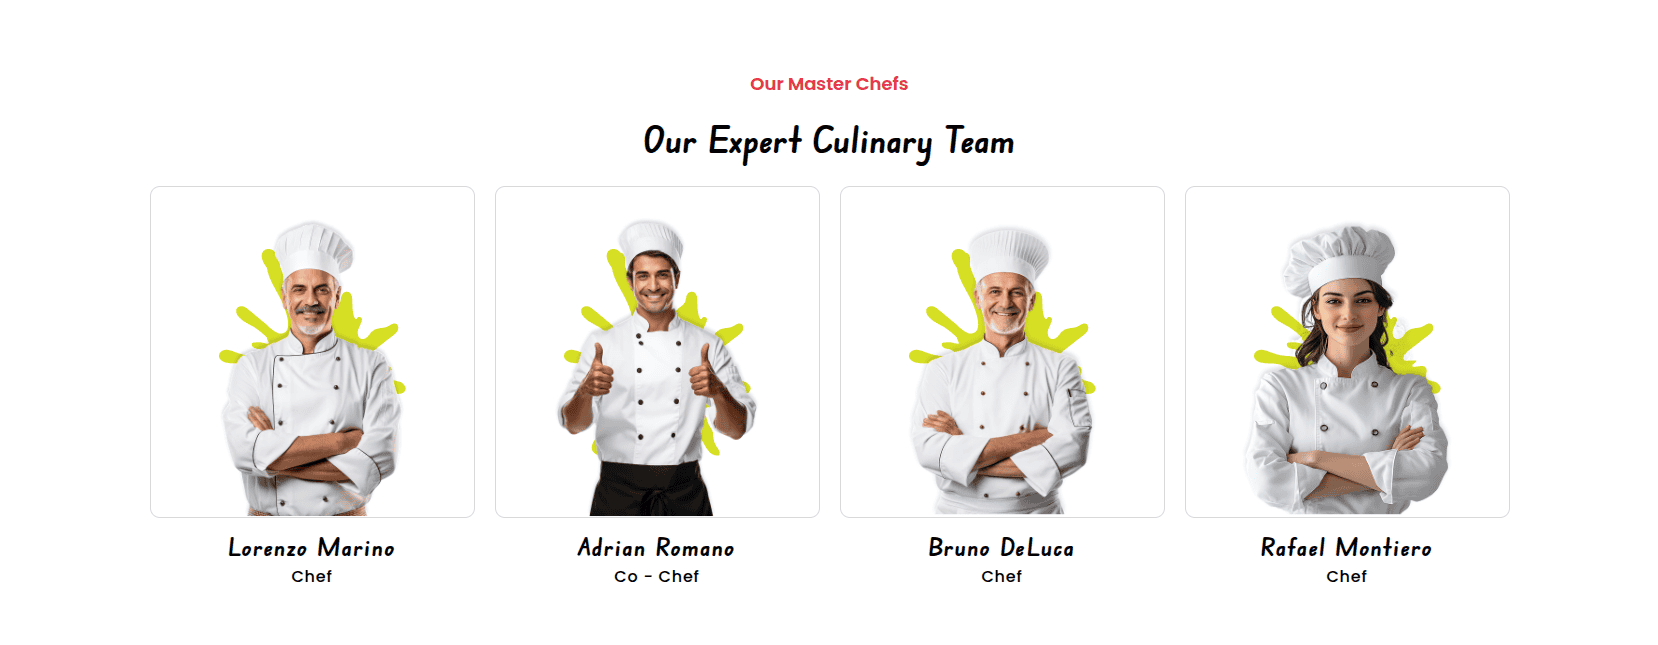
This is the final image of the Our Expert.
4.12 FAQ
To proceed FAQ
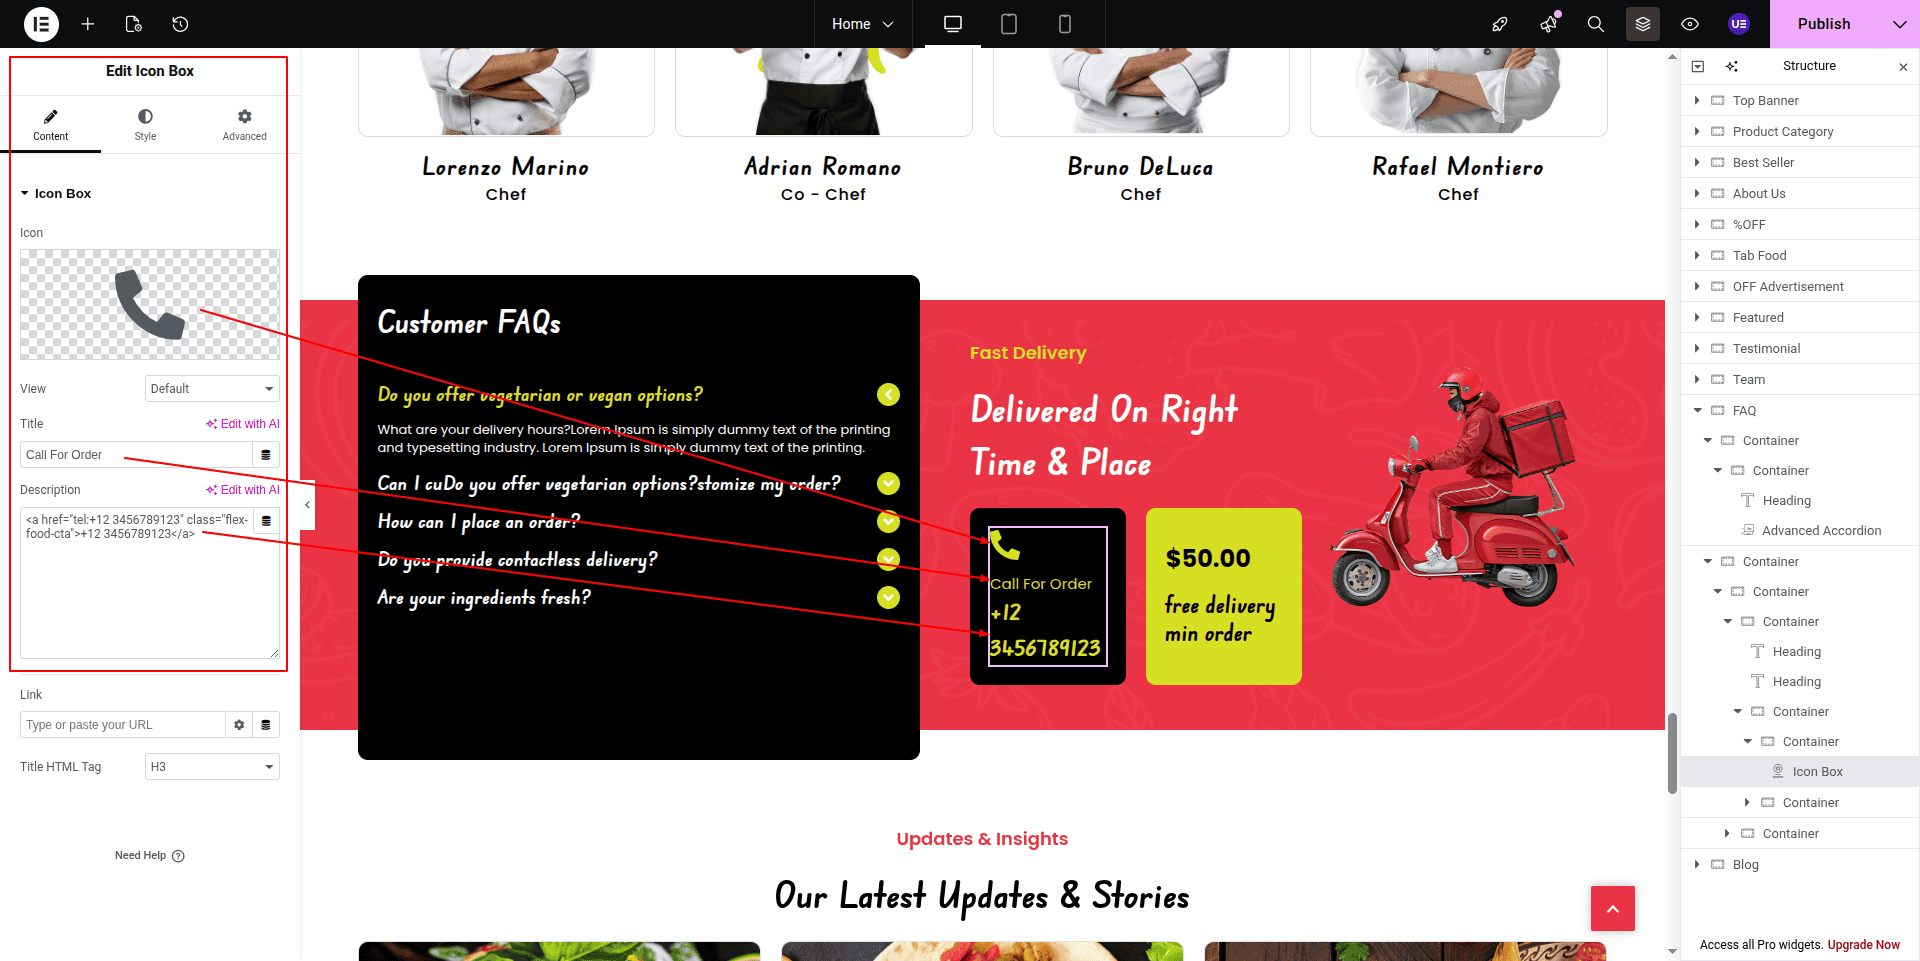
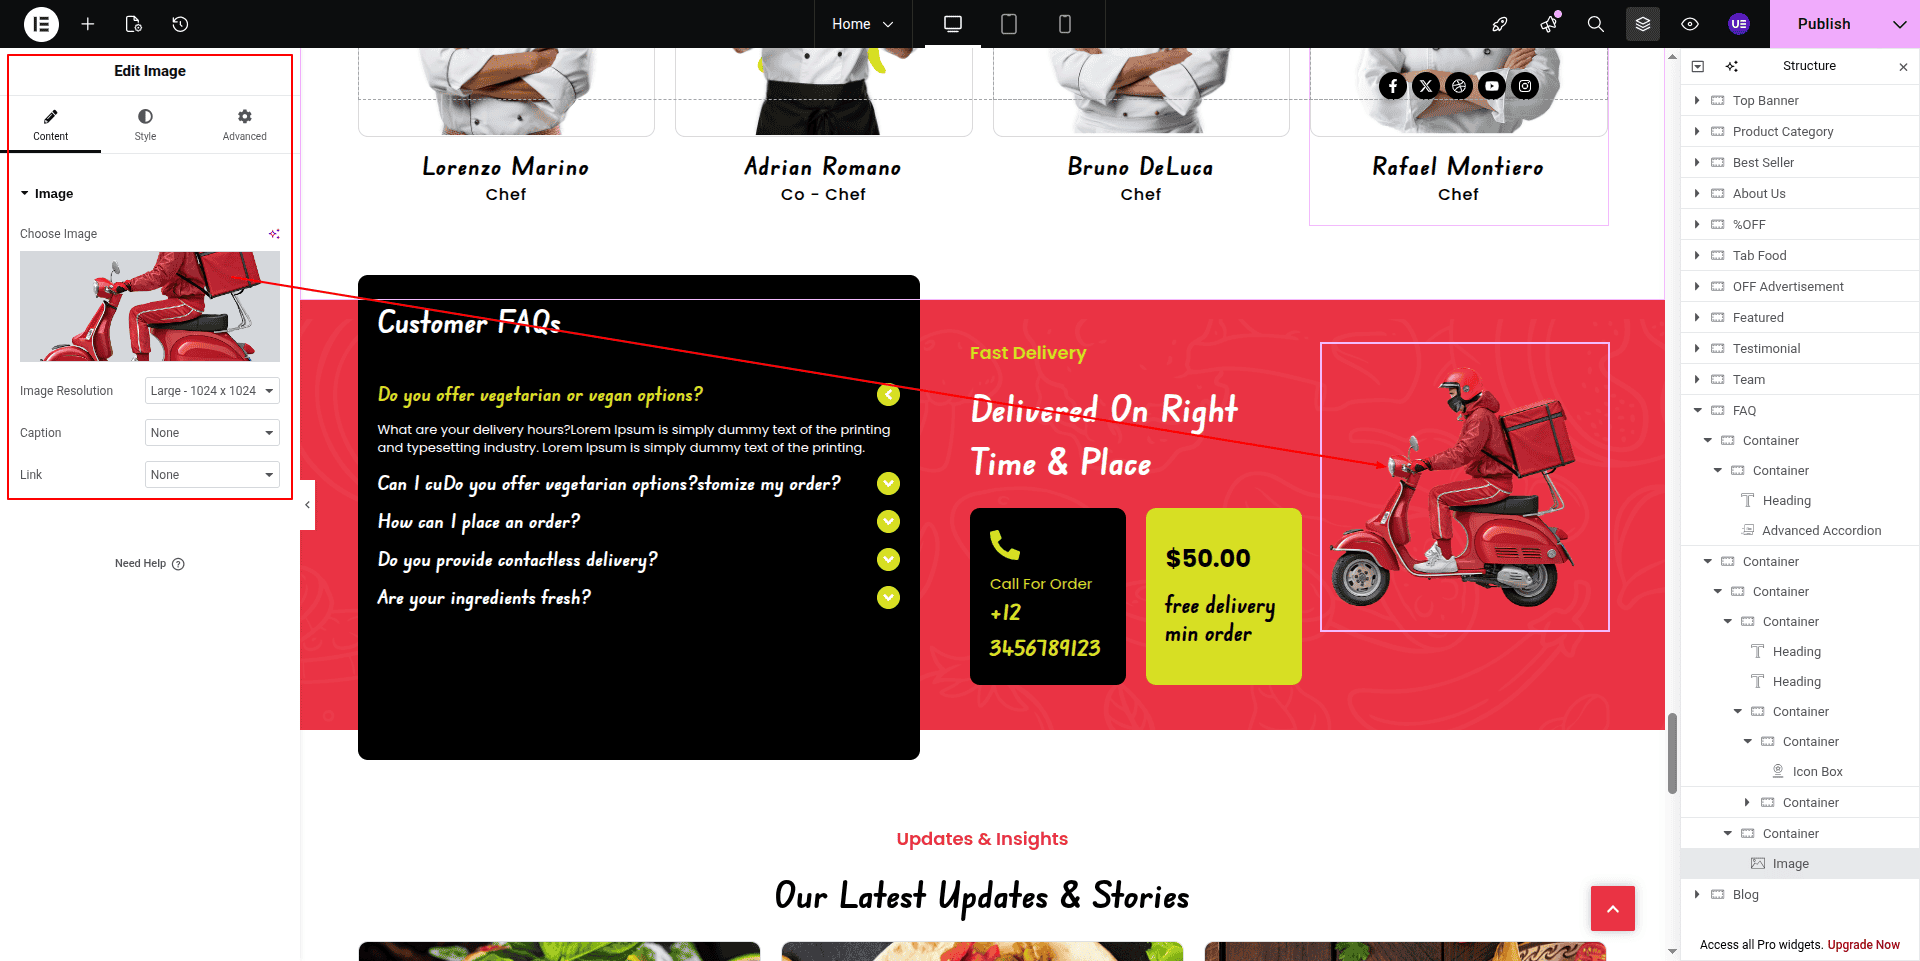
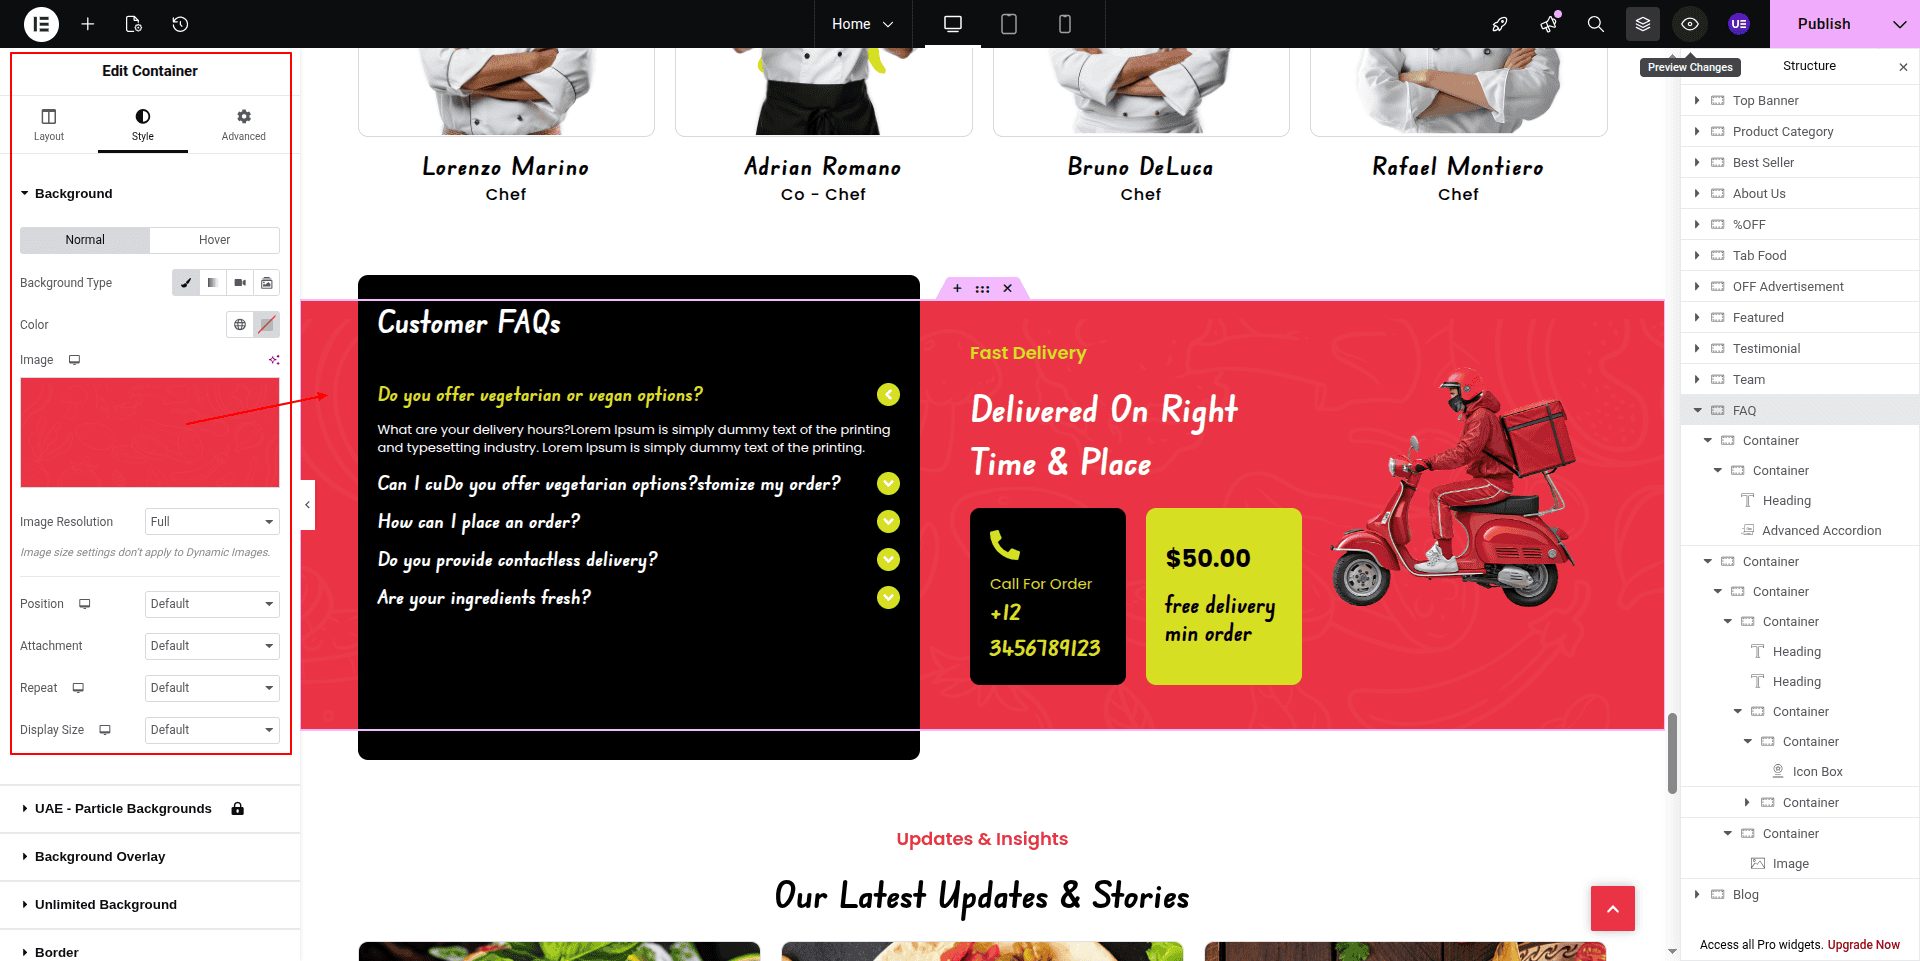
To Edit this Section, Click On the "Edit With Elementor" Button which will open the Elementor Widget editor.
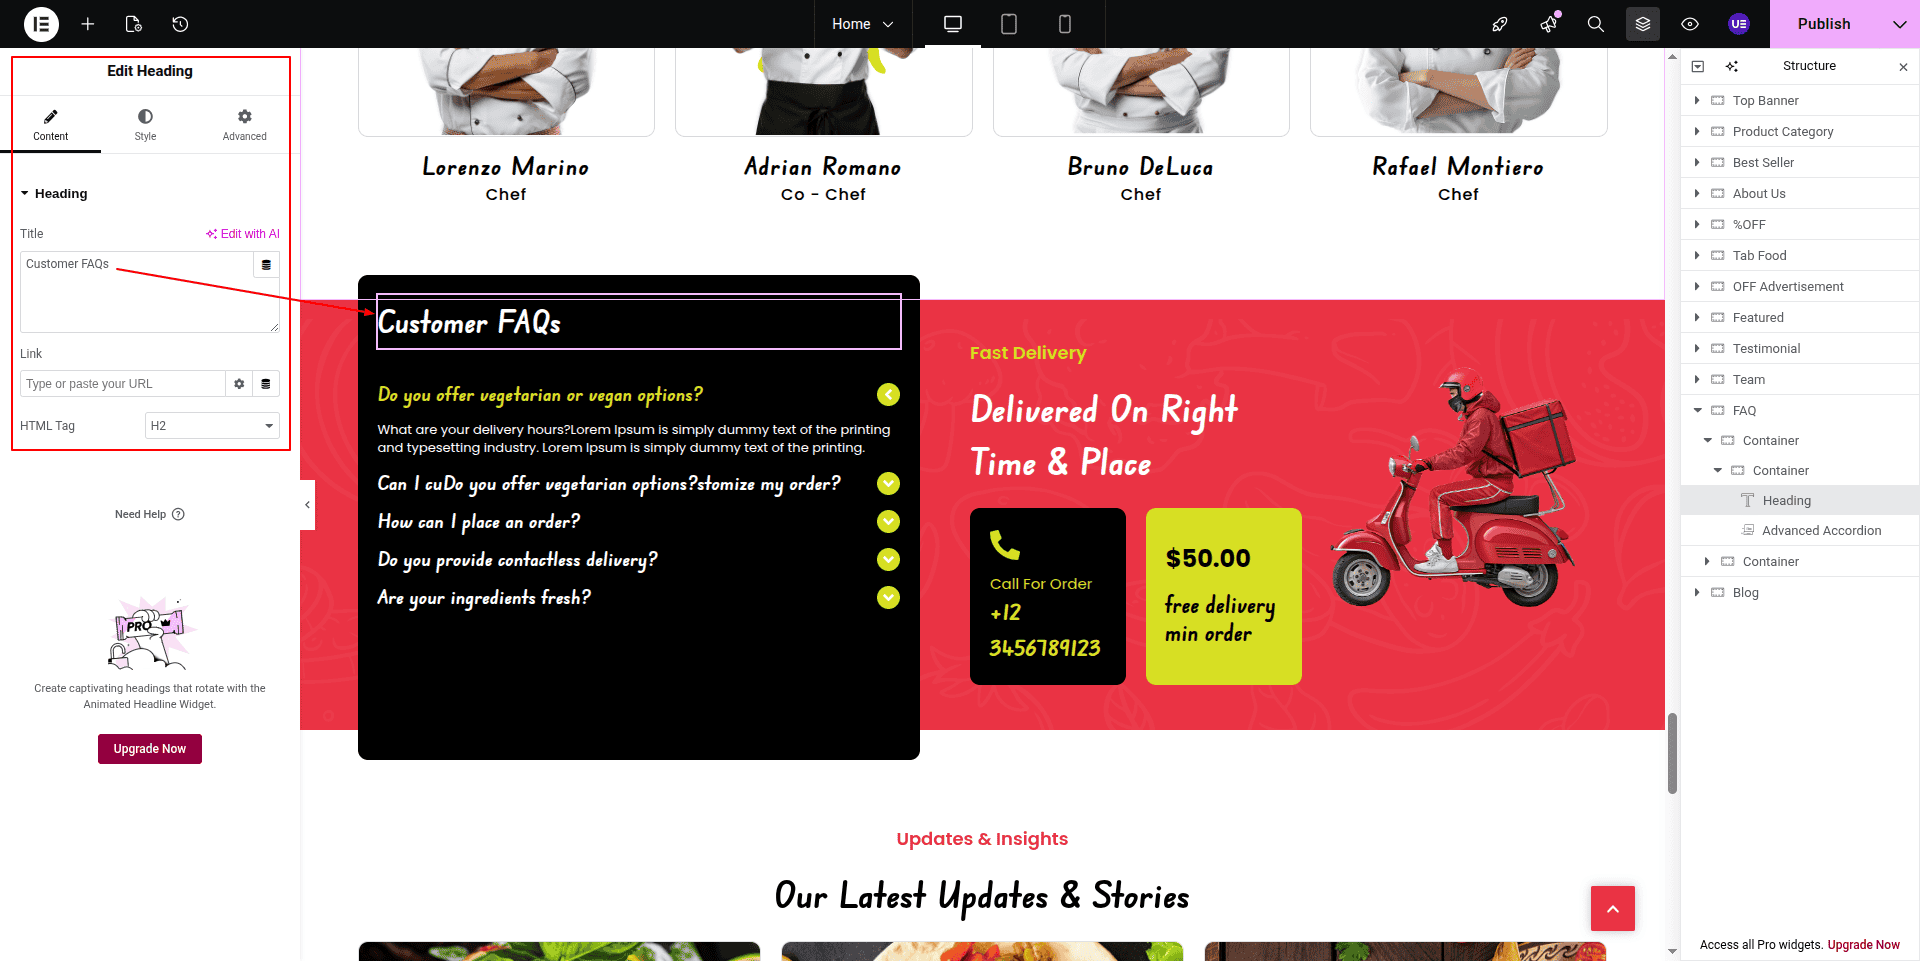
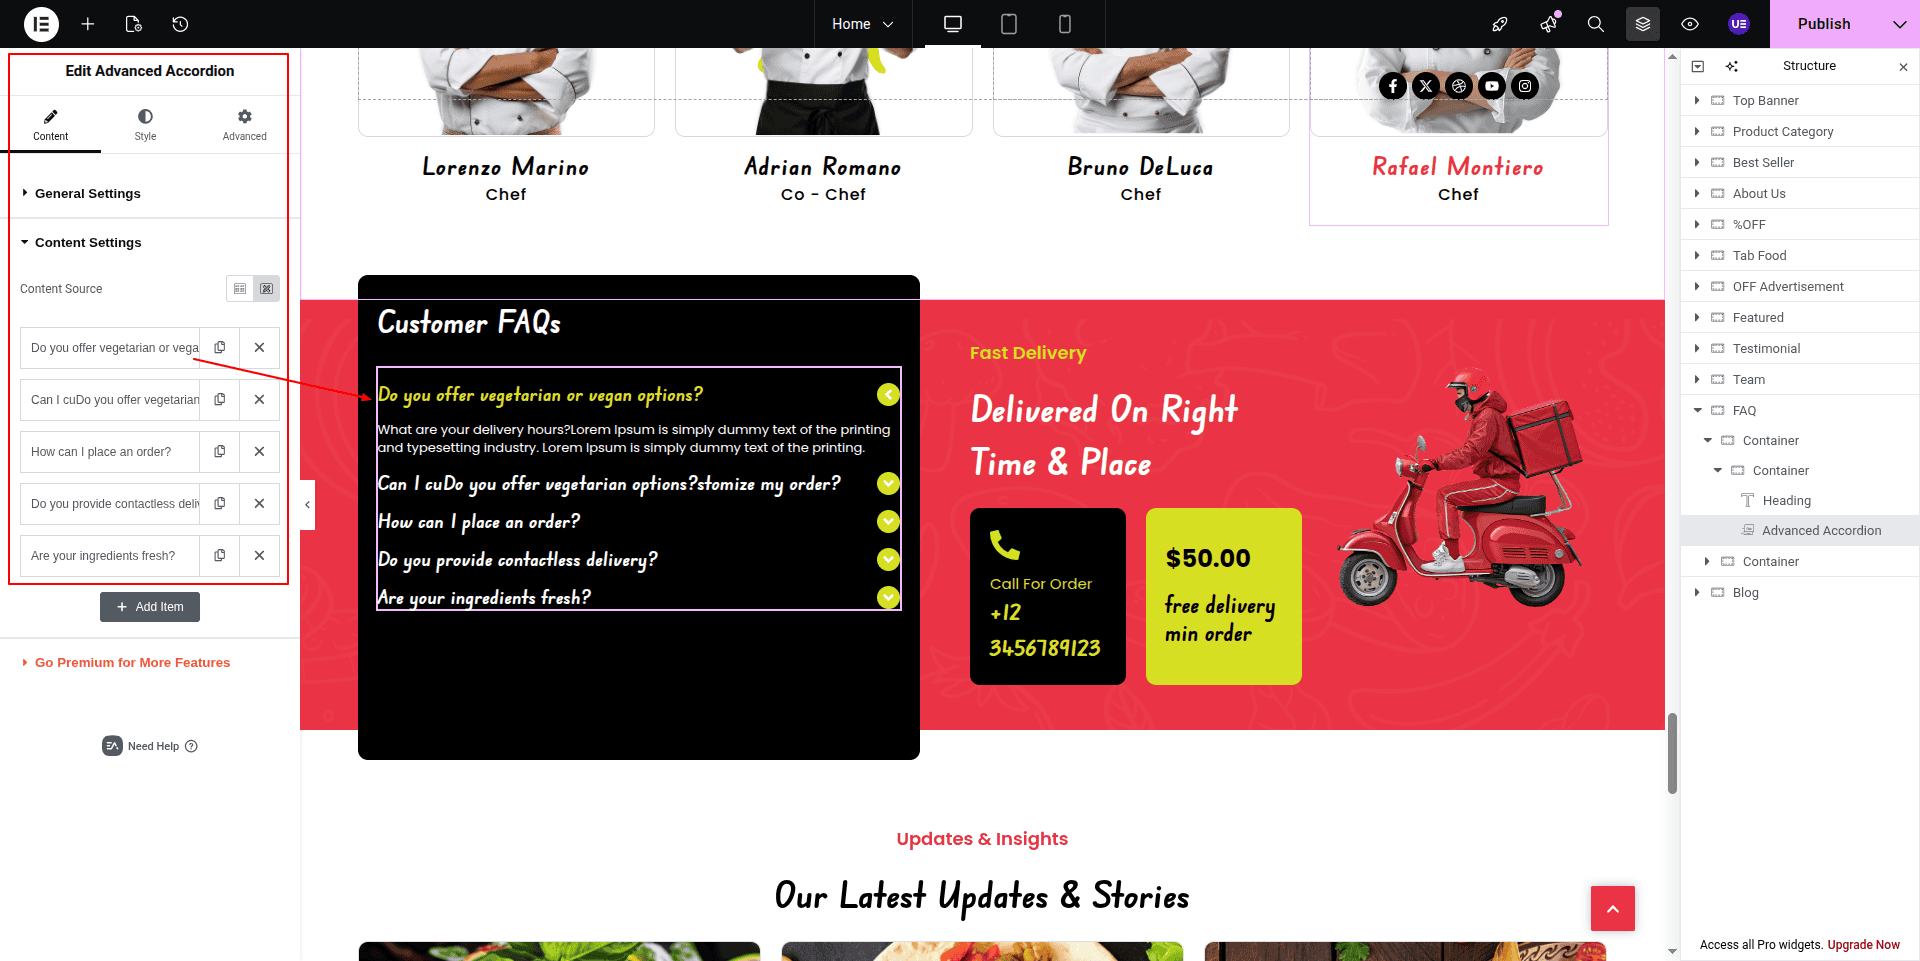
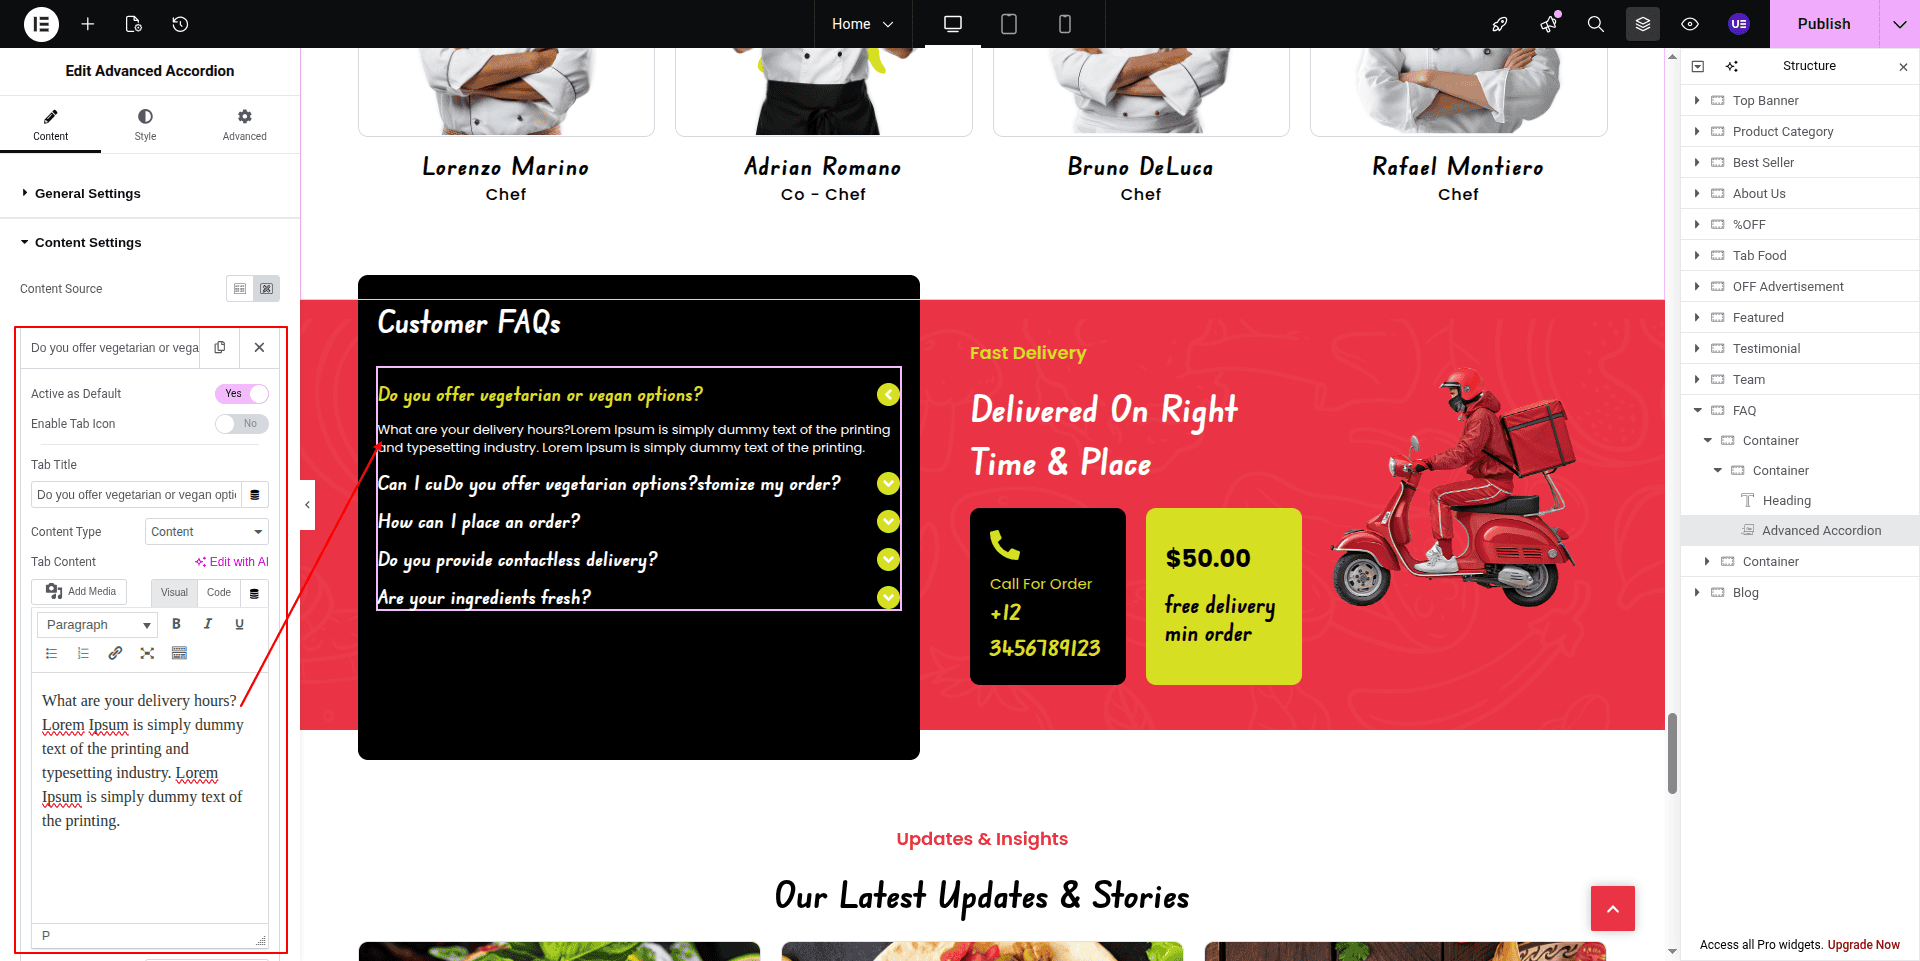
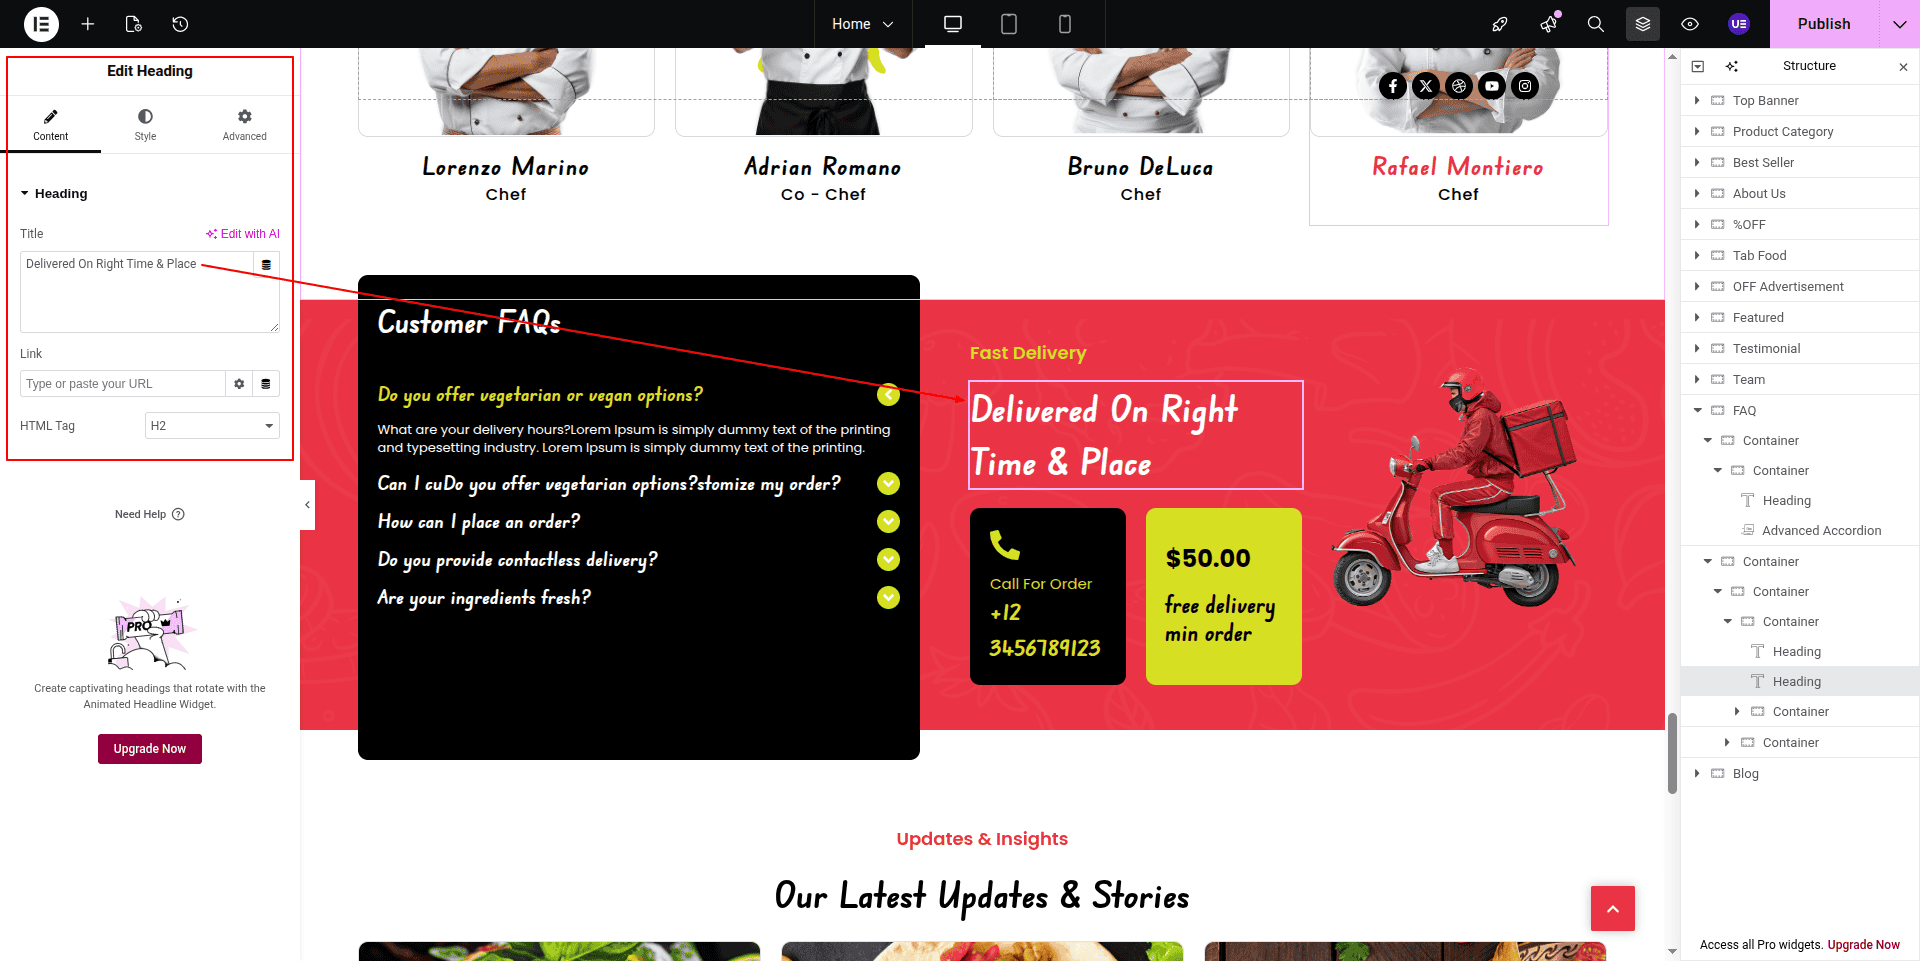
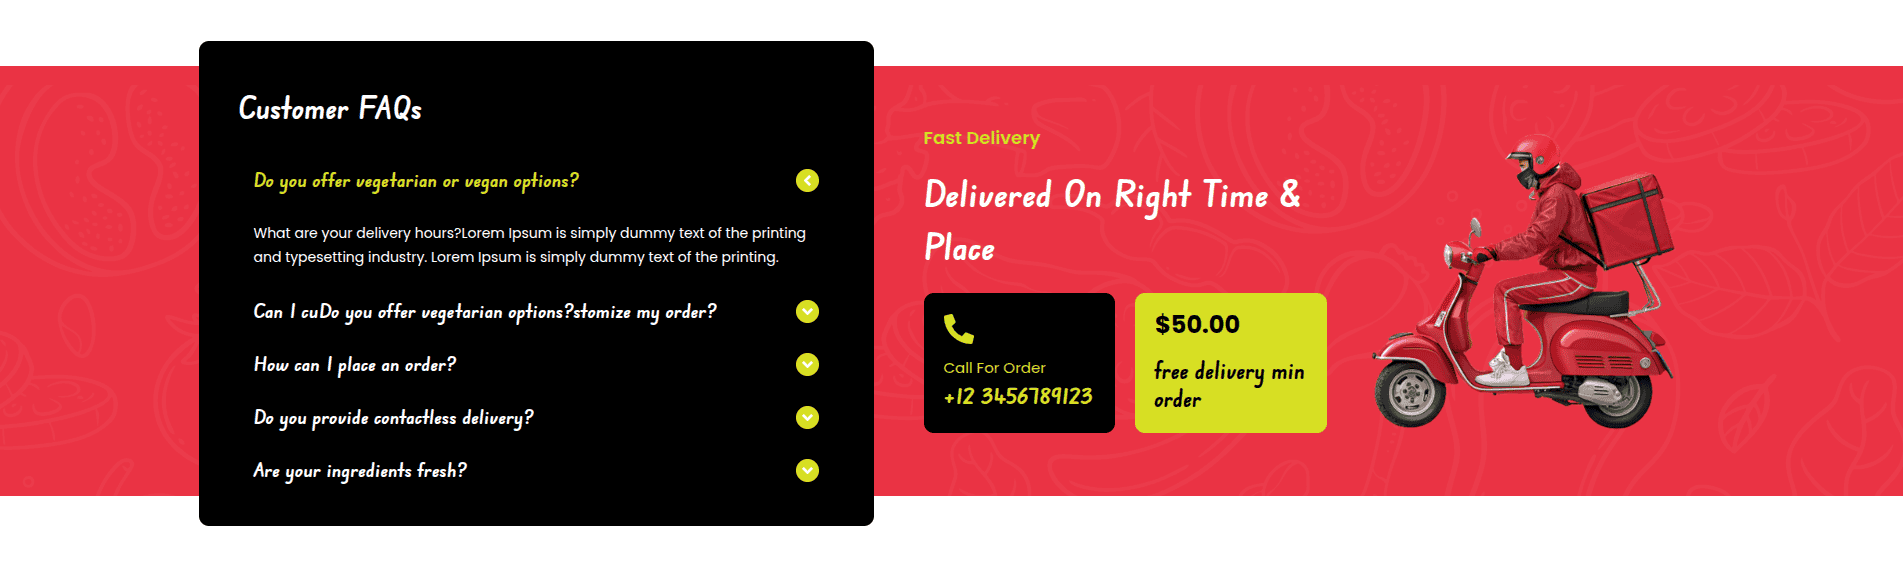
This is the final image of the FAQ.
4.13 Updates & Insights
To Edit this Section, Click On the "Edit With Elementor" Button which will open the Elementor Widget editor.
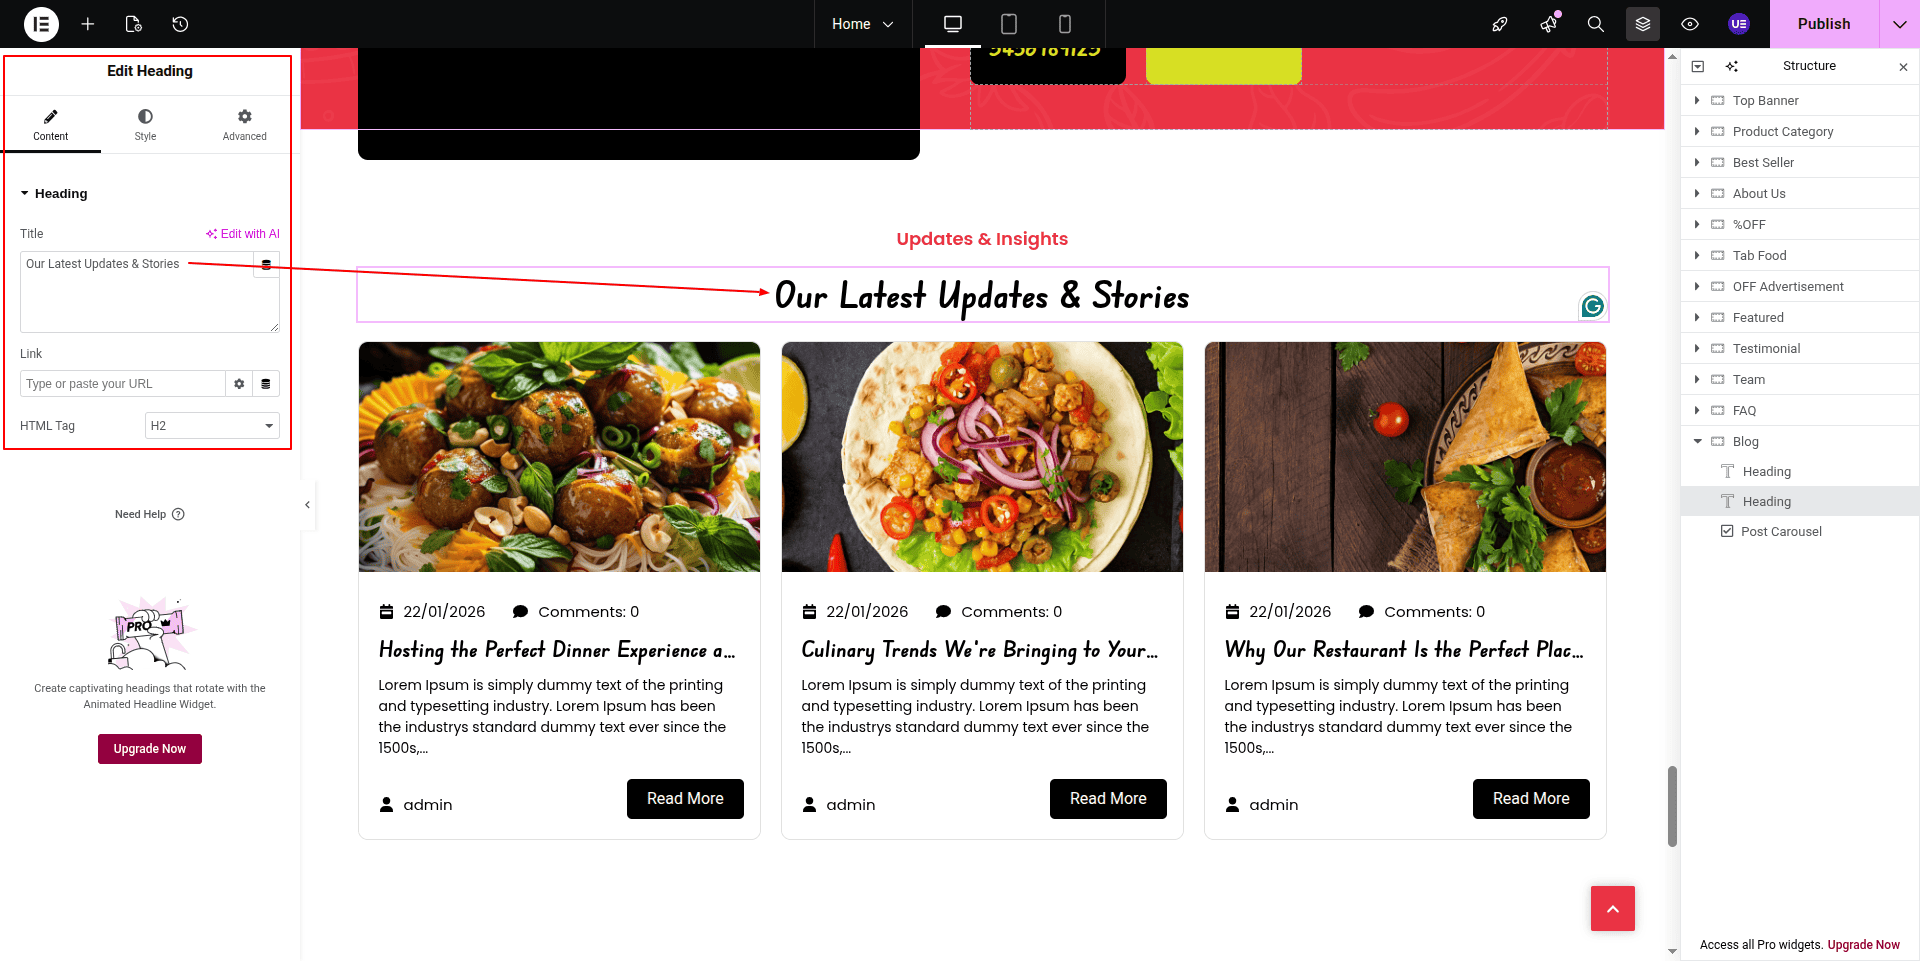
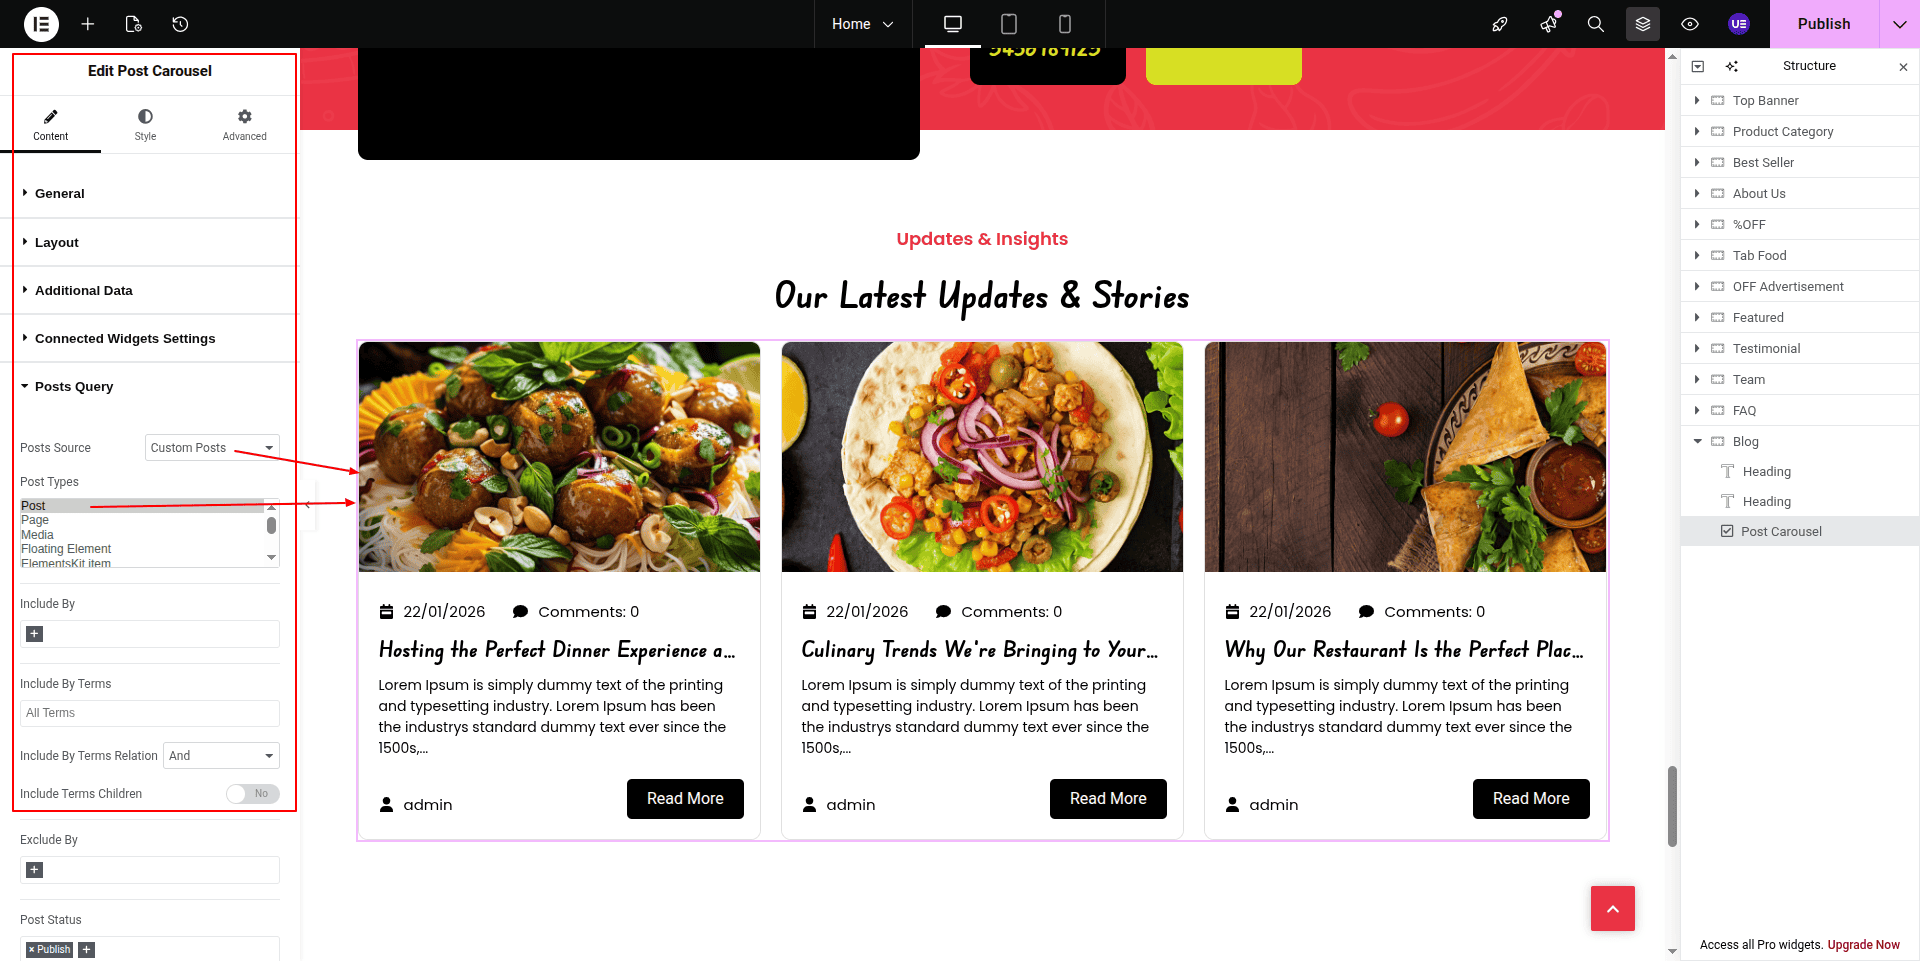
Here Blogs comes from Dashboard
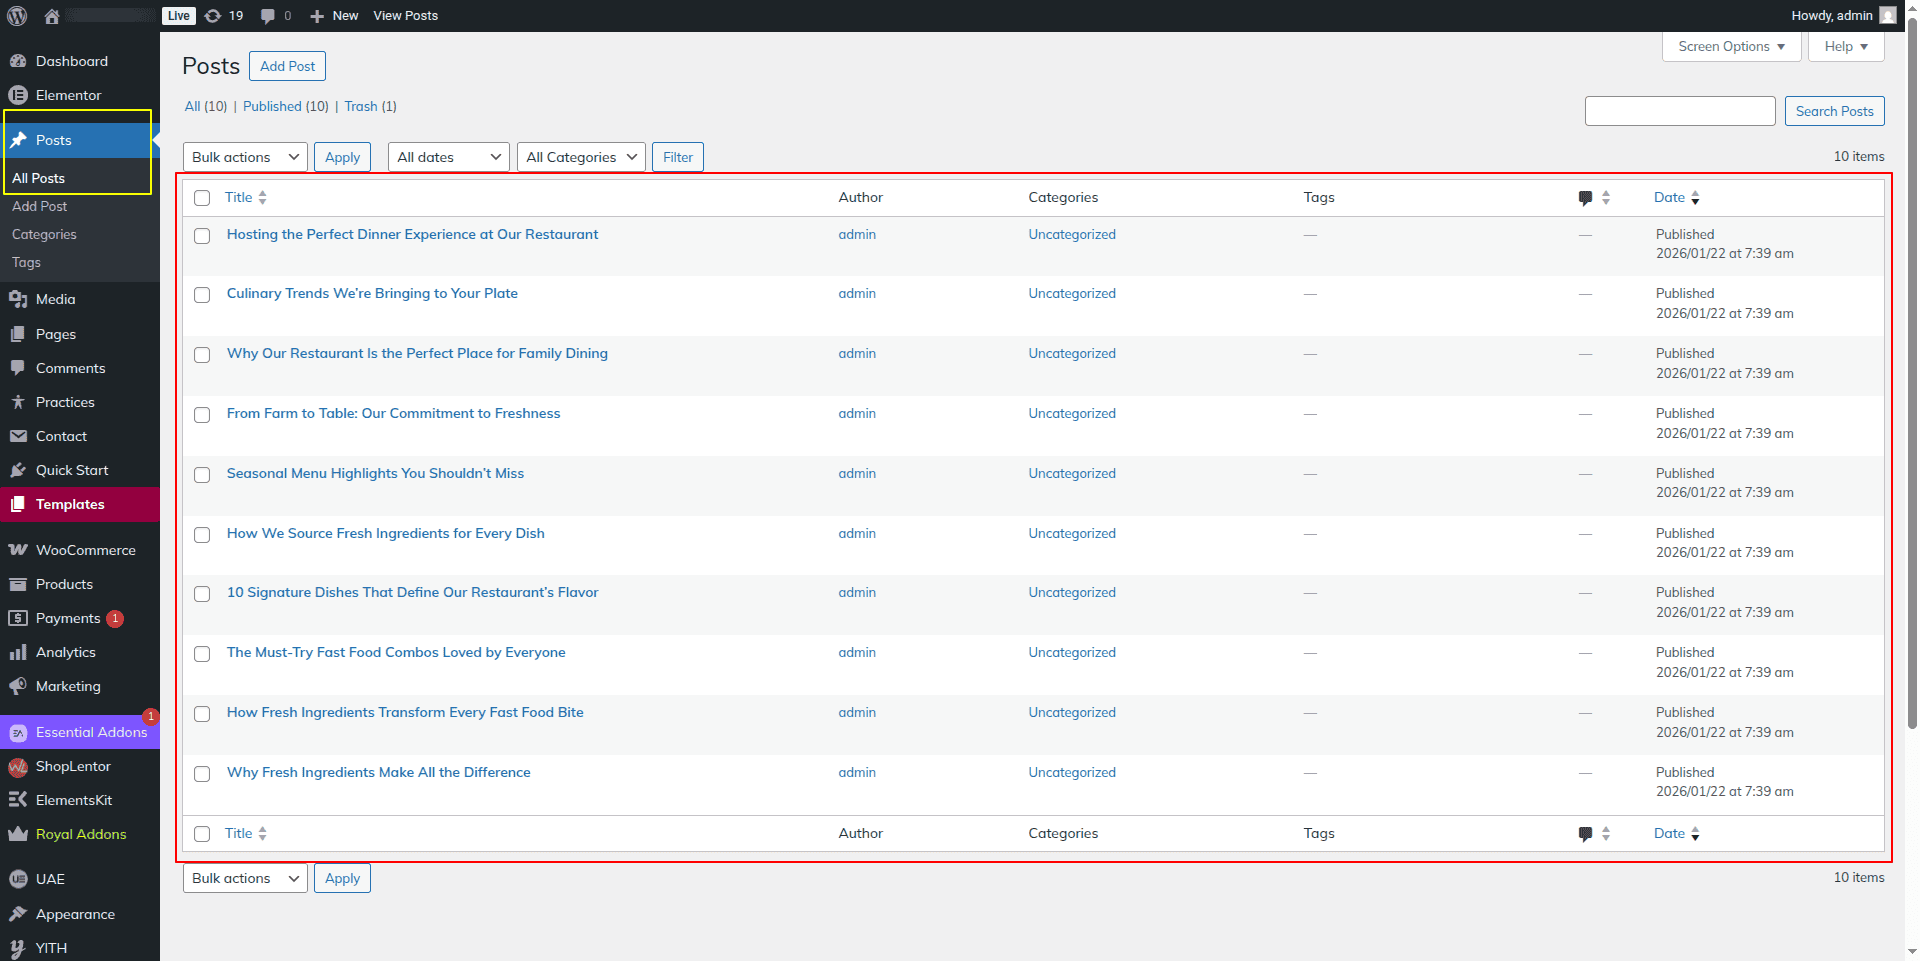
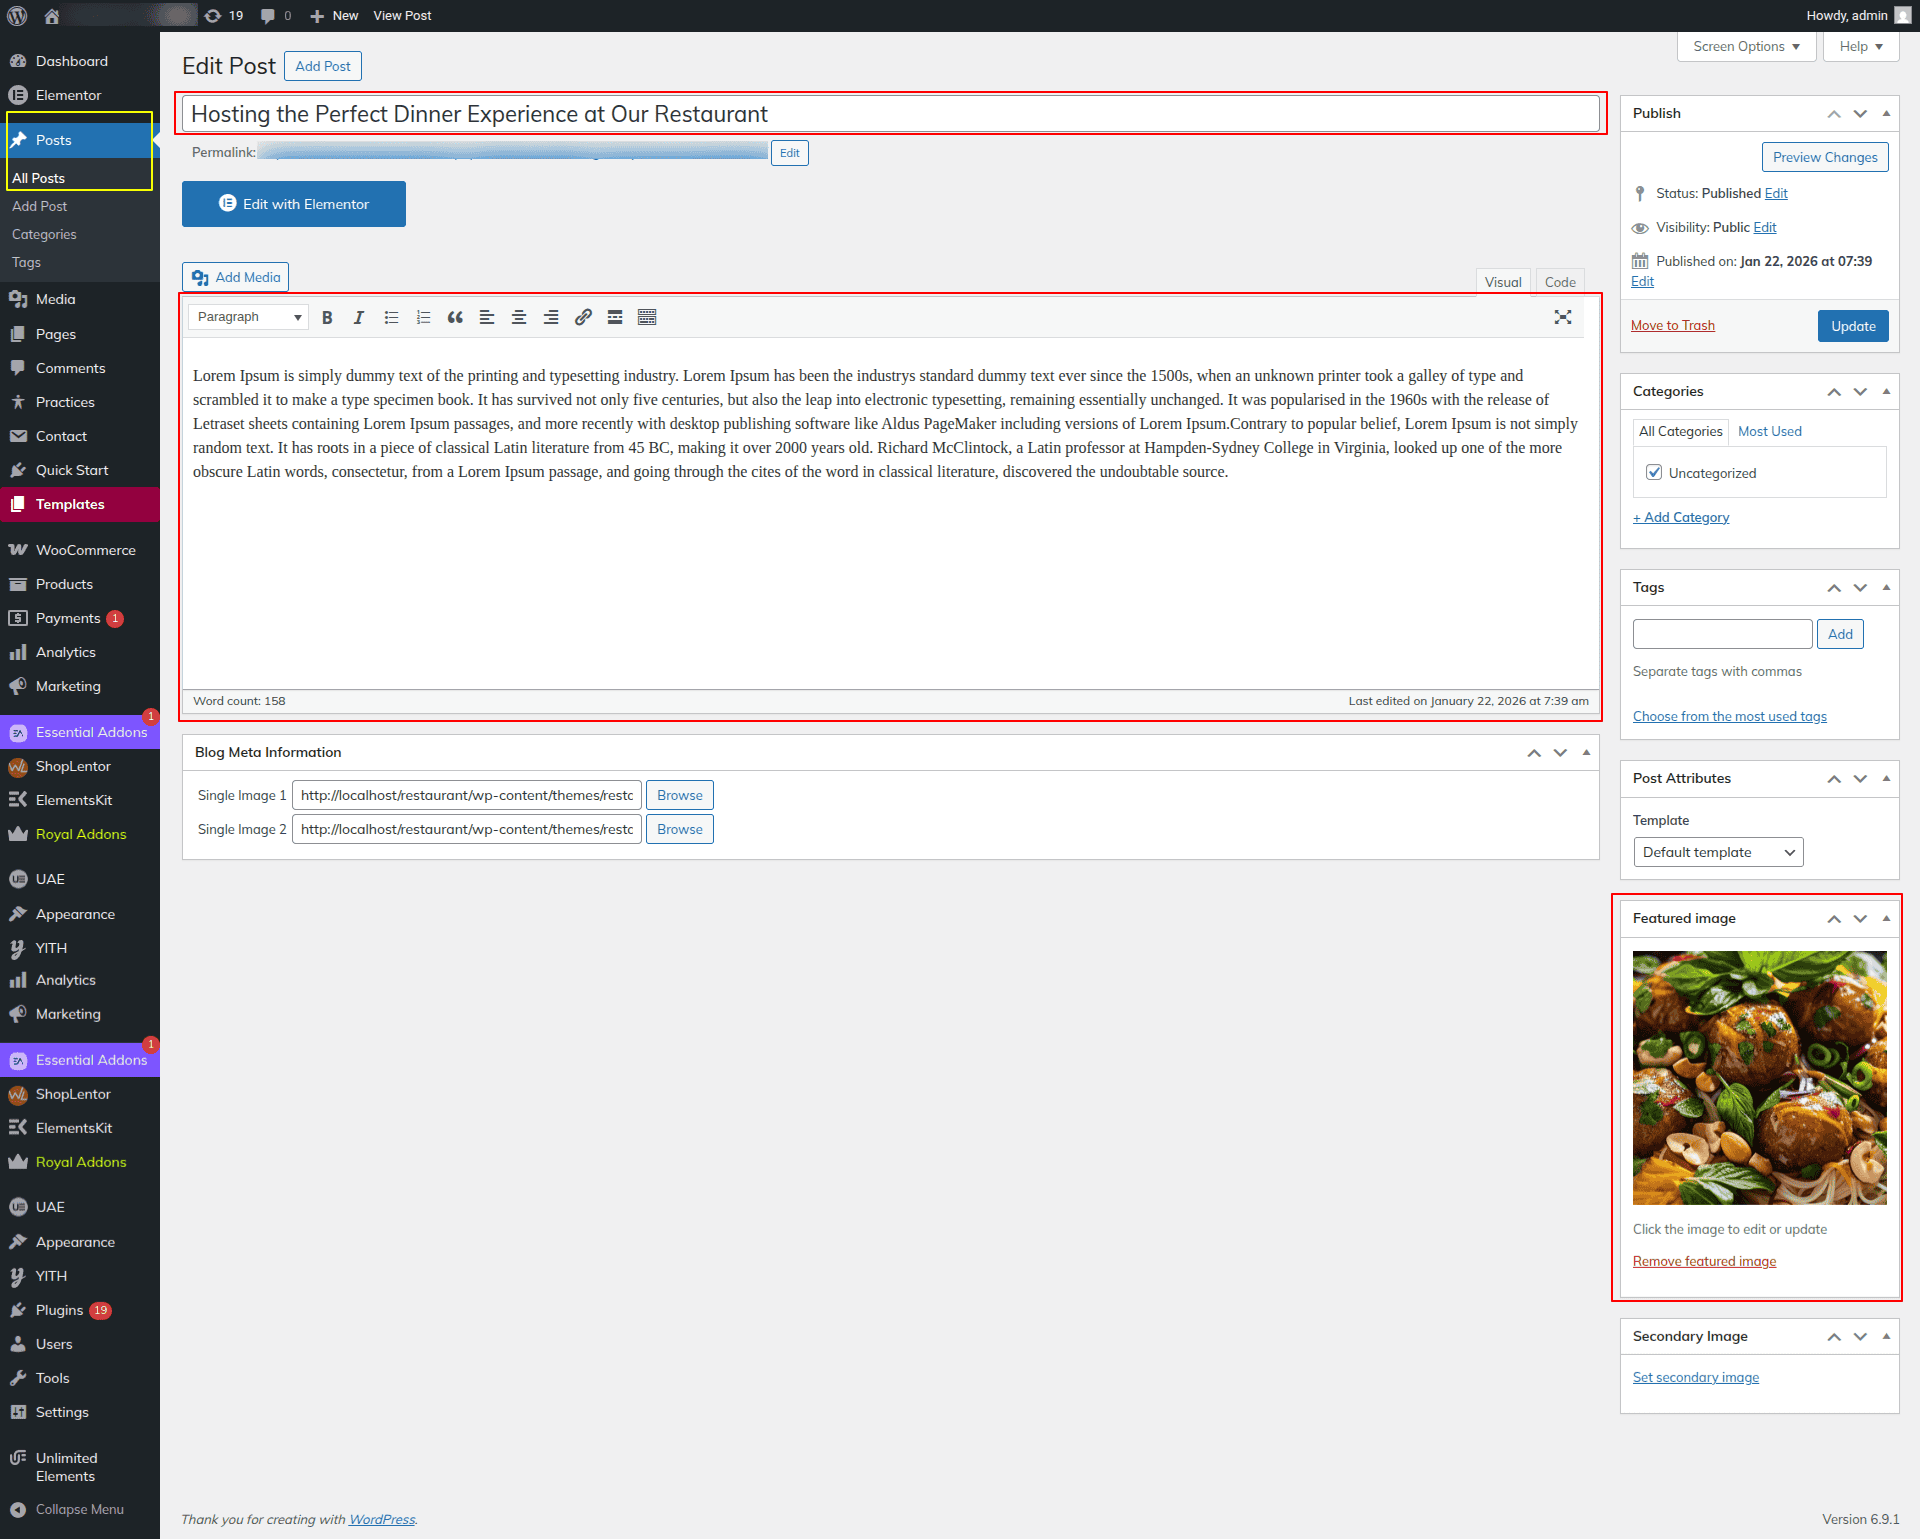
Here we can edit Blogs from Dashboard
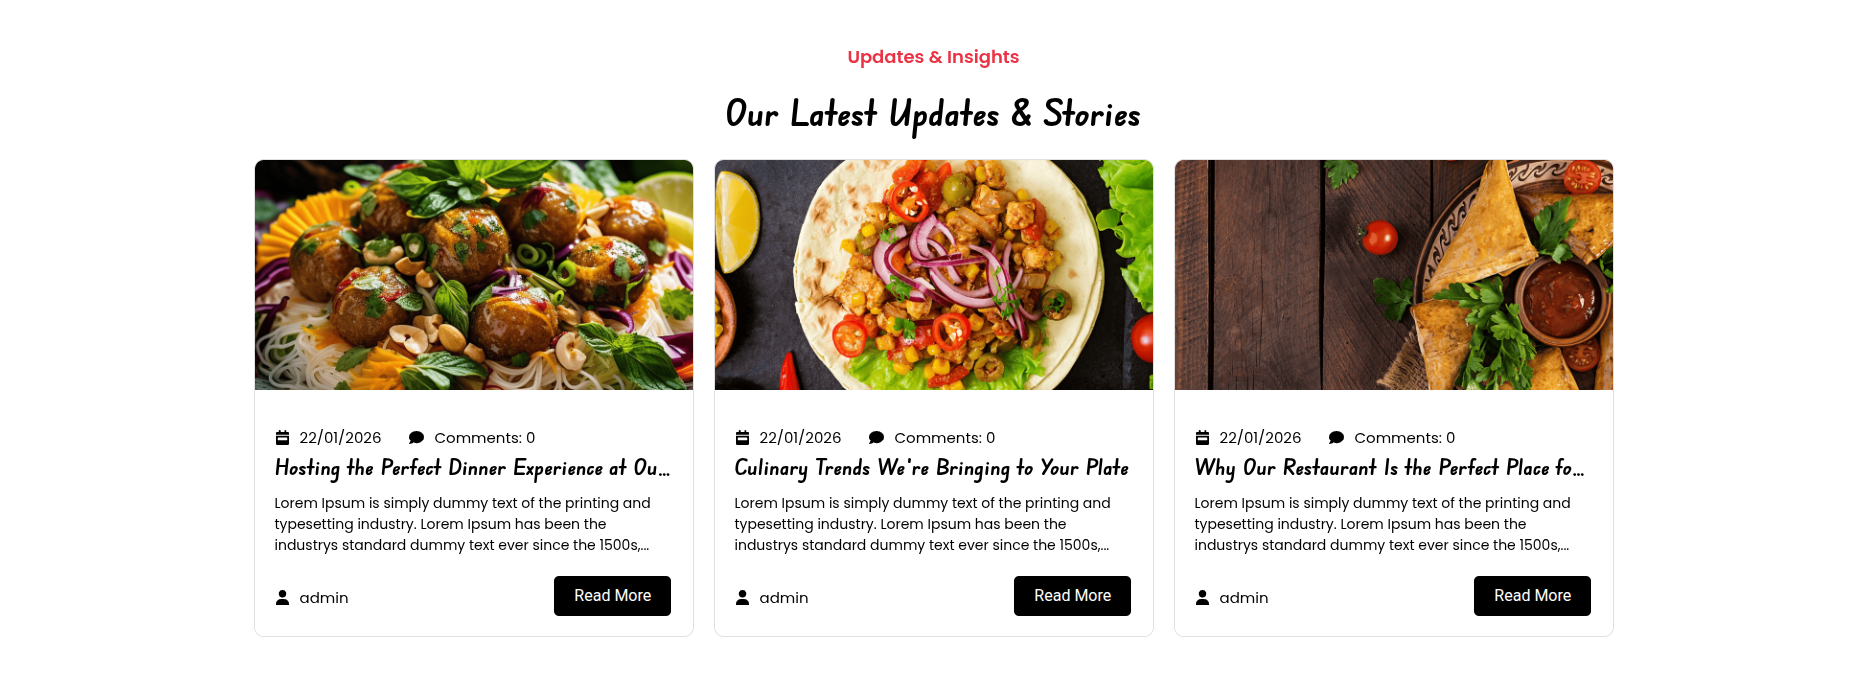
This is the final image of the Updates & Insights section
4.14 Footer Section
To proceed with Footer Section
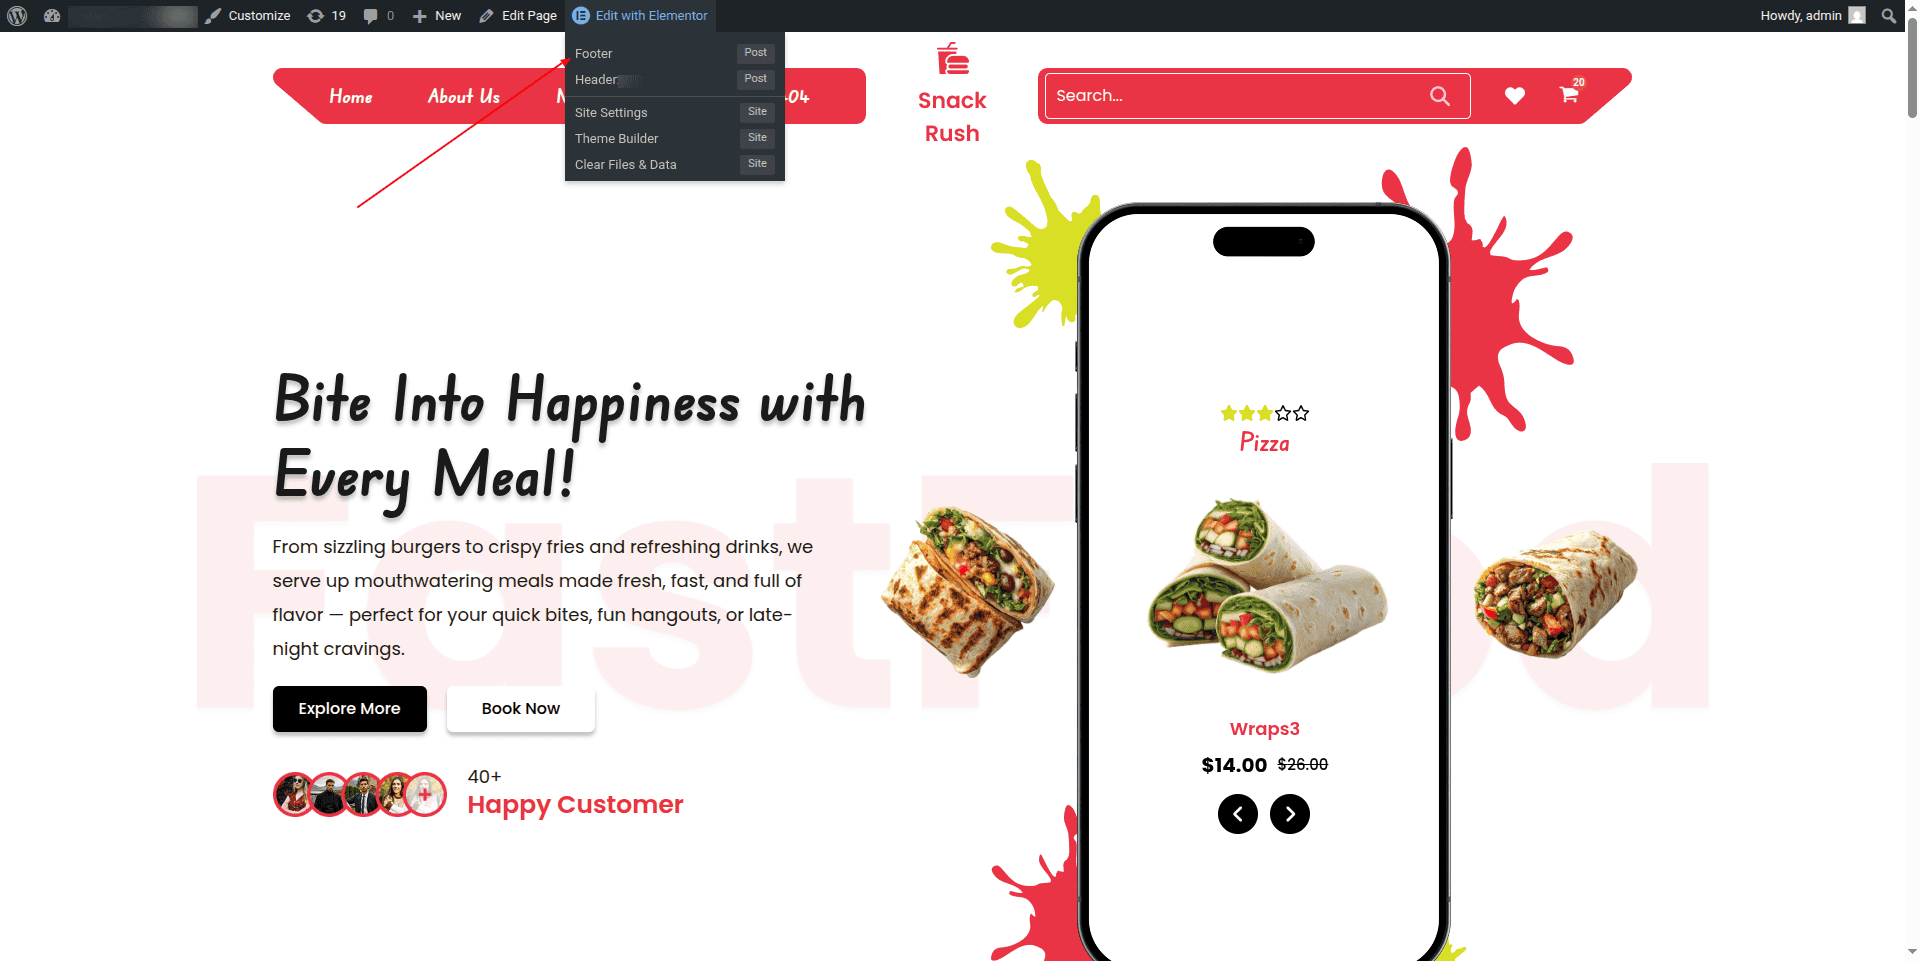
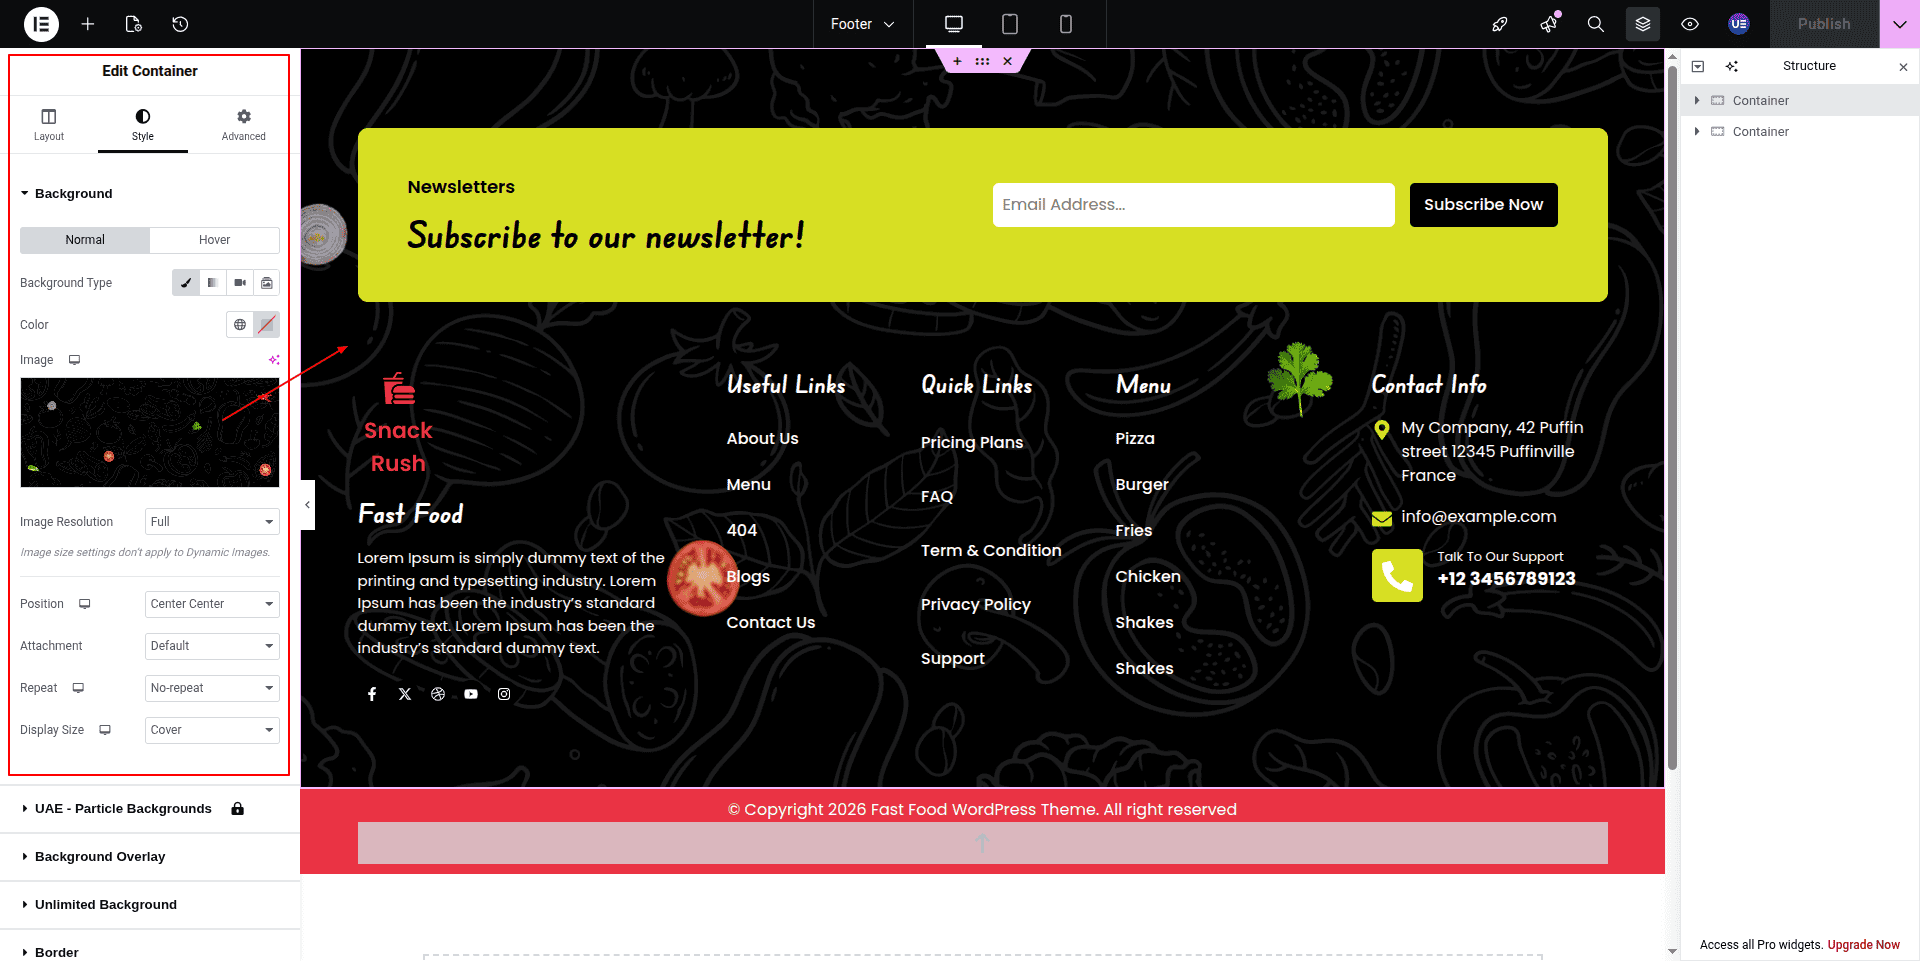
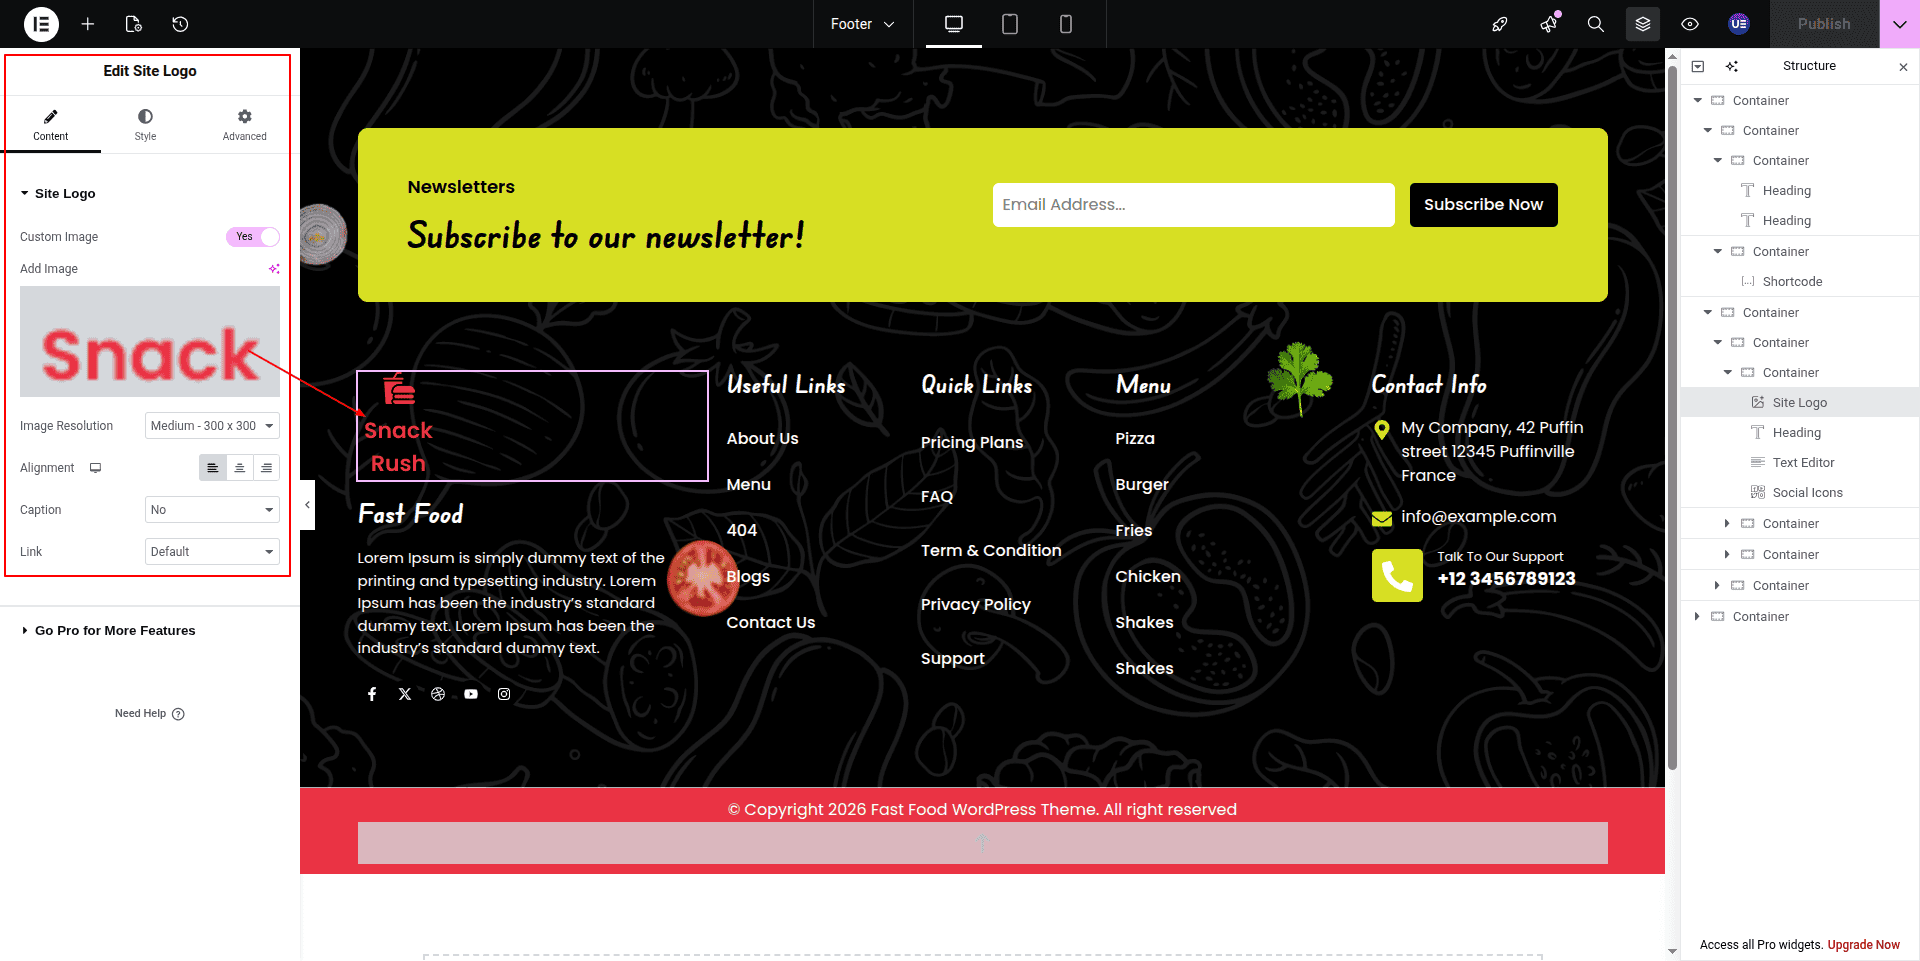
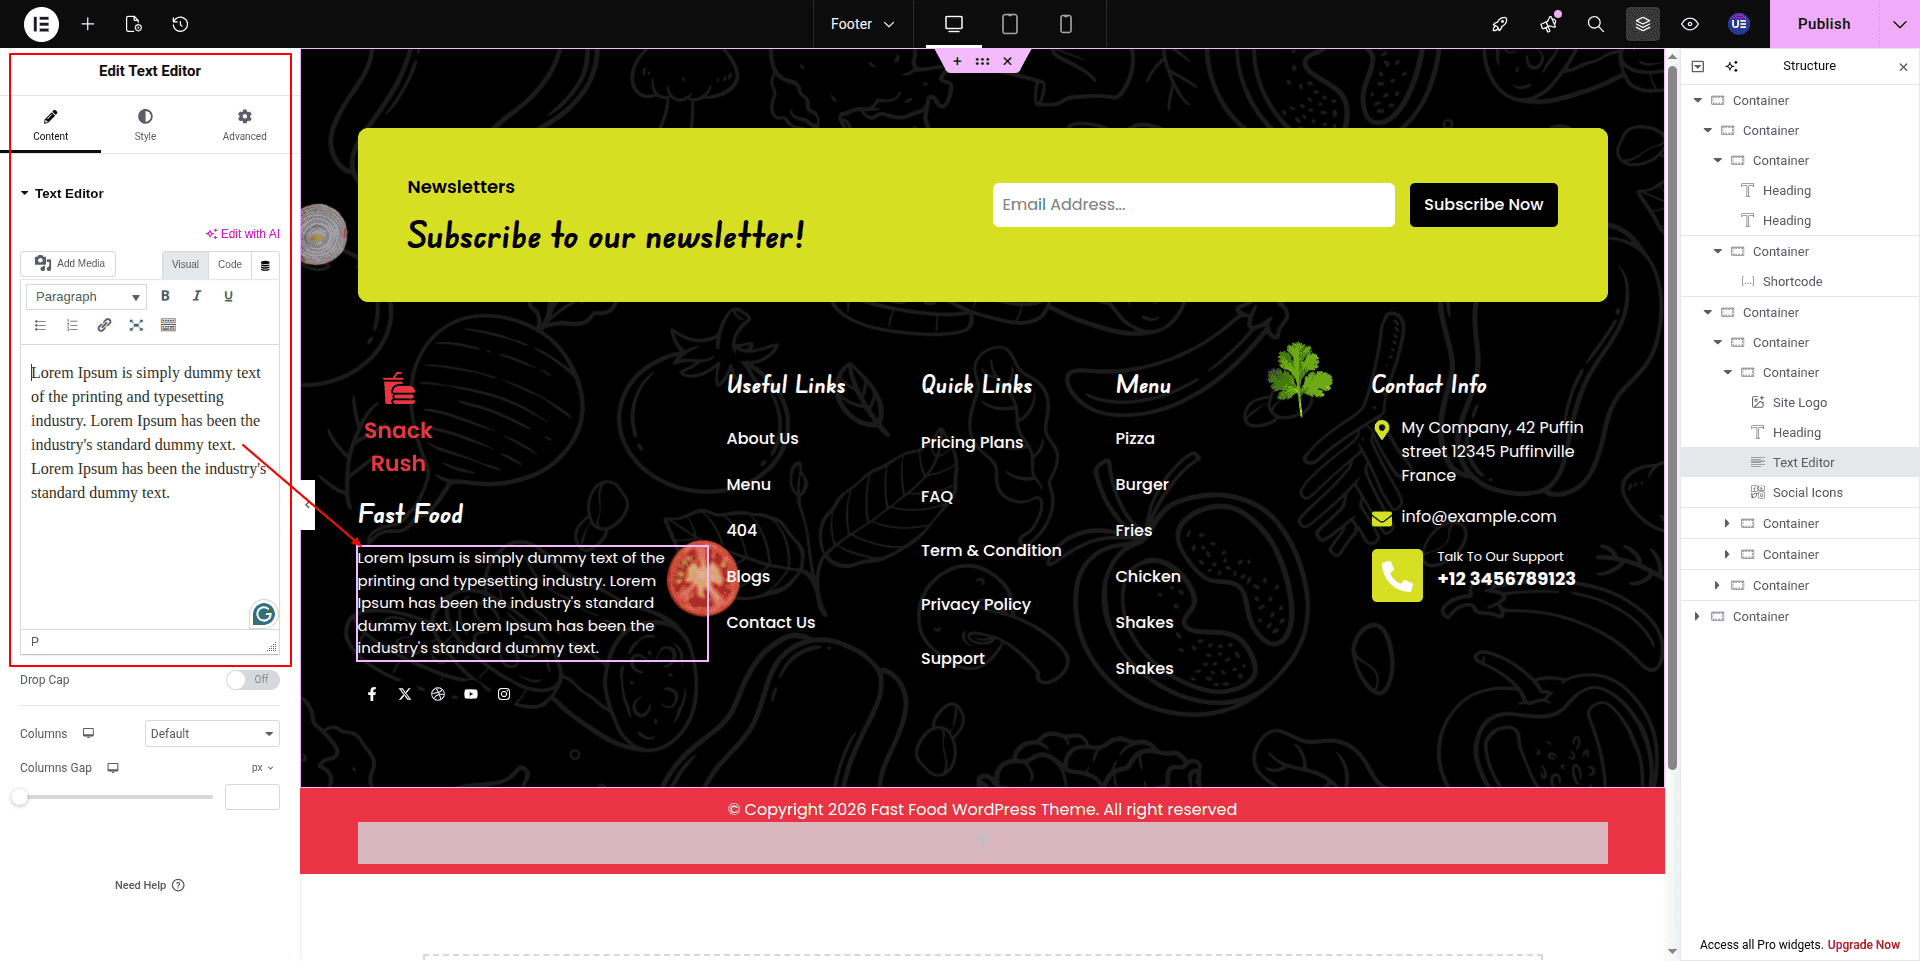
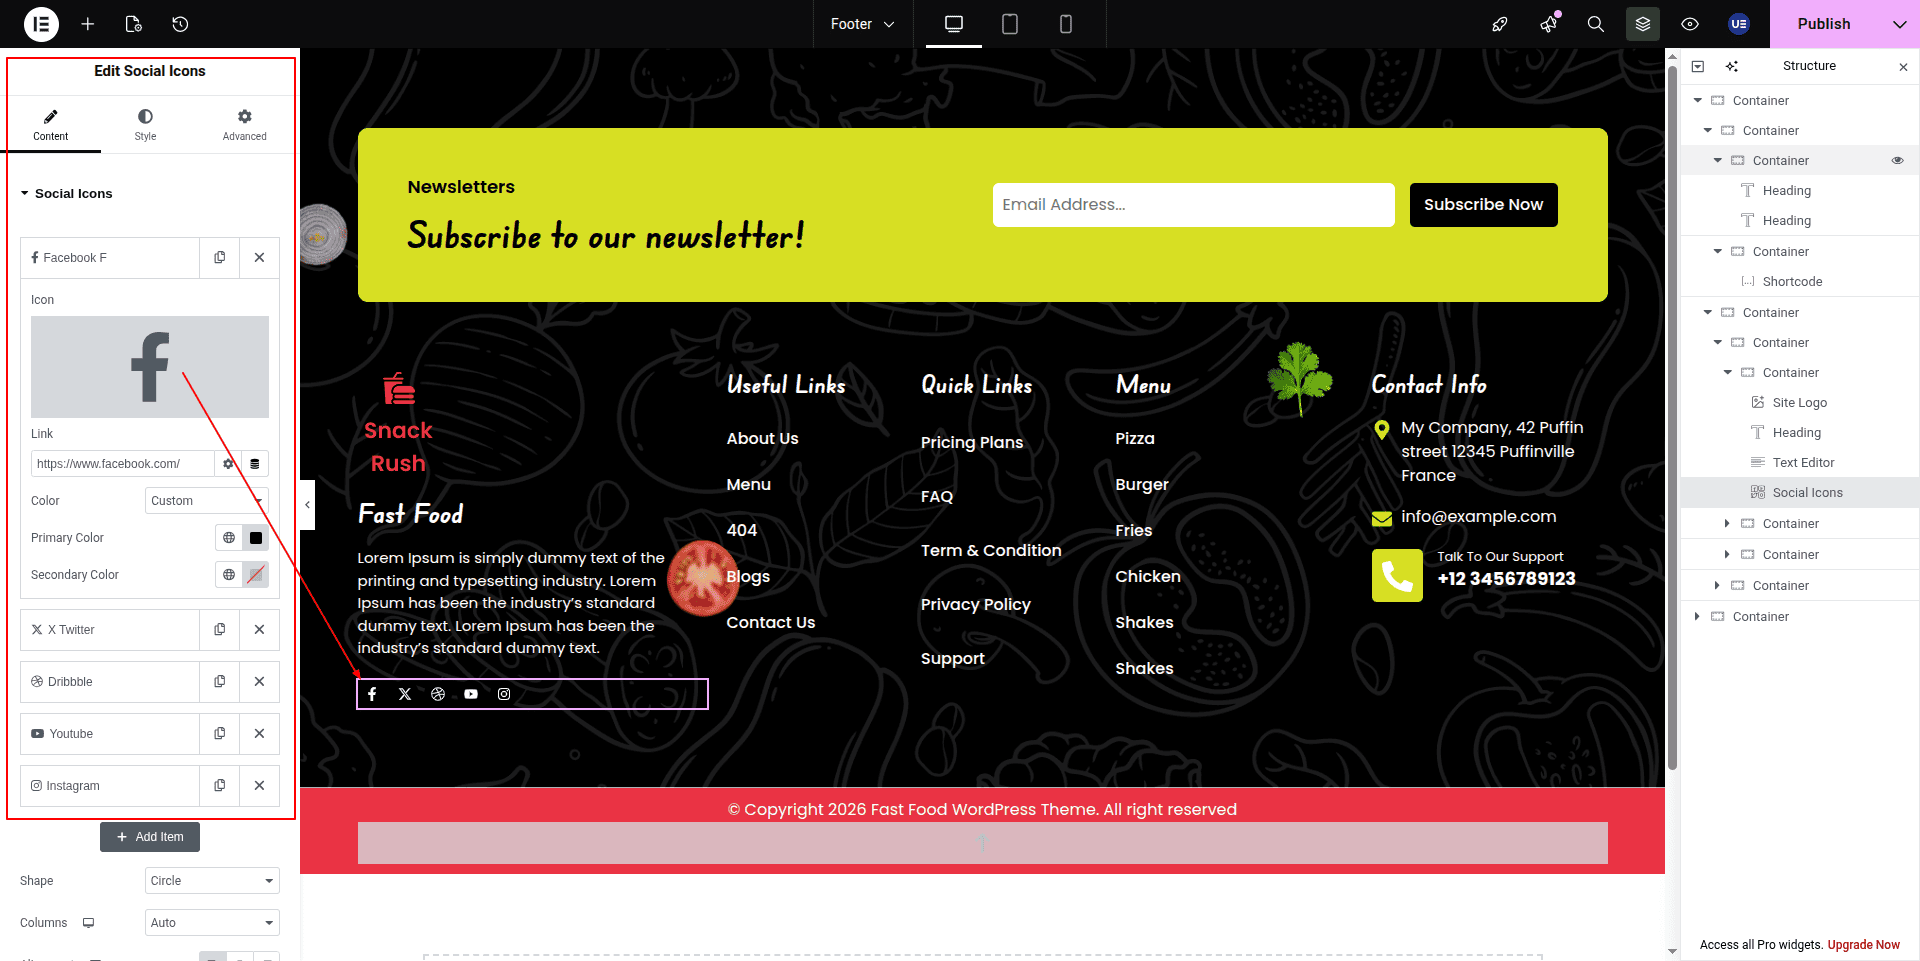
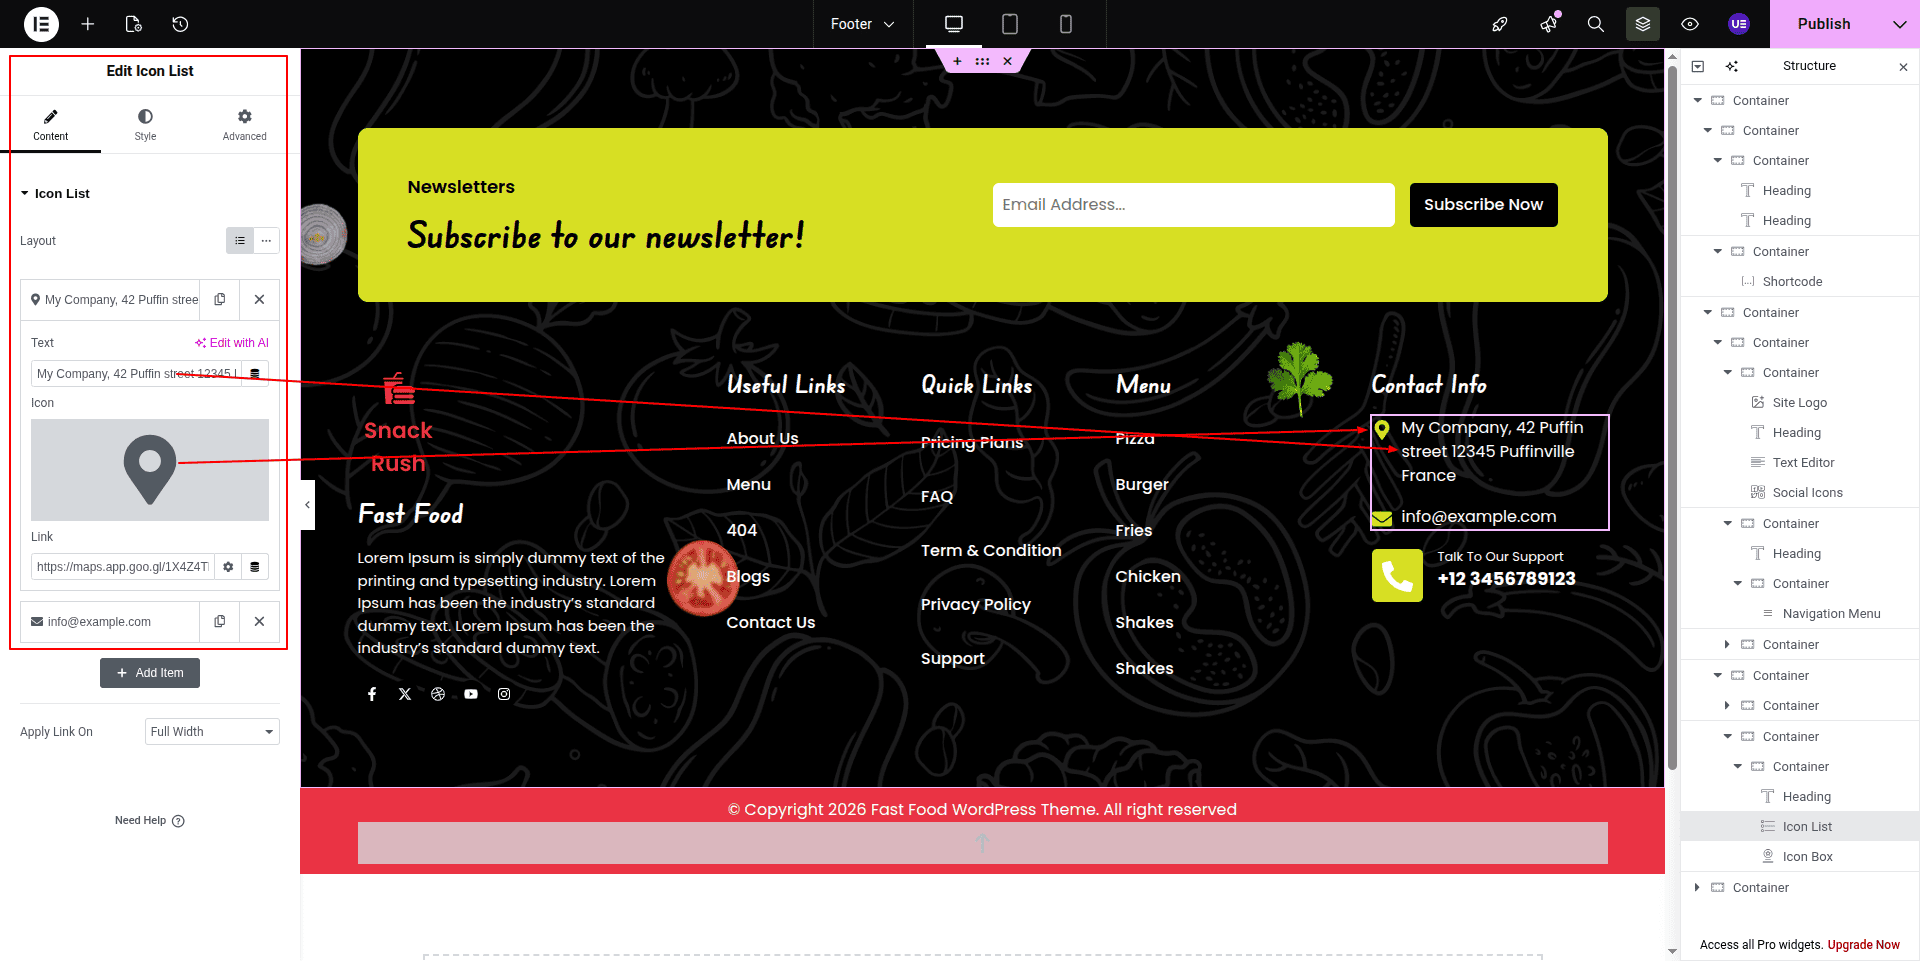
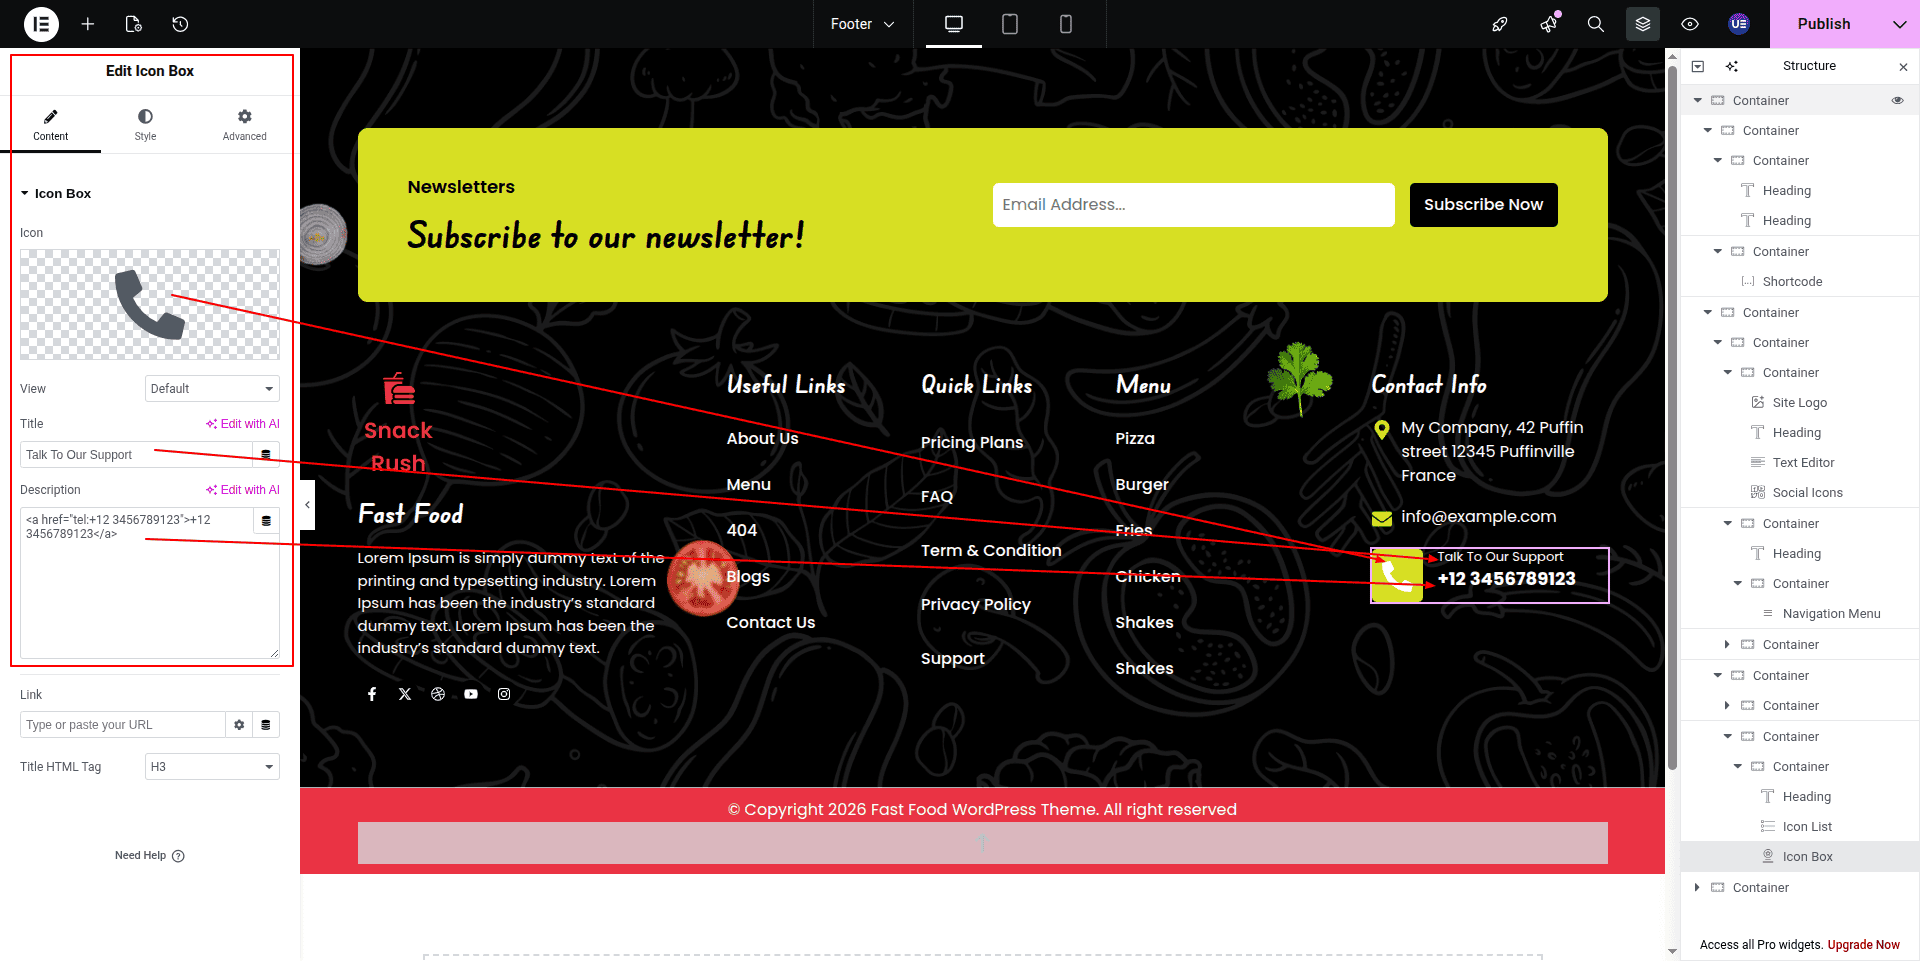
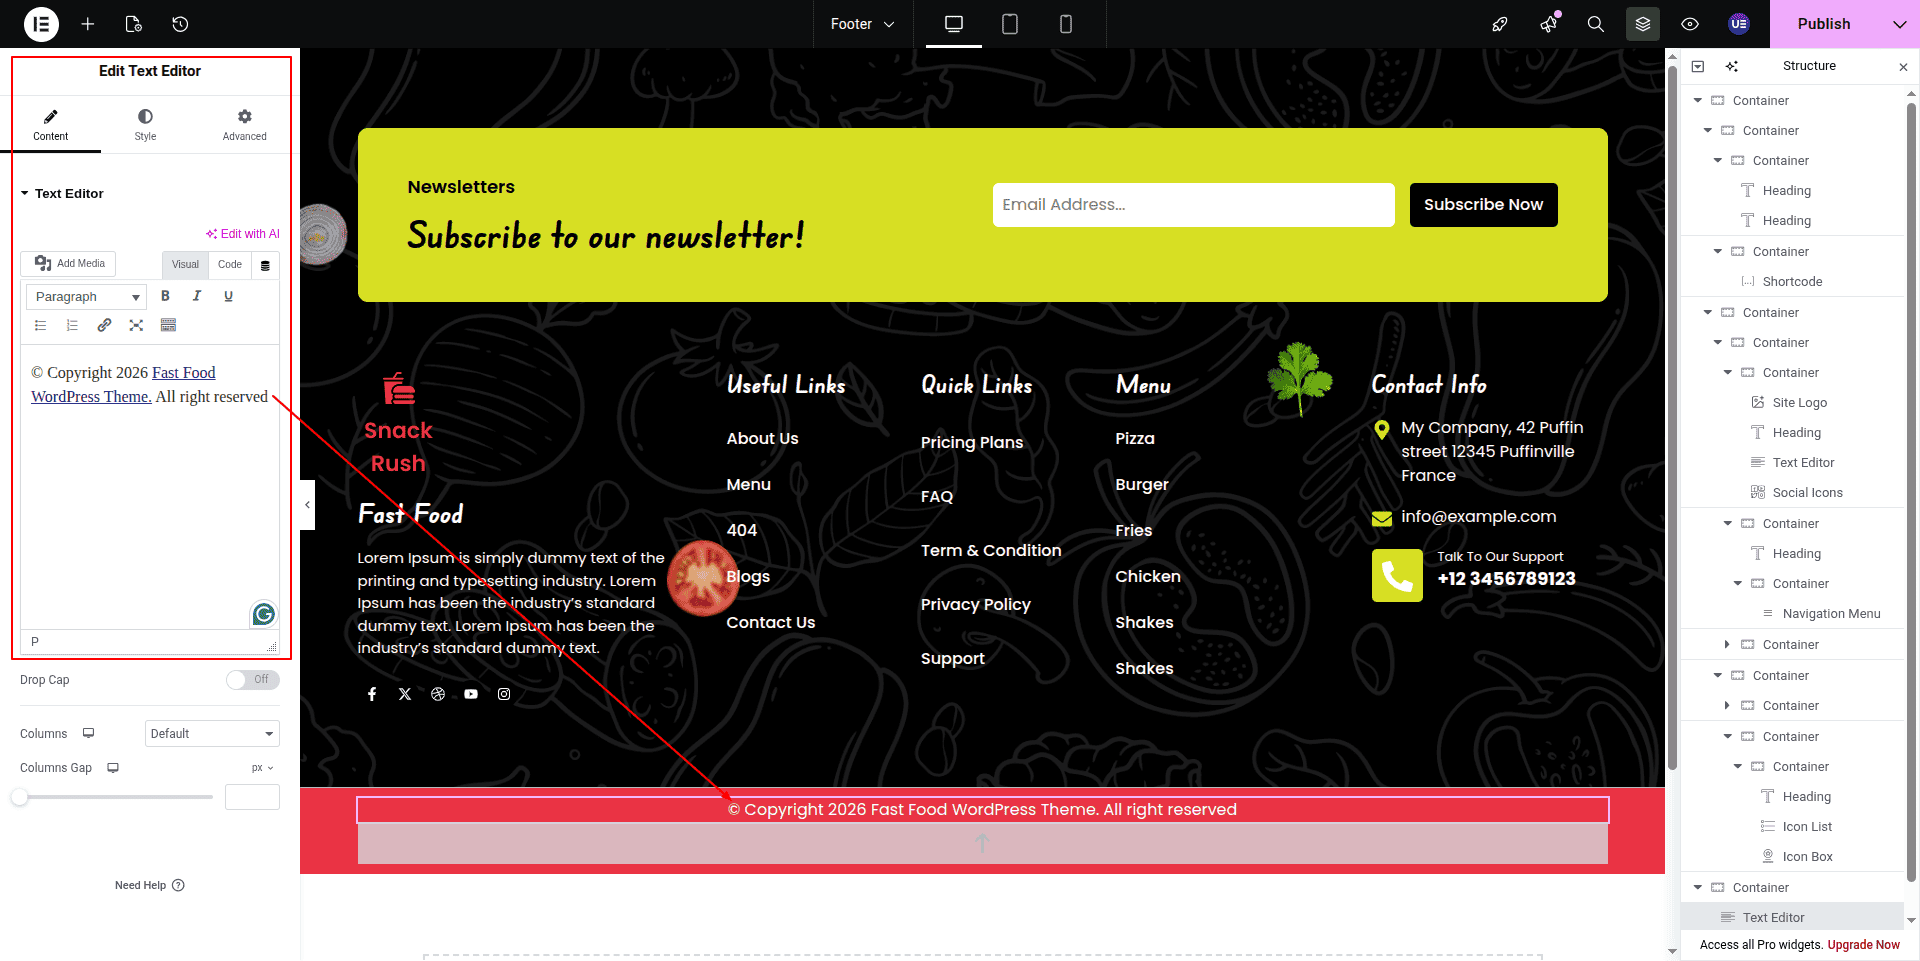
To Edit this Section, Click On the "Edit With Elementor" Button which will open the Elementor Widget editor.
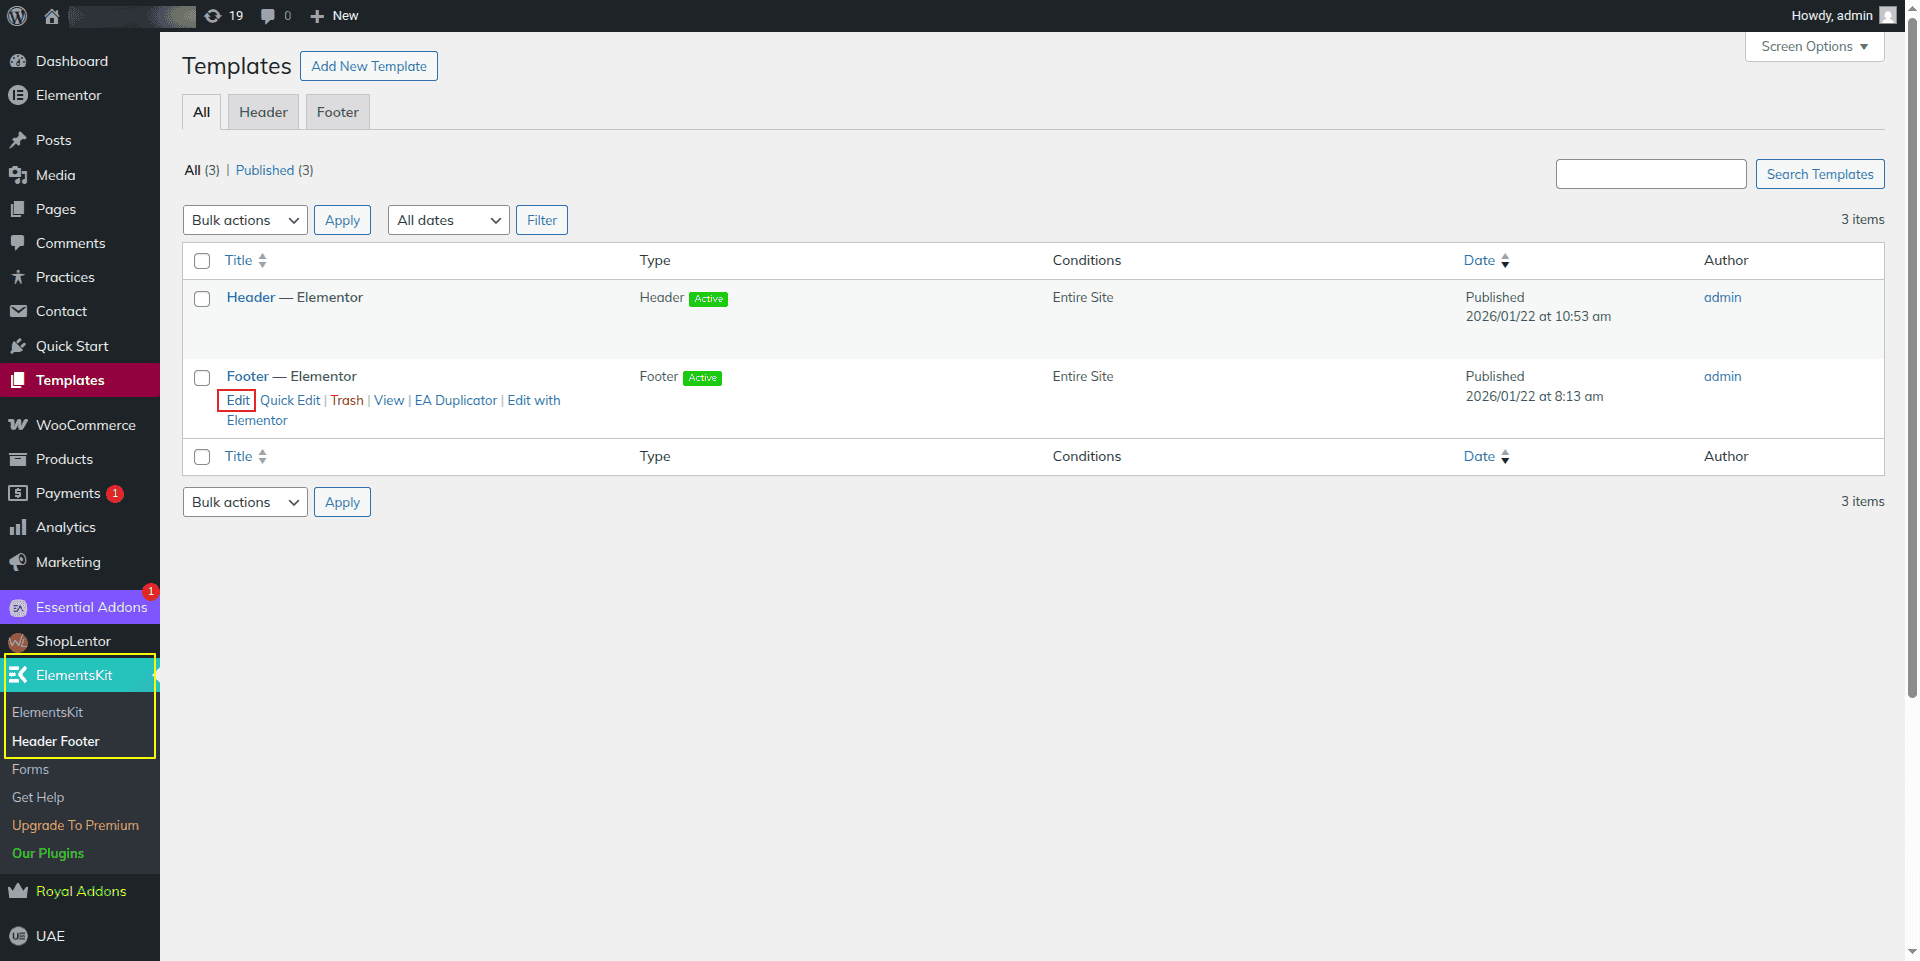
2) You have to go inside the Footer and edit content.
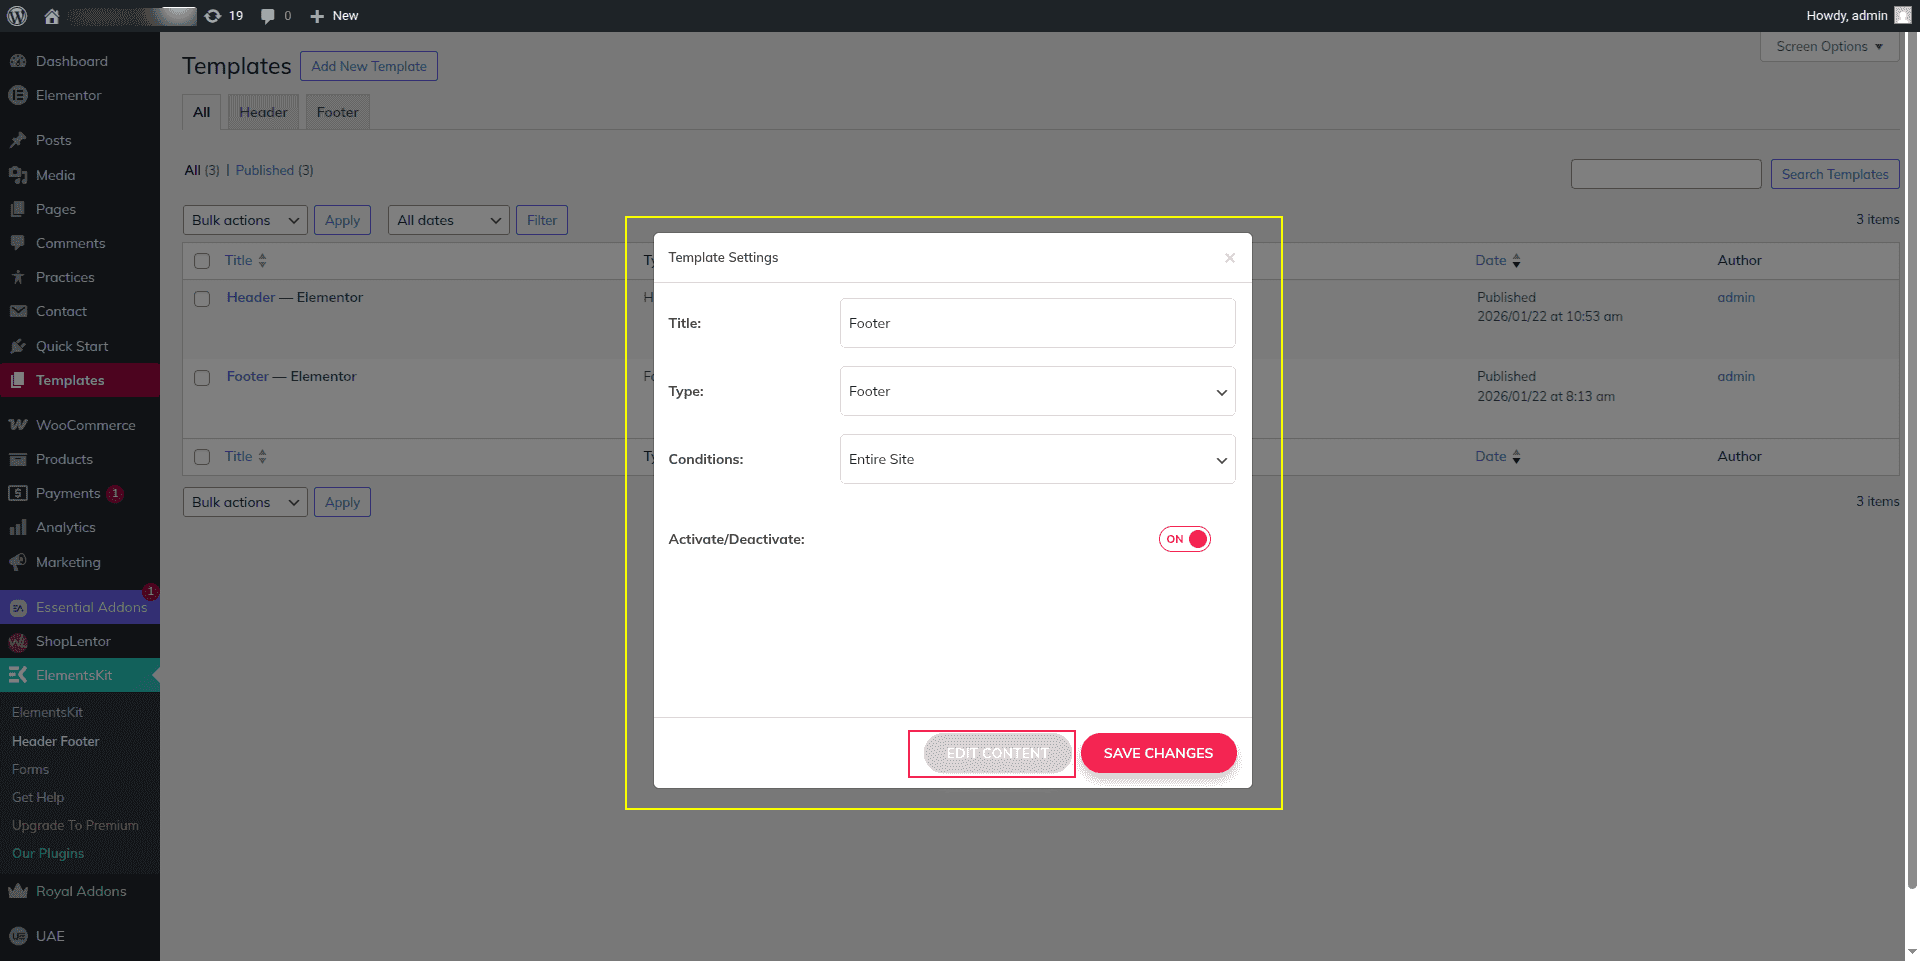
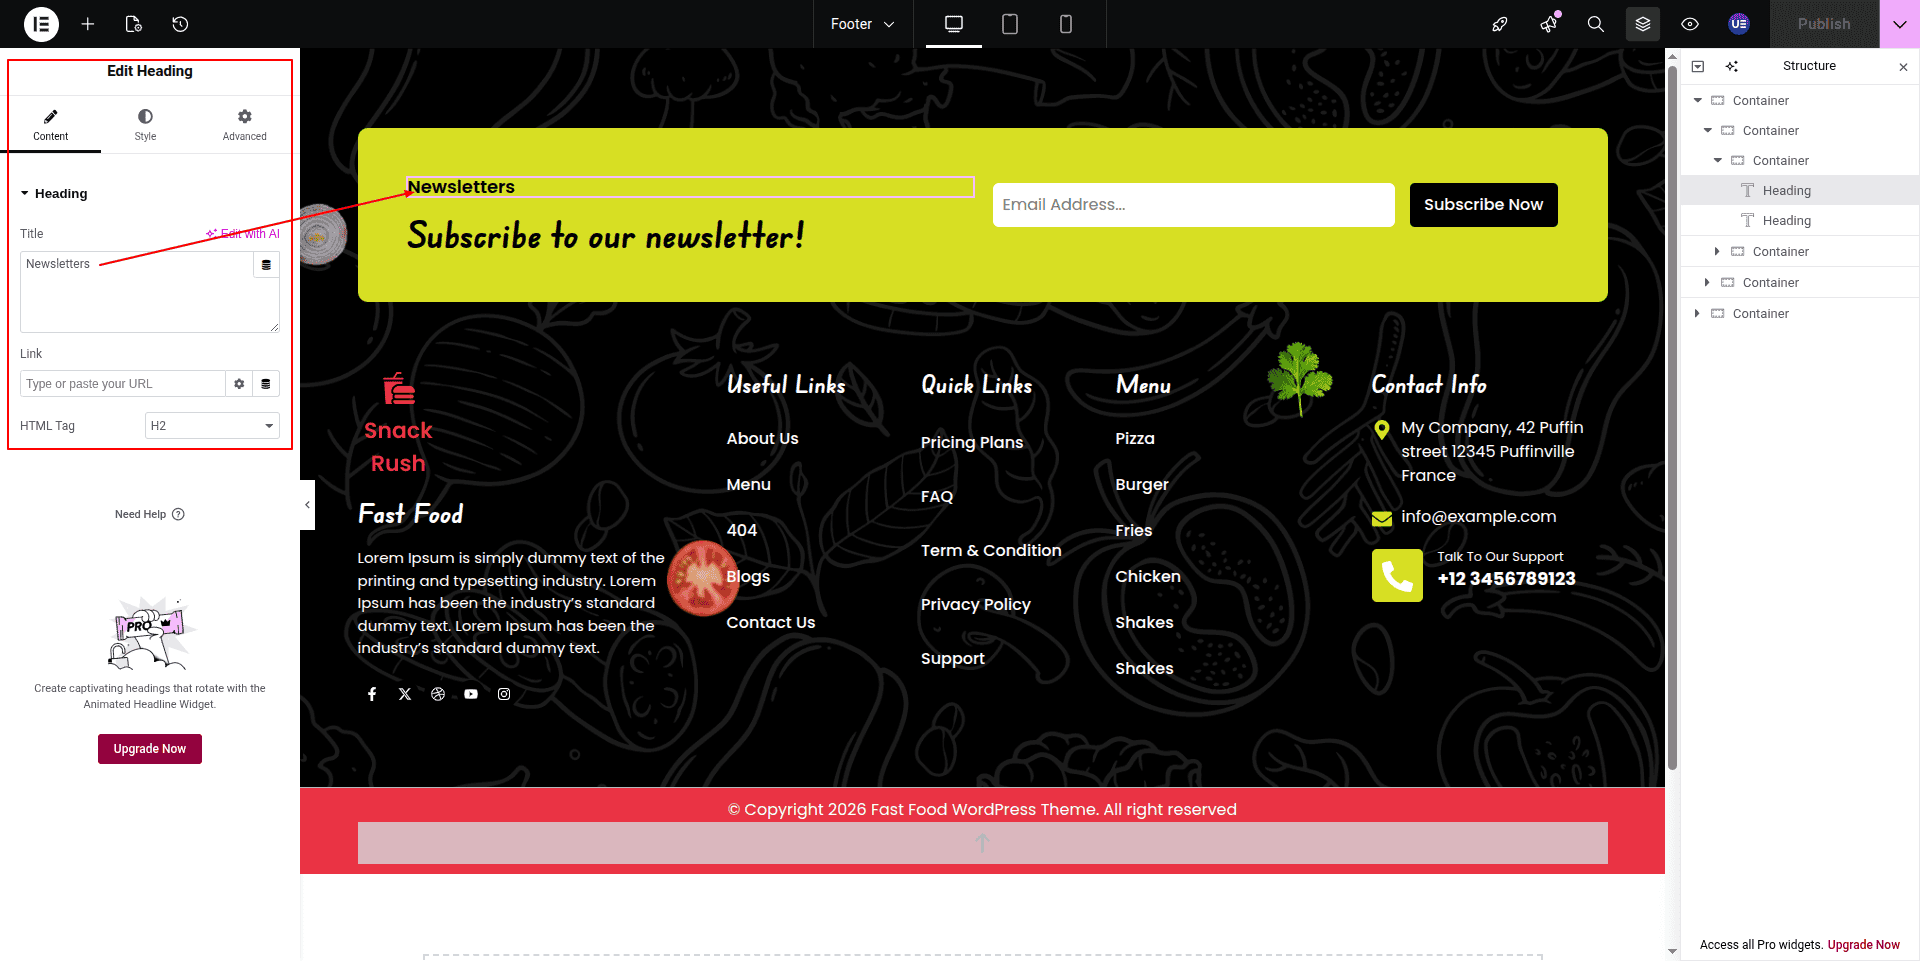
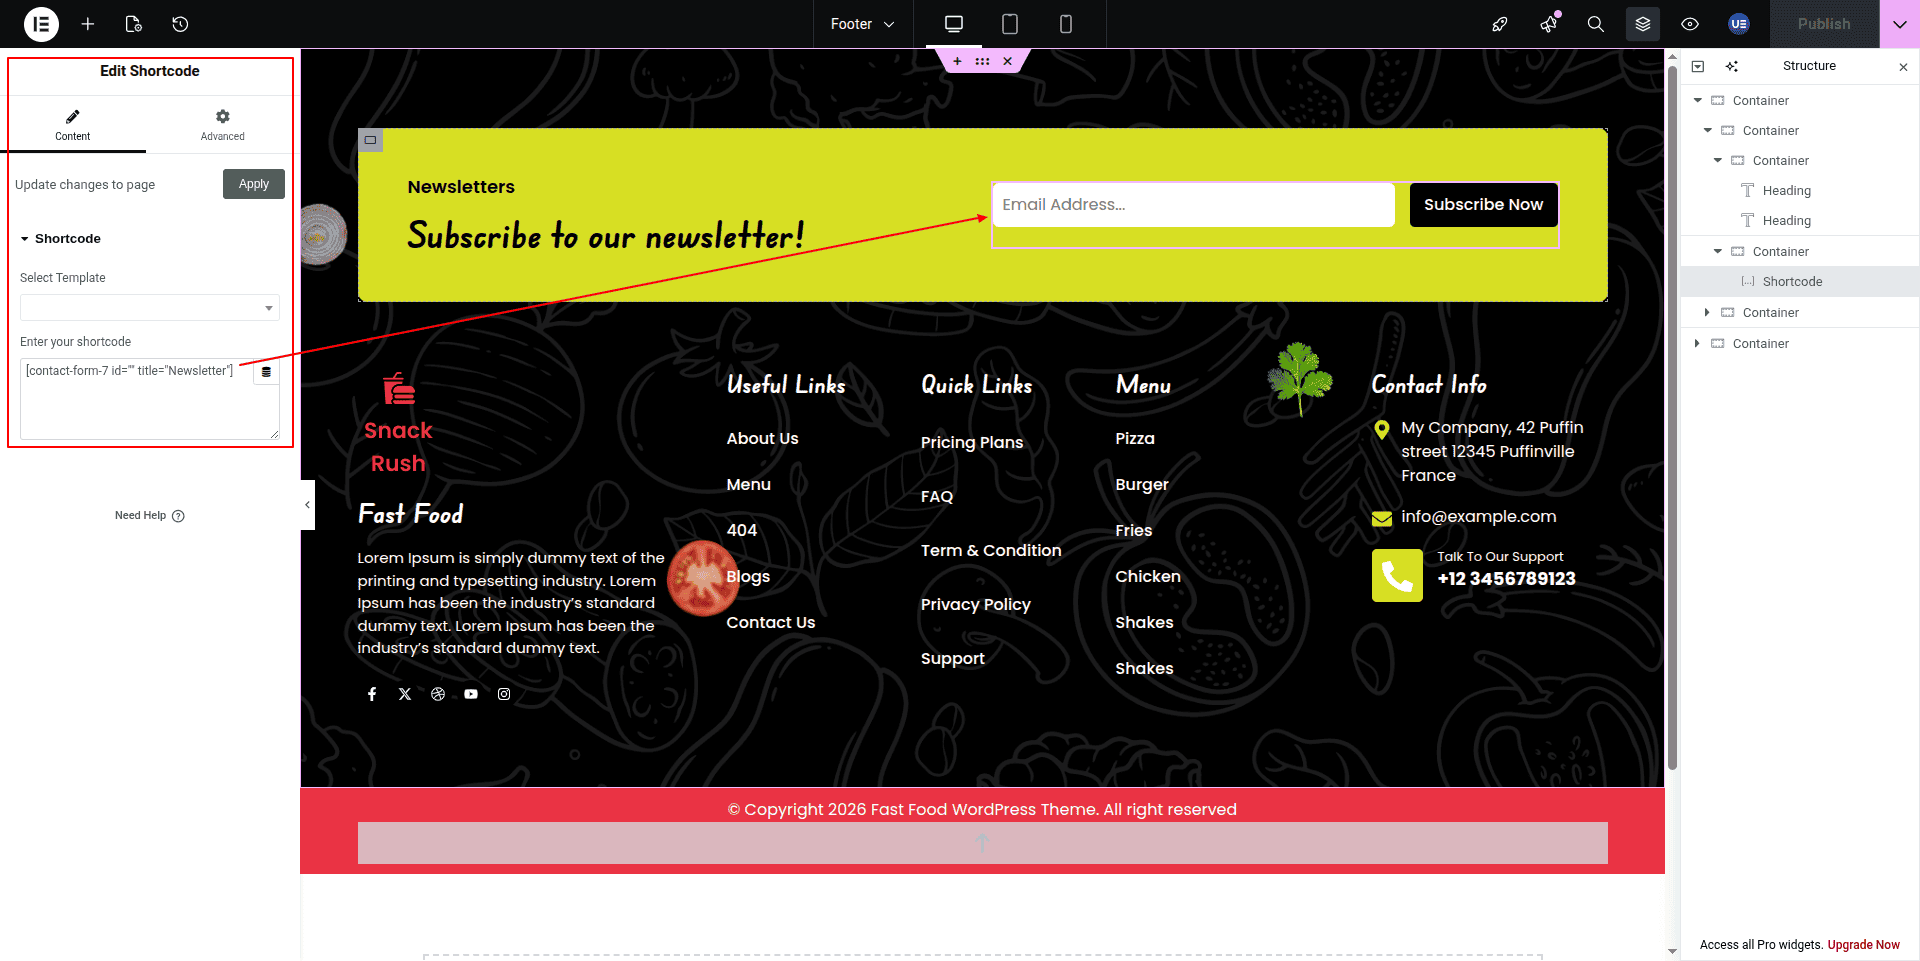
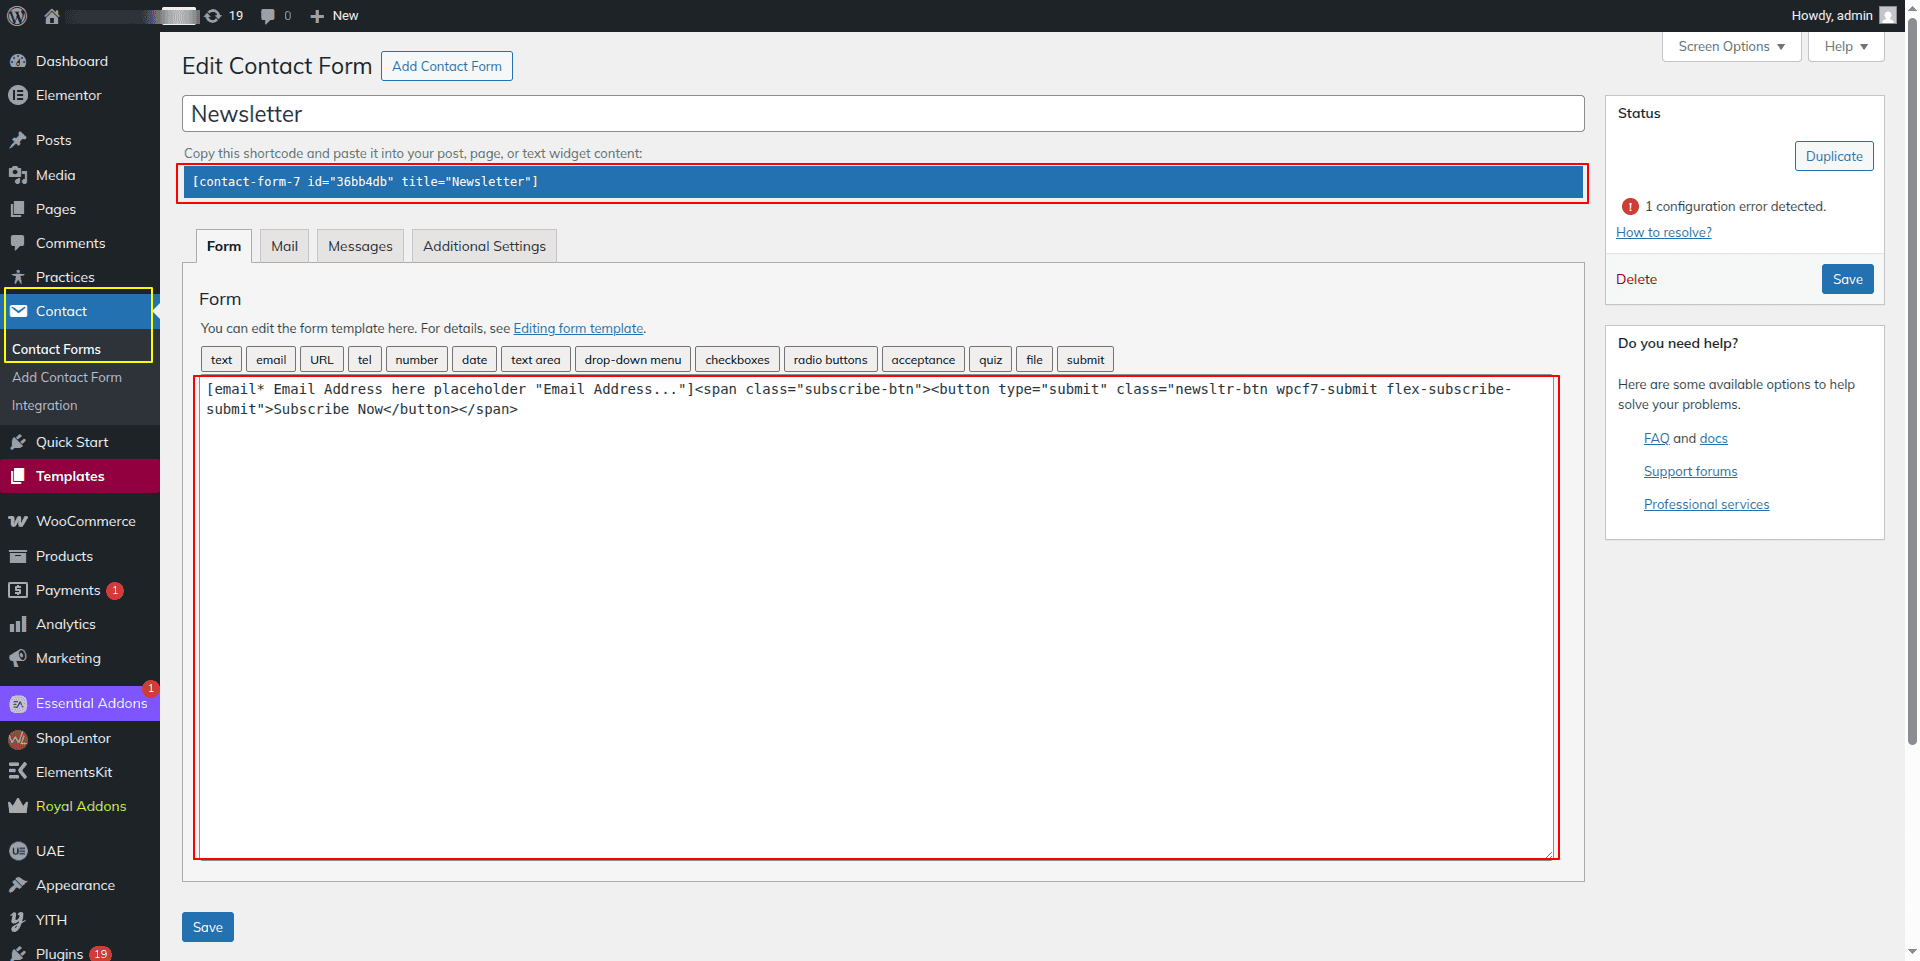
Footer Newsletter shortcode comes from Dashboard>Contact>Newsletter
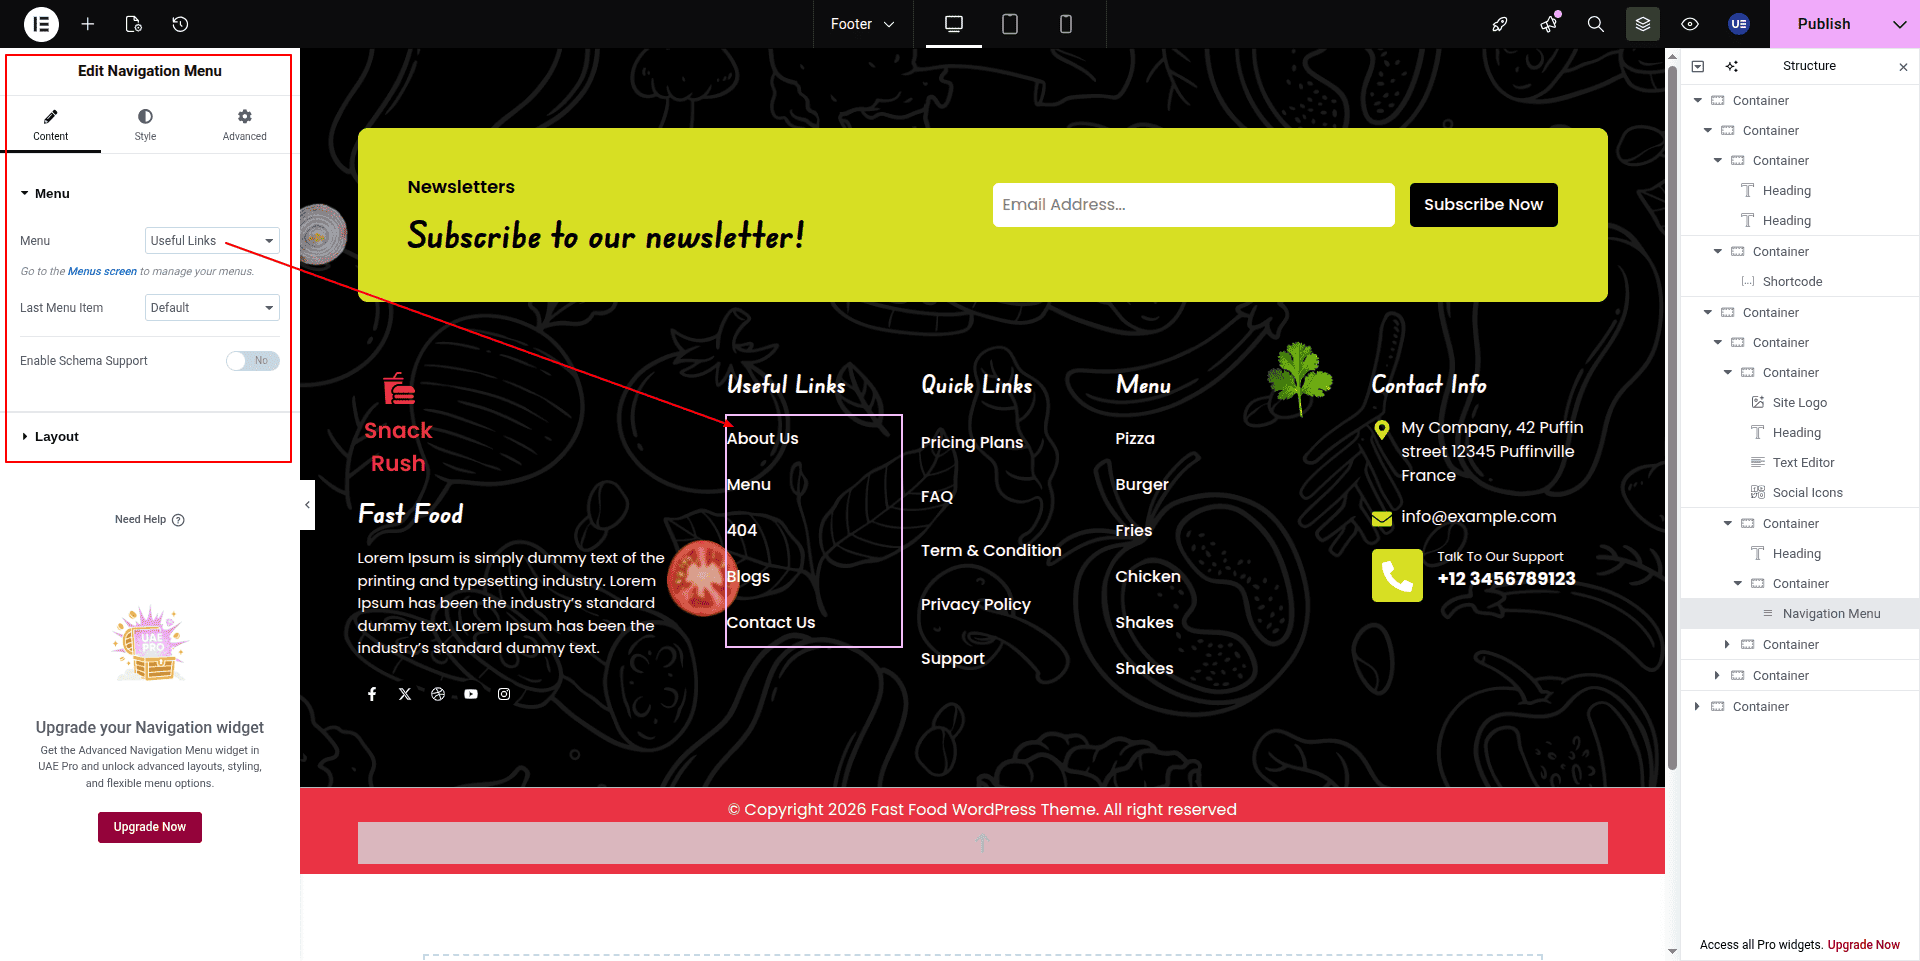
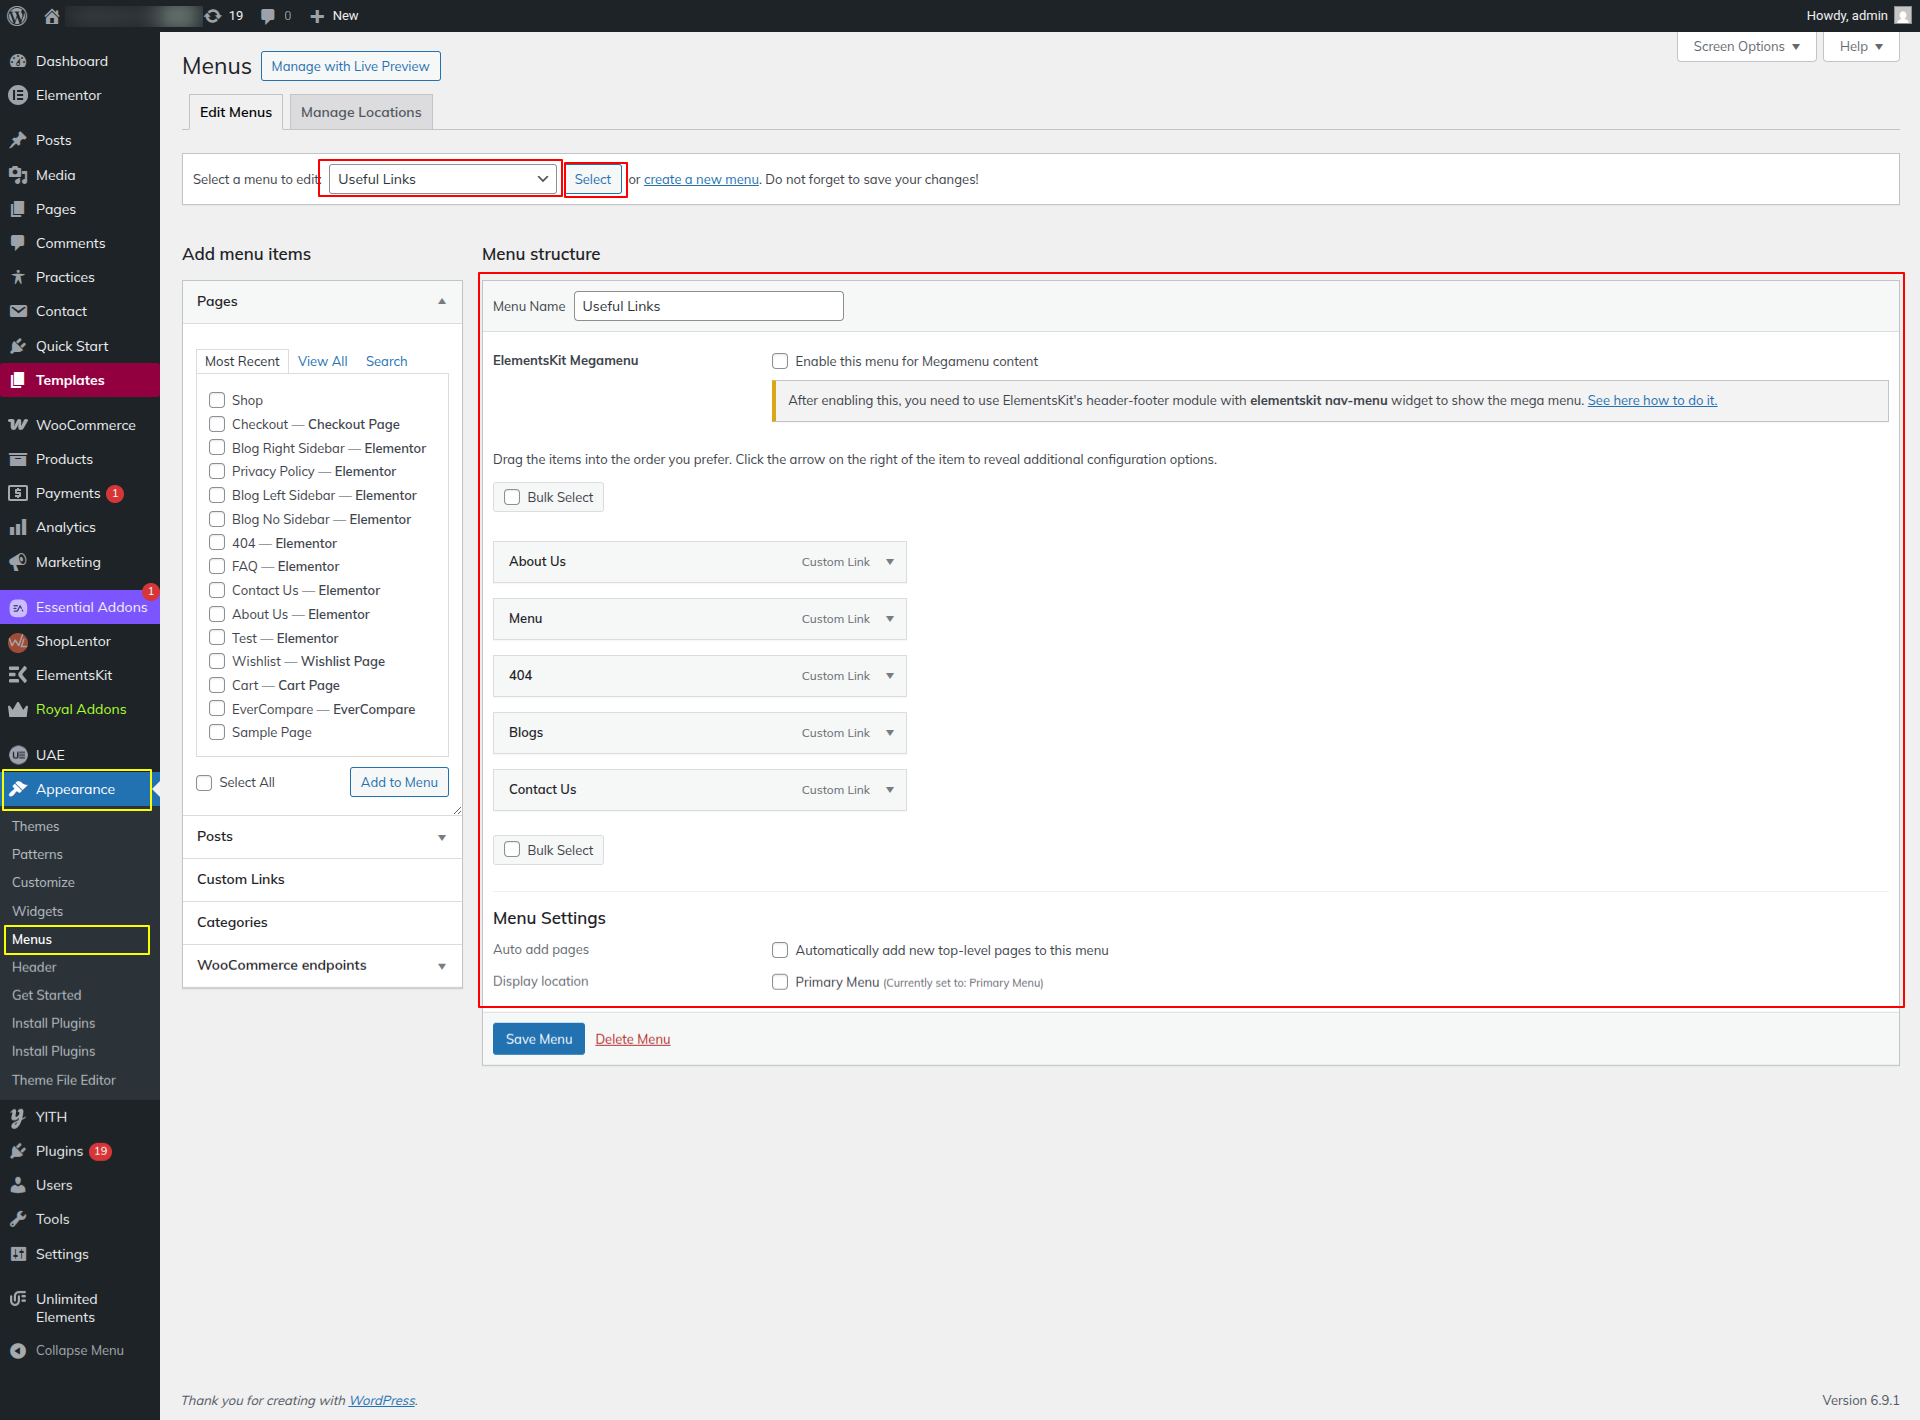
Menu comes from Dashboard>Appearance>Menus
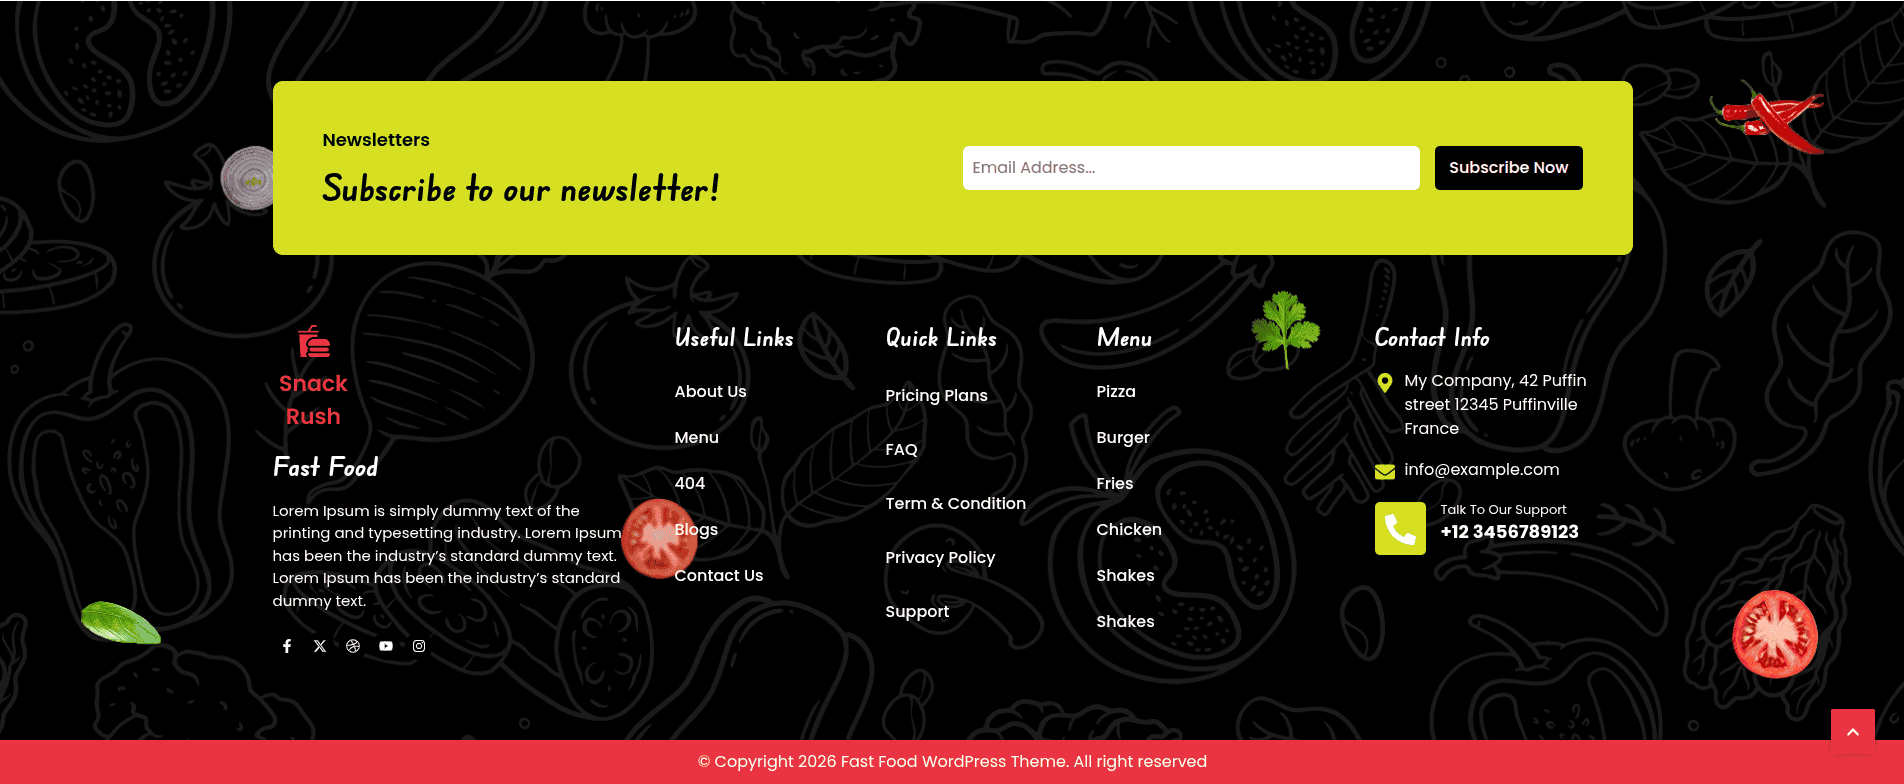
This is final image of Footer.